Easy Crochet Basket Pattern for Beginners
A crochet basket is one of the most useful things a beginner can make: it is worked entirely in one stitch, uses no shaping beyond a repeating increase…


A crochet basket is one of the most useful things a beginner can make: it is worked entirely in one stitch, uses no shaping beyond a repeating increase, and turns a couple of skeins of sturdy cotton into a storage piece you will reach for every day. This pattern starts with a flat circular base, builds straight walls with no further increases, and finishes with a clean top edge and an optional pair of handles. You will get running stitch counts at every stage, plus sizing for three finished baskets, so you can stop exactly where you want and trust that the shape is right. Cotton is worth reaching for here instead of your usual acrylic: it has almost no stretch, so a basket keeps its shape under the weight of yarn, toys, or rolled towels instead of slowly sagging out of shape the way a springier fiber would. Let’s turn one ball of cotton into something genuinely useful.
Jump to section
Materials
– Chunky cotton yarn, or worsted cotton held double, about 250 to 400 yards depending on size – 6.0mm crochet hook – Yarn needle, for weaving in ends and attaching handles – Stitch marker – Scissors – Tape measure
Gauge (approximate): 10 sts and 10 rounds = 4 in in single crochet, using chunky cotton or doubled worsted with the 6.0mm hook. A firmer, tighter gauge makes for a sturdier basket, so do not be afraid to crochet a bit more snugly than usual for this project.
Quick abbreviation key: ch (chain), sc (single crochet), dc (double crochet), sl st (slip stitch), st/sts (stitch/stitches), MR (magic ring, an adjustable loop used to start a project in the round), and BLO (back loop only – working into just the loop of the stitch furthest from you).
The Base (Worked in Rounds)
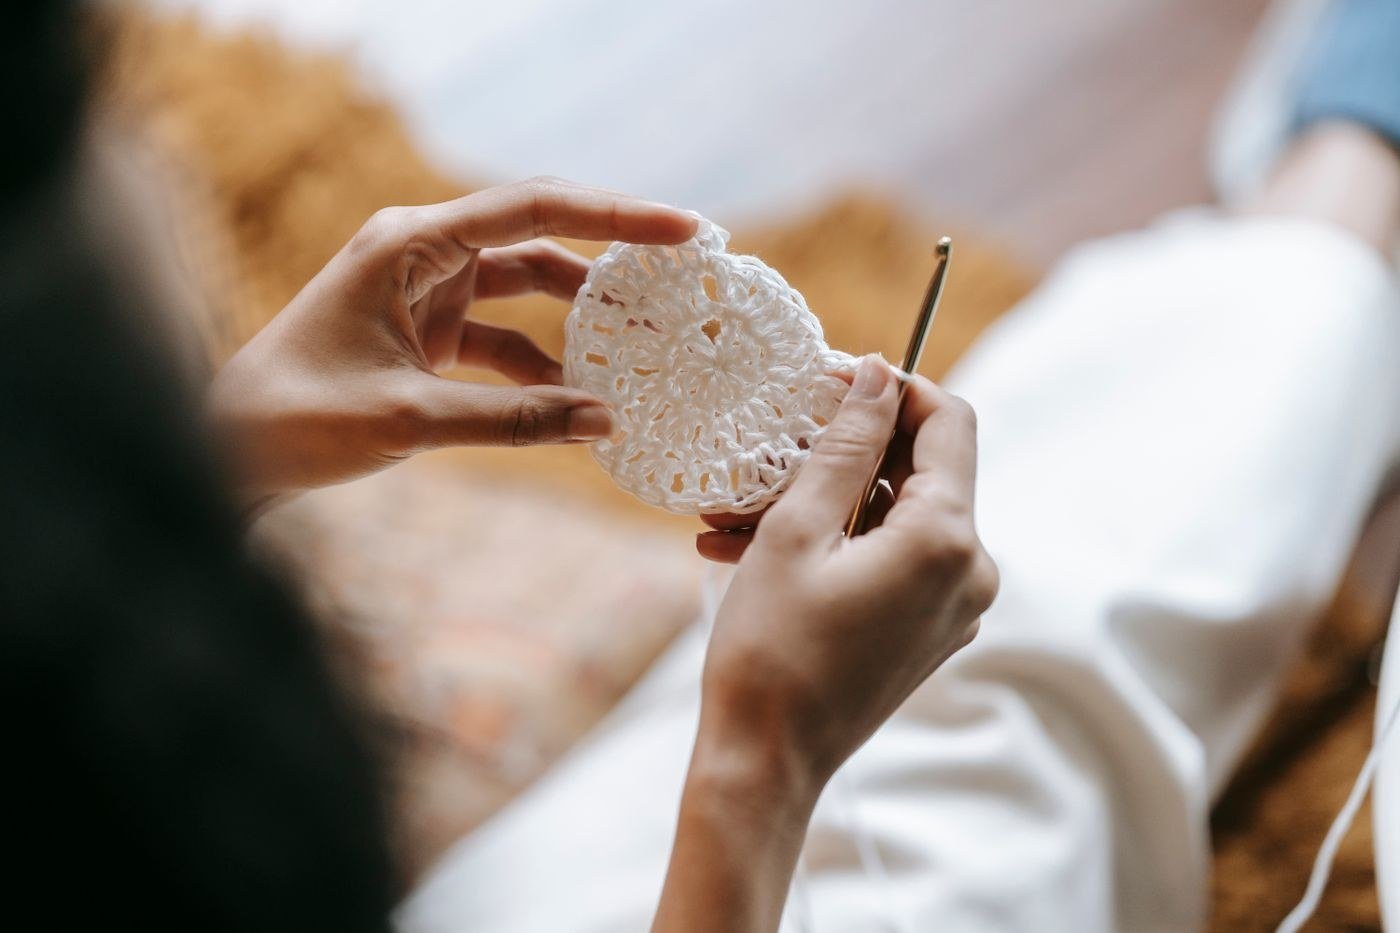
Work in a continuous spiral: drop a stitch marker into the first stitch of Round 1 and move it up into the first stitch of every new round from here on.
– Round 1: Make a MR and work 6 sc into the ring. Pull the tail to close it. (6 sts) – Round 2: 2 sc in each st around. (12 sts) – Round 3: *sc in next st, 2 sc in next st* repeat around. (18 sts) – Round 4: *sc in next 2 sts, 2 sc in next st* repeat around. (24 sts) – Round 5: *sc in next 3 sts, 2 sc in next st* repeat around. (30 sts) – base for a Small basket, about 6 in across – Round 6: *sc in next 4 sts, 2 sc in next st* repeat around. (36 sts) – Round 7: *sc in next 5 sts, 2 sc in next st* repeat around. (42 sts) – base for a Medium basket, about 8 in across – Round 8: *sc in next 6 sts, 2 sc in next st* repeat around. (48 sts) – Round 9: *sc in next 7 sts, 2 sc in next st* repeat around. (54 sts) – base for a Large basket, about 10 in across
Each round always adds exactly 6 sts, with one more plain sc worked between each increase. Lay the base flat every couple of rounds and measure straight across – stop increasing the moment you reach the target diameter for your size, even if that lands between the rounds listed above.
The Sides (Worked Even)
Once your base is the right size, stop increasing. This next round creates a crisp, defined edge right where the base meets the wall:
– Next round: sc BLO in each st around. (same st count as your last base round)
From here, continue working even in regular sc, through both loops as usual, with no increases and no decreases, keeping your st count exactly the same every round, until the wall reaches the height for your size:
– Small: about 5 in tall (approximately 15 rounds) – Medium: about 6 in tall (approximately 18 rounds) – Large: about 7 in tall (approximately 21 rounds)
Measure the wall straight up from the crisp edge as you go, since gauge varies from crocheter to crocheter – stop at the target height rather than the exact round count if the two ever disagree.
Finishing the Top Edge
Work one more round of sl st in each st around to create a firm, non-curling edge along the top rim. Fasten off and weave in the end.
Optional Handles
Make two handles, worked flat:
– Row 1: Ch 20, dc in the 4th ch from the hook and in each remaining ch across. Turn. (18 sts) – Row 2: Ch 2 (does not count as a st), dc in each st across. (18 sts)
Fasten off, leaving a long tail. Repeat to make a second, matching handle.
Fold each handle’s ends under slightly and sew them securely to the inside of the top rim, opposite each other, using your yarn needle and the leftover tail. Stitch back and forth through several layers so the handle can hold real weight.
Tips for a Sturdy Basket
– Go up in tension, not just hook size. A slightly firmer gauge than you would use for a garment is what keeps this basket standing on its own instead of slouching. – Count at every increase round. A missed increase on the base is much easier to fix on the spot than after several rounds of straight walls. – Block it into shape. Once finished, press the base flat and gently shape the walls by hand – cotton holds a shape well once it dries. – Stiffen the base if needed. For an extra-sturdy bottom, cut a matching circle of thin cardboard or plastic canvas and slip it inside before you start filling the basket. – Add a fabric liner for small items. If you plan to store anything loose or delicate, cut a piece of cotton fabric to match the base and walls, hem the edges, and stitch it in just below the top rim so it stays hidden while it does its job.
Once the basket is finished, resist the urge to skip blocking just because cotton feels stiff already. A quick spritz with water, or a gentle hand wash, followed by shaping the walls upright while damp, makes a real difference in how evenly the sides sit once everything dries.
The Payoff
Watching a small ring of six stitches grow into a flat circle, then rise into straight sturdy walls, is one of the most satisfying builds in beginner crochet, and unlike a lot of first projects, this one earns its keep on a shelf the very same day you finish it. Once you have made one size, the same formula scales up or down for every corner of the house that needs a little more order. Keep that hook moving, and enjoy the tidy payoff.
Frequently asked questions
Can I use acrylic yarn instead of cotton for this basket?
You can, but the basket won’t hold its shape nearly as well since acrylic has more give than cotton, so walls that should stand up straight will slowly sag under the weight of whatever you store inside. If acrylic is all you have, add a cardboard liner in the base and expect softer sides.
My base is cupping upward or rippling at the edges instead of lying flat — what happened?
A base that cups upward like a bowl means you haven’t increased enough stitches for how far the round has grown, while one that ripples means you’ve added too many. Count your stitches at the end of every round and match them against the totals in the pattern before starting the next one.
Can I make the basket taller than the Large size listed?
Yes — once you reach 54 stitches at Round 9, keep working even sc rounds with no more increases until the wall is as tall as you like. The stitch count stays fixed no matter how many rounds you add, so there’s no built-in height limit.
Do I really need to stiffen the base with cardboard?
Not for a basket used lightly, since a firm gauge in cotton already gives decent structure on its own. For anything that will hold real weight, though, a cut circle of cardboard or plastic canvas in the bottom makes a noticeable difference in how well it stands up over time.
What does working in the back loop only actually do for the basket?
Working that one round in the back loop only leaves the front loops standing proud as a visible ridge, which is what gives the basket its crisp, defined line where the base meets the wall. Skip it and that transition will look soft and rounded instead of sharp.
— NoraEvery pattern hand-tested