Easy Crochet Potholder Pattern (Free Beginner Project)
A potholder is one of the most satisfying beginner projects you can make, because it is small, fast, and actually gets used in your kitchen the very same…

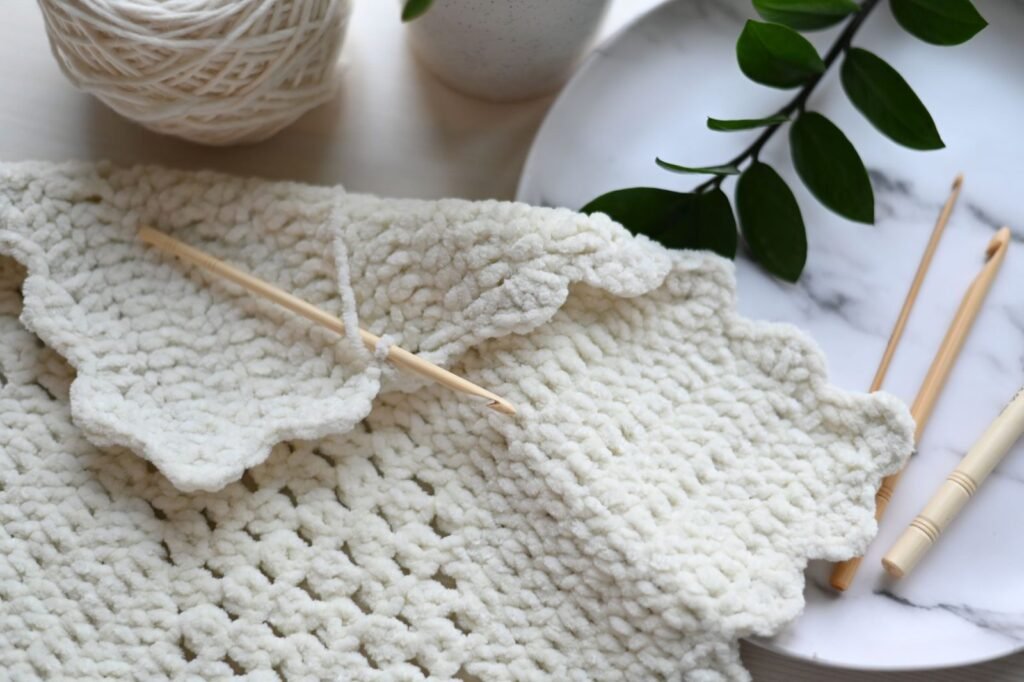
A potholder is one of the most satisfying beginner projects you can make, because it is small, fast, and actually gets used in your kitchen the very same day you finish it. This one is worked as a single square in a dense, double-thick stitch pattern, so it comes off the hook already thick enough to protect your hands, with no separate lining or second layer to sew on afterward. Add a simple hanging loop and you have a potholder that looks handmade in the best way. Let’s get started.
Jump to section
An Important Safety Note
Only use 100% cotton yarn for this project. Cotton is heat-safe and does not melt or scorch the way synthetic yarn can. Acrylic and other synthetic yarns have a low melting point and must never be used for a potholder or anything else that will touch a hot pan, dish, or oven rack – a melted synthetic potholder can burn skin and ruin the fabric in seconds. Worsted weight cotton (often labeled “dishcloth cotton” or “kitchen cotton”) is the standard choice for potholders, and it also happens to be sturdy, machine washable, and easy for beginners to see their stitches in.
Materials
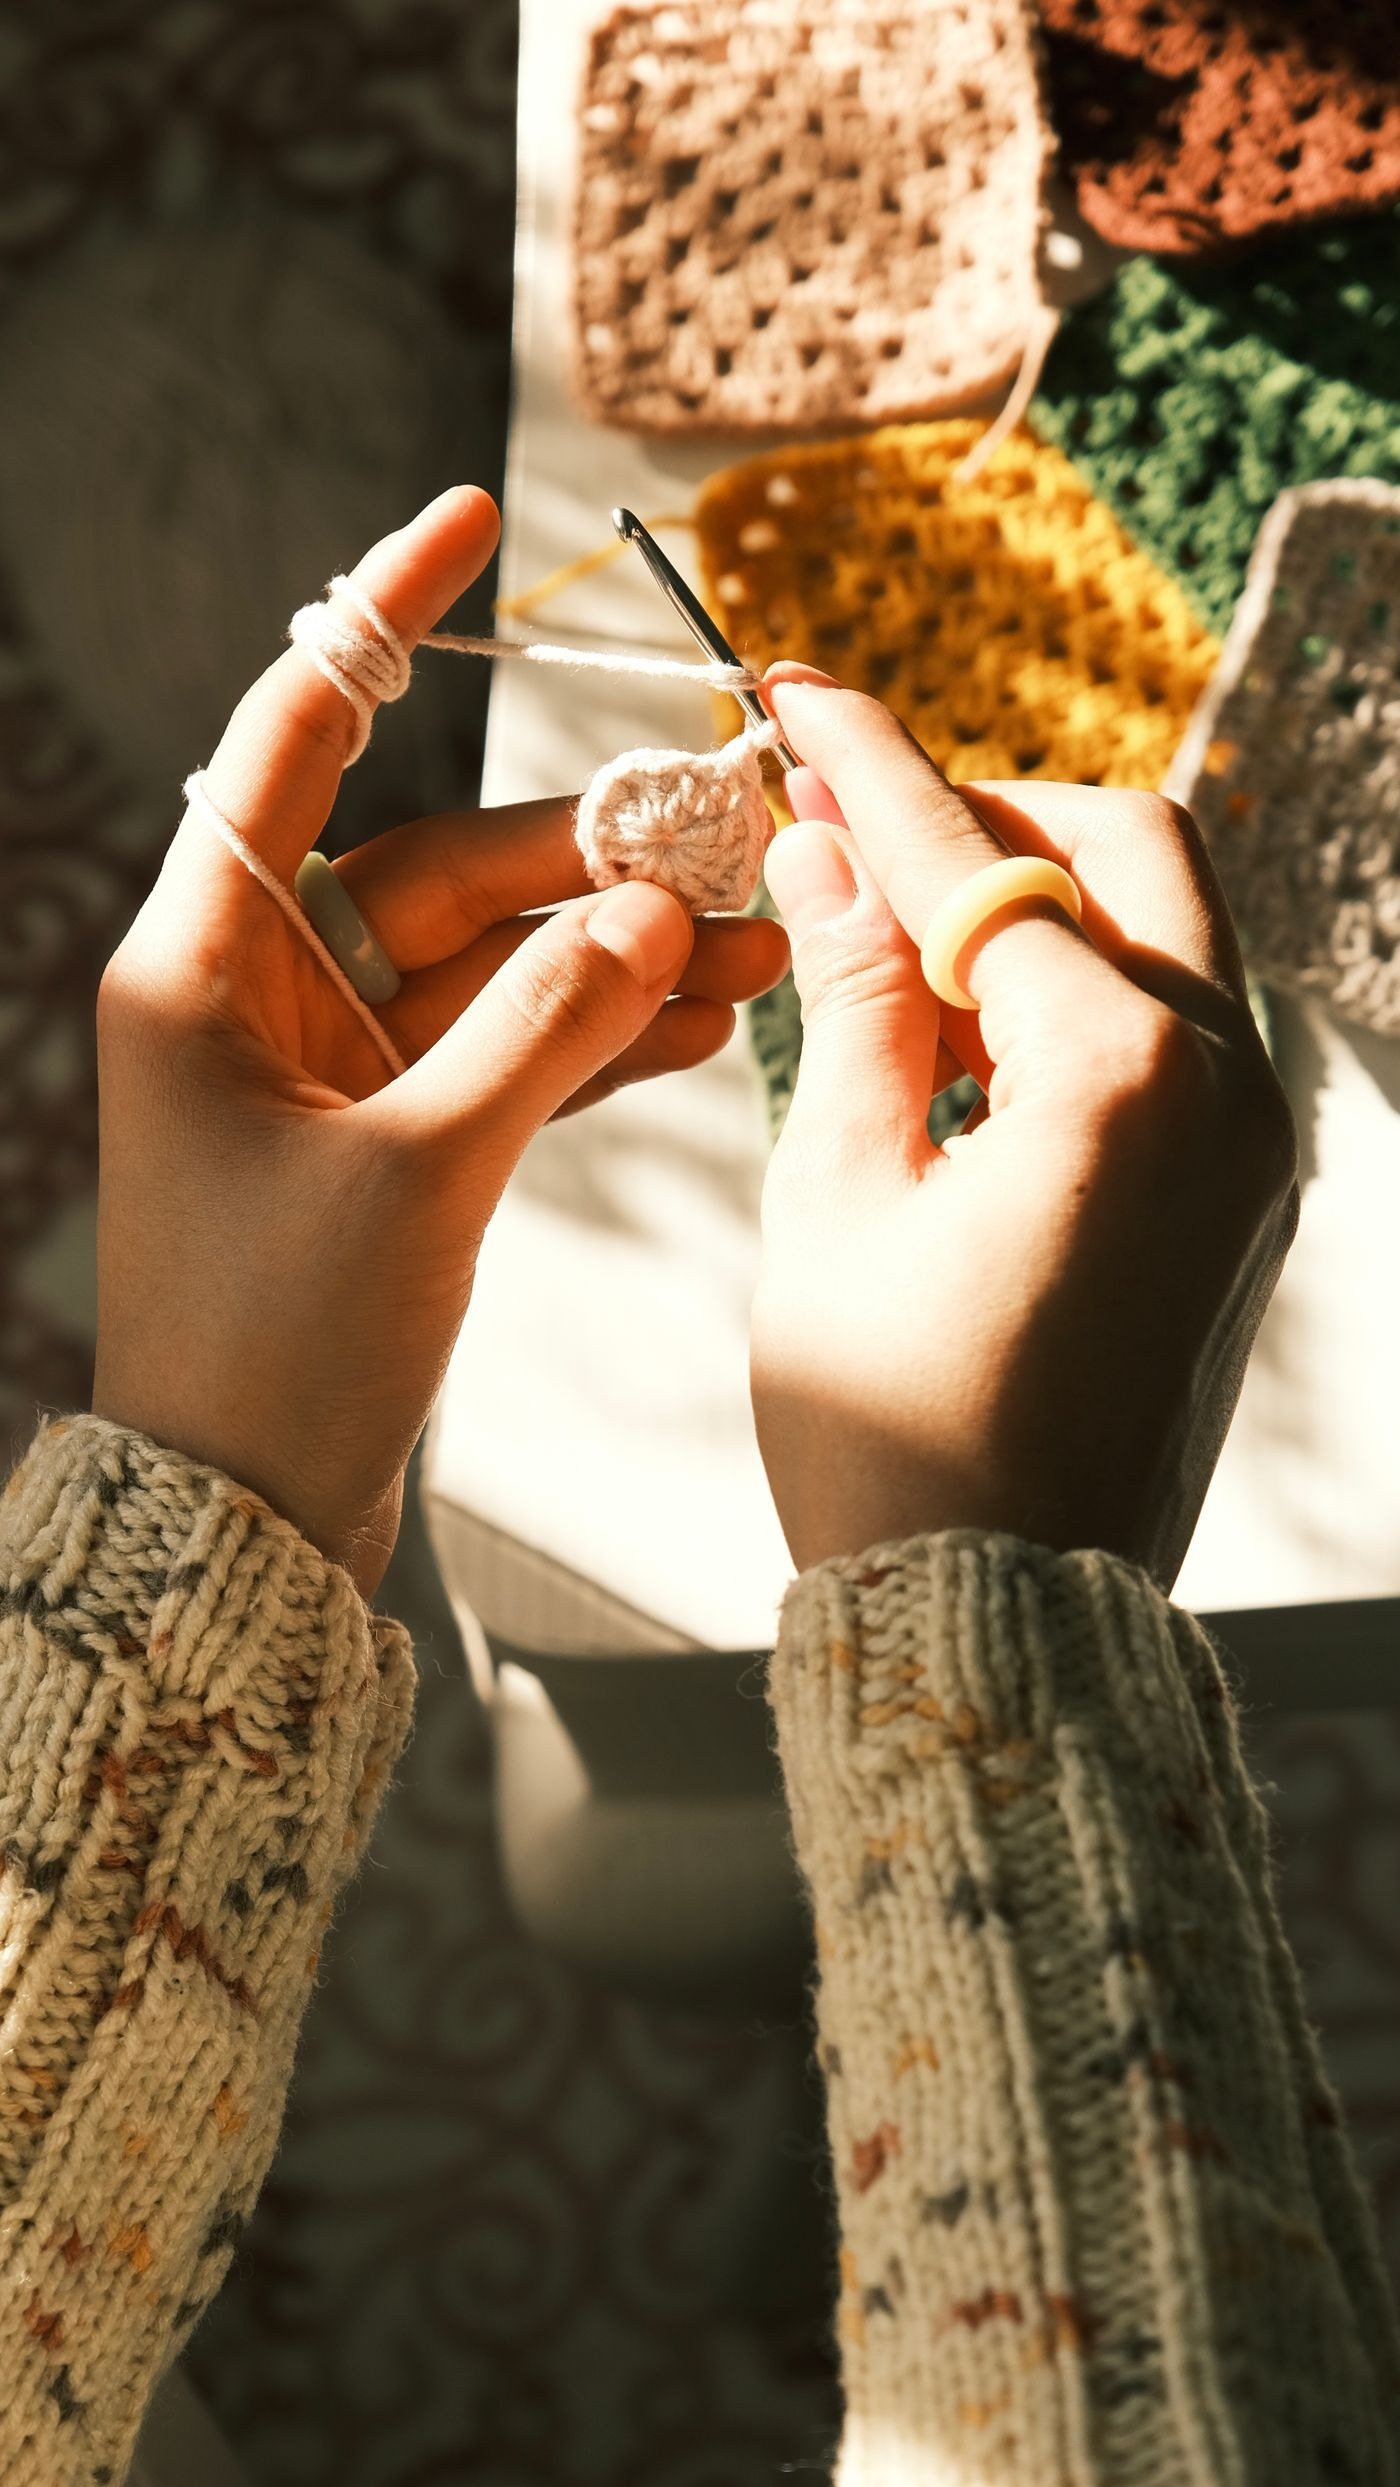
– 100% cotton worsted weight (#4) yarn, about 100 to 120 yards in your main color, plus a small amount of a contrast color for the hanging loop if you like – 5.0mm crochet hook – Yarn needle, for weaving in ends – Scissors – Tape measure
Quick abbreviation key before we start: ch (chain), sc (single crochet), hdc (half double crochet), sl st (slip stitch), and st (stitch). You will see all of these below.
Why This Potholder Is Double-Thickness
Real heat protection comes from thickness, not just from using cotton. This pattern builds that thickness two ways at once: a dense stitch pattern called the thermal (or waffle) stitch, which raises a stitch post out of the fabric every other stitch and traps a layer of air behind it, plus working the entire square with two strands of yarn held together the whole time. Between the doubled yarn and the dense thermal stitch, this square is thick enough straight off the hook to set a hot pan on safely. Do not substitute a single strand or a plain, single-layer sc square for this project – a thin single layer of crochet is not enough to protect your hands from real stovetop heat.
Gauge and Finished Size
Worked with two strands of worsted cotton held together on a 5.0mm hook, this pattern gives a finished potholder about 7 to 7.5 in square. Gauge is approximately 3 sts and 3 rows per inch over the thermal stitch pattern below. A little variance in gauge is fine for a potholder; just know that a tighter gauge gives you a slightly smaller, even denser square, and a looser gauge gives a slightly larger one.
The Thermal (Waffle) Stitch Square
Hold two strands of your main color cotton together as one throughout, treating them as a single working yarn.
Foundation: Chain 23.
Row 1: Sc in the 2nd ch from the hook and in each ch across. Turn. (22 sts)
Row 2: Ch 1. *Fpdc around next st (yarn over, insert your hook from front to back to front again around the post of the stitch below, not into the top of it, then yarn over and pull up a loop, yarn over and pull through 2 loops on the hook, yarn over and pull through the last 2 loops), sc in next st through both loops as usual* repeat across (11 times total). Turn. (22 sts)
Row 3: Ch 1. *Sc in next st through both loops (the one worked as fpdc last row – just sc into the top of it as normal), fpdc around next st* repeat across (11 times total). Turn. (22 sts)
Repeat Rows 2 and 3, always alternating which stitch of each pair gets the fpdc treatment, until your square measures about 7 to 7.5 in from the foundation chain (roughly 20 to 22 rows total). This alternating pattern is what creates the bumpy, waffle-like thermal texture – each fpdc pushes a raised post to the front of the fabric, and because it lands on a different stitch every row, the whole square fills with little raised bumps that trap air and add real thickness.
Do not fasten off yet; you will work the border directly onto this last row.
The Border and Hanging Loop
Round 1: Ch 1 (does not count as a st), sc evenly around all four sides of the square, working 3 sc into each of the four corners to keep the corners from puckering inward. Along the row-end edges (the two sides that are not the foundation chain or the last row), work about 1 sc for every row-end, adjusting up or down slightly so the edge lies flat rather than rippling or pulling in. Join with a sl st to the first sc of the round.
Round 2: Ch 1, sc in each st around, still working 3 sc in each corner stitch from Round 1 to keep the corners square. Join with a sl st to the first sc. At the end of this round, before fastening off, chain 12 for the hanging loop, then sl st into the 2nd ch from the hook and into each ch back across to close the loop into a firm cord, then sl st into the same corner stitch you started the loop from to anchor it. Fasten off, leaving a 6 in tail.
Finishing
Weave in all loose ends with your yarn needle, including the tails from your starting chain and from doubling up your two strands at the very beginning. Give the potholder a gentle press with your hands to help the thermal texture settle evenly across the whole square. Your potholder is ready to use.
Variations to Try
Two colors, one potholder. Switch your main color at the start of any row for a striped thermal square – just carry or weave in the extra ends as you go.
A rounder shape. If you would rather have a circular hot pad, work the same doubled-strand, dense-stitch approach into an increasing circle in the round instead of a flat square; just keep the two-strand, dense-stitch logic the same so the thickness stays protective.
Two squares held together. As an alternative double-thickness method, you can crochet two separate single-strand squares in plain hdc and then hold them wrong-sides-together, working your border round through both layers at once as if they were one piece. This uses less doubled yarn but takes two full squares’ worth of stitching.
Tips for Success
Never skip the two-strand hold. It is the single biggest factor in how protective this potholder actually is, so resist the temptation to save yarn by working with just one strand.
Watch your corners. The 3-sc-per-corner instruction in the border keeps the square shape crisp; skip it and the corners will pull inward into a rounded, less finished-looking edge.
Test before you trust it. Before using any new potholder on a genuinely hot pan, do a quick test with a warm (not scorching) pan first to get a feel for how much heat you can comfortably hold through it.
Keep tension consistent. Since the fpdc stitches sit at a different depth than the sc stitches around them, working at an even tension throughout keeps your waffle texture looking uniform rather than lopsided.
The Payoff
A stack of these on your counter looks like something from a farmhouse kitchen shop, except you made it yourself in an evening with yarn you already trust in your own home. Once you have the thermal stitch rhythm down, a second, third, and fourth potholder go even faster, and a matching set makes one of the easiest handmade gifts you will ever put together.
Frequently asked questions
Is a cotton-acrylic blend yarn ever okay for a potholder?
No — even a small percentage of synthetic fiber can scorch or melt against real stovetop heat, so stick to yarn labeled 100% cotton for anything that will touch a hot pan or dish.
Could I use a single strand of bulky yarn instead of doubling two strands of worsted?
You could try, but a single strand won’t trap air the same way two held-together strands do, and that trapped air is a big part of what makes this potholder heat-safe. If you skip the doubling, test the result with a warm, not scorching, pan before trusting it with something hotter.
How do I know if I’m doing the front post double crochet correctly?
You should feel your hook going around the vertical post of the stitch below rather than into the top of it, and the finished stitch should sit raised in front of the row instead of level with it. If your rows are staying flat with no bumps, you’re likely working into the top of the stitch instead of around its post.
Why does my square come out slightly trapezoid-shaped instead of a true square?
That usually comes from turning chain height or tension drifting row to row. Count your 22 stitches at the end of every row, since a stitch count that slowly grows or shrinks is what turns a square into a trapezoid over the length of the piece.
Can I machine wash and dry this potholder?
Yes, cotton potholders hold up well in the washing machine. Air drying, or a low tumble setting, keeps the thermal texture thicker and more protective than drying on high heat.
— NoraEvery pattern hand-tested