Cute Crochet Frog Pattern (Free Beginner Amigurumi)
Few amigurumi shapes are as instantly loveable as a round little frog with two bright eyes on top of its head, and the good news is that this one is…

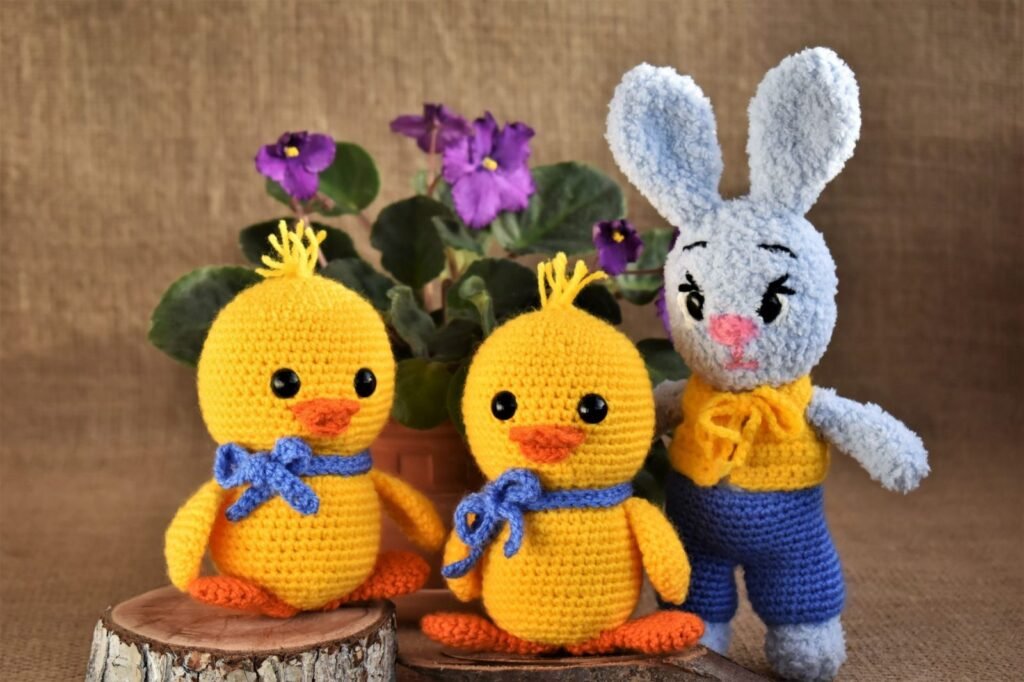
Few amigurumi shapes are as instantly loveable as a round little frog with two bright eyes on top of its head, and the good news is that this one is built from a single round body with almost no separate pieces to keep track of. You will crochet one plump ball for the head and body together, add two small eye bumps, and finish with a stitched-on smile. It is a lovely project for a first amigurumi animal, since the whole shape grows and shrinks using just two simple techniques repeated in a steady rhythm. Pick up a skein of green cotton or worsted yarn and let’s bring a little frog to life.
Jump to section
Materials
– Worsted weight or cotton yarn (yarn weight #4) in green – about 20-25 yards for the body – A small amount of white or light yarn for the eye bumps, plus black for the pupils – a few yards of each – 4.0mm crochet hook – Polyester fiberfill stuffing – Stitch marker – Yarn needle – Scissors – Black or dark yarn or embroidery floss for the mouth
Abbreviations used in this pattern: MR (magic ring, an adjustable loop your first round of stitches works into), sc (single crochet), inc (increase – 2 sc worked into the same stitch), dec (decrease – 2 stitches worked together as one, using the invisible decrease below), st/sts (stitch/stitches), and rnd (round).
As with all amigurumi, this frog is worked in one continuous spiral of sc rather than in separate joined circles, so there is no slip stitch marking the end of a round – just a steady spiral upward. Keep your stitch marker sitting in the first stitch of every round and move it up each time you finish one, so you always know exactly where the round began. It is also worth going down a hook size from what your yarn label recommends; for worsted weight (#4) yarn, a 4.0mm hook (rather than a 5.0mm or 5.5mm) keeps your stitches snug enough that no white stuffing shows through the finished green fabric.
For the invisible decrease: insert your hook into the front loop only of the next stitch, then the front loop only of the following stitch, so you have 3 loops on the hook, yarn over, and pull through all 3 at once.
The Head and Body
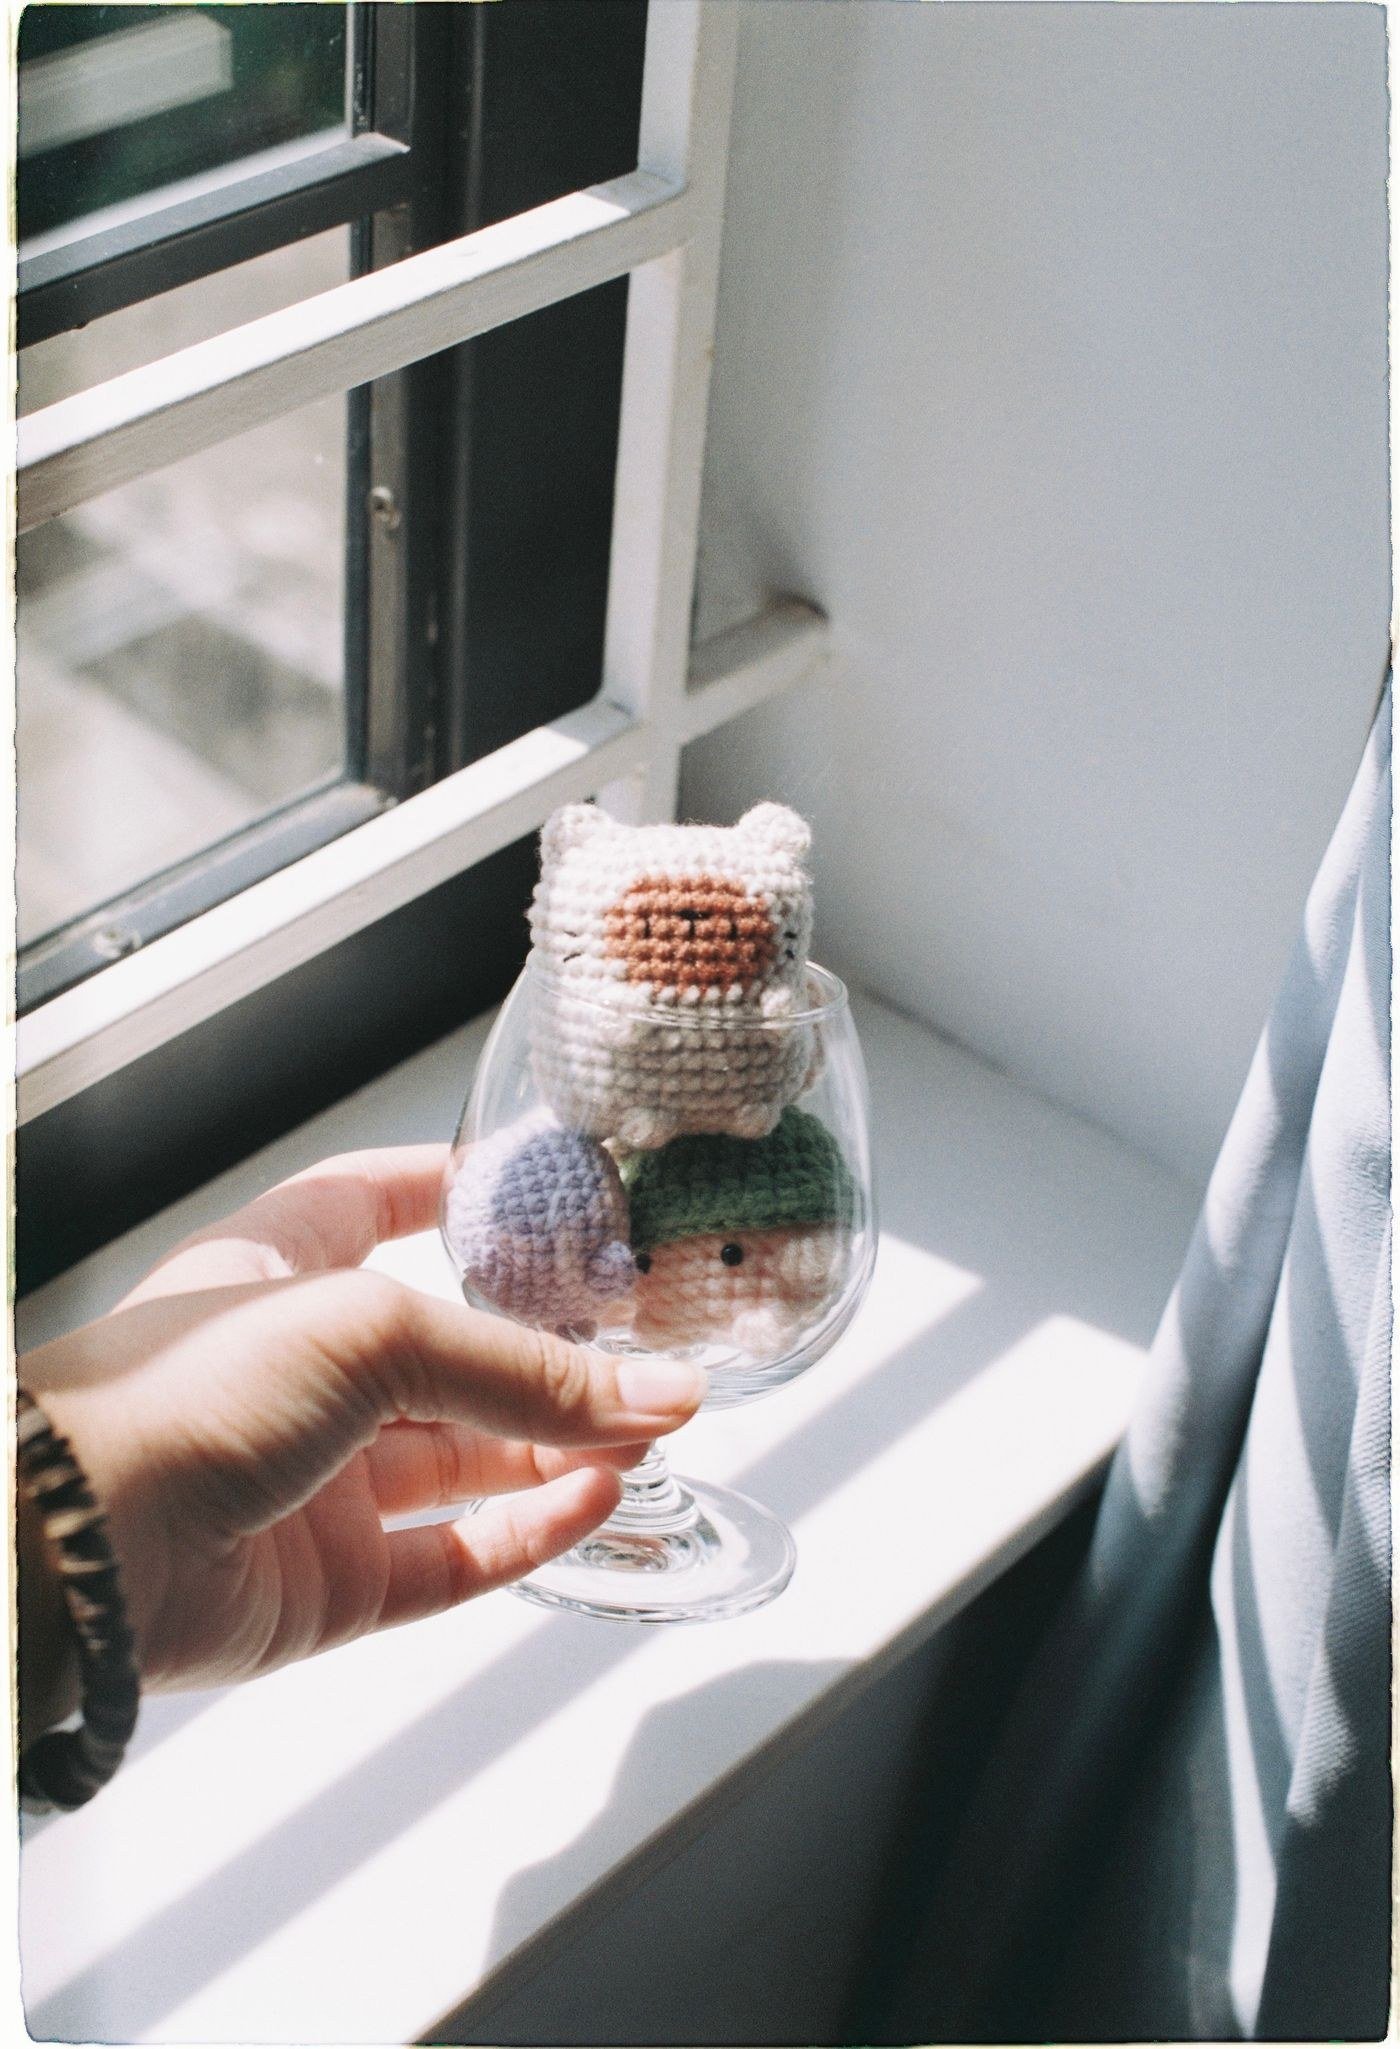
Work this single piece in green, in a continuous spiral.
– Rnd 1: MR, 6 sc into the ring. (6 sts) – Rnd 2: Inc in each st around. (12 sts) – Rnd 3: *Sc 1, inc* repeat around. (18 sts) – Rnd 4: *Sc 2, inc* repeat around. (24 sts) – Rnds 5-8: Sc in each st around, no increases (4 even rounds). (24 sts) – Rnd 9: *Sc 2, dec* repeat around. (18 sts) – Rnd 10: *Sc 1, dec* repeat around. (12 sts)
Stuff the piece firmly now, before the opening narrows any further, pushing stuffing evenly toward the sides so the shape rounds out rather than staying egg shaped.
– Rnd 11: Dec in each st around. (6 sts)
Fasten off, leaving a long tail, and cinch the last 6 stitches closed by weaving the tail through their front loops and pulling snug. Weave in the end.
The Eye Bumps (make 2)
Work these small pieces in white or a light color.
– Rnd 1: MR, 6 sc into the ring. (6 sts) – Rnd 2: Inc in each st around. (12 sts) – Rnds 3-4: Sc in each st around, no increases (2 even rounds). (12 sts) – Rnd 5: Dec in each st around. (6 sts)
Fasten off, leaving a long tail for sewing. Stuff each bump lightly (just enough to hold a soft dome shape) and cinch the last 6 stitches closed.
Assembly
Position the two eye bumps side by side on the top of the frog’s head, close together near the front, and sew each one in place through its base using the leftover tail. Thread a needle with black yarn and add a small dot or a tiny embroidered circle onto the front of each white bump for the pupils, positioned toward the front so the frog looks like it is gazing forward.
For the mouth, thread black or dark yarn onto your needle and embroider a wide, gently curved smile across the lower front of the head, using backstitch or a few overlapping straight stitches to keep the line smooth.
If you would like simple legs, they are an easy optional addition. For back legs, chain 6, sc in the 2nd chain from the hook and in each chain across (5 sc), fasten off leaving a tail, and sew each one to the lower back sides of the body, folding it slightly at the middle so it sits bent like a sitting frog’s leg. For front legs, chain 4, sc in the 2nd chain from the hook and in each chain across (3 sc), fasten off leaving a tail, and sew each small leg to the lower front sides of the body.
Tips for a Happy Little Frog
– Check your count at Rnd 4. This is the widest point of the body, and confirming you have exactly 24 stitches here makes every later decrease round come out even. – Keep the eye bumps close together. Frogs read as much cuter when their eyes sit near the center front of the head rather than spread wide apart. – Understuff the eye bumps. A softer, lighter fill on the bumps keeps them looking like gentle domes instead of tight little balls. – Let the legs be optional. The frog looks complete and charming with just the body, eyes, and smile, so only add legs if you are in the mood for a little extra detail.
The Payoff
With one round body, two tiny bumps, and a stitched-on smile, you have turned a single ball of green yarn into a frog with more personality than you might expect from such a simple shape. It is proof that amigurumi does not need a long ingredient list to be genuinely charming – just a steady spiral, a couple of increases and decreases, and a little patience. Set your finished frog on a windowsill or a shelf, and enjoy having made something this cute from scratch.
Frequently asked questions
Why is my frog coming out oval instead of round?
That usually means the stuffing was packed unevenly. Push fiberfill toward the sides as you stuff, especially right before closing Rnd 11, so the shape rounds out instead of staying egg-shaped.
Can I use a different yarn weight for a smaller or bigger frog?
Yes. Dropping to a DK weight with a 3.5mm hook gives you a pocket-sized frog, while bulky yarn and a larger hook scales it up, though your yardage and finished size will shift with it.
Does the frog need legs to stand or sit upright?
The frog sits fine as a rounded blob without legs since it doesn’t rely on them for balance. The optional back legs bent at the middle just help it read as sitting, while the front legs are purely decorative.
How do I keep the two eye bumps symmetrical when sewing them on?
Position them close together and level before stitching, checking from a couple of angles as you go. The face reads much cuter with the eyes centered near the front than spread wide or set at uneven heights.
How can I give the frog a wider, more surprised-looking smile?
Widen the backstitch curve on the front of the head and lift the corners slightly higher up the sides, just keeping it below the eye bumps so it still reads as a mouth rather than crowding the face.
— NoraEvery pattern hand-tested