How to Add a Border to Crochet (Easy Edgings)
You have finally finished the body of your blanket, dishcloth, or scarf, and it looks good, but something is still missing. The edges feel a little…

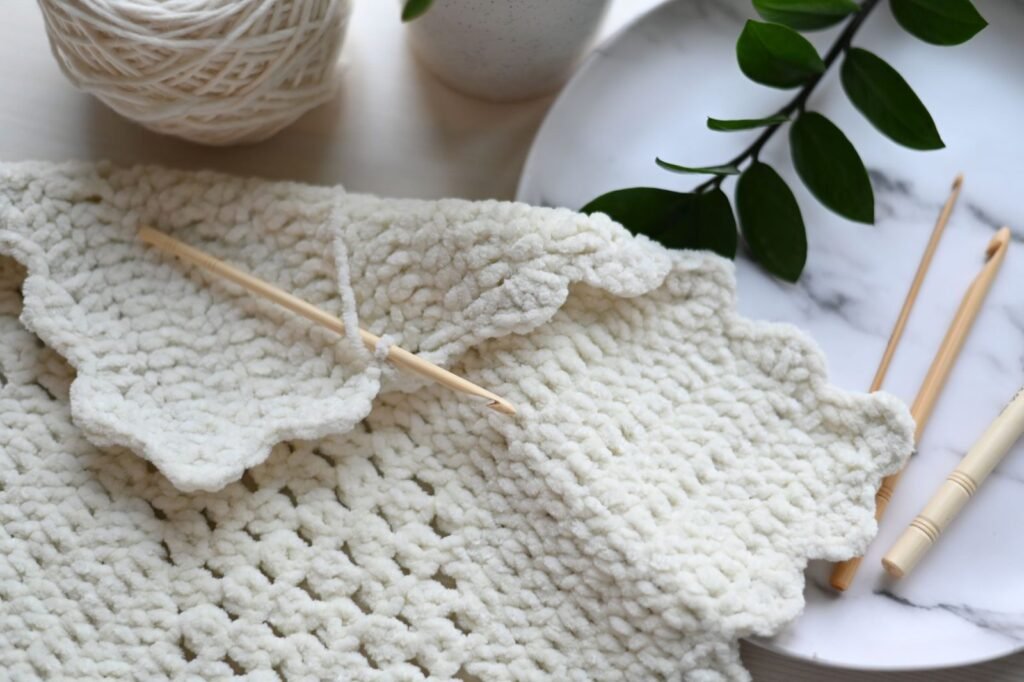
You have finally finished the body of your blanket, dishcloth, or scarf, and it looks good, but something is still missing. The edges feel a little rough, maybe a little uneven, maybe even a bit curly at the corners. That missing piece is a border. A border is the last small step that takes a project from “homemade” to genuinely finished, and the good news is that it does not have to be complicated. In this guide you will learn how to set up a clean, even foundation round around any project, then work three easy beginner borders right on top of it: a simple single crochet edge, a corded reverse single crochet (also called crab stitch), and a pretty picot edge. Grab your hook and let’s give your project the ending it deserves.
Jump to section
Why Every Project Deserves a Border
A border does more than look pretty, although it certainly does that too. It hides small tension differences along the outer rows, the kind every crocheter has no matter how long they have been at it. It also adds structure to edges that want to curl, which is a very common issue with plain single crochet fabric. And it gives you one more chance to bring in a contrast color that ties the whole piece together. Even a single, simple round around the outside can make a project look like it came from a pattern book instead of a first attempt.
Before we get into specific borders, let’s cover the part that trips up most beginners: getting an even round of stitches to work into in the first place.
Setting Up an Even Foundation Round
Quick abbreviation key before we dive in: ch (chain), sc (single crochet), sl st (slip stitch), and st (stitch). You will see all of these below.
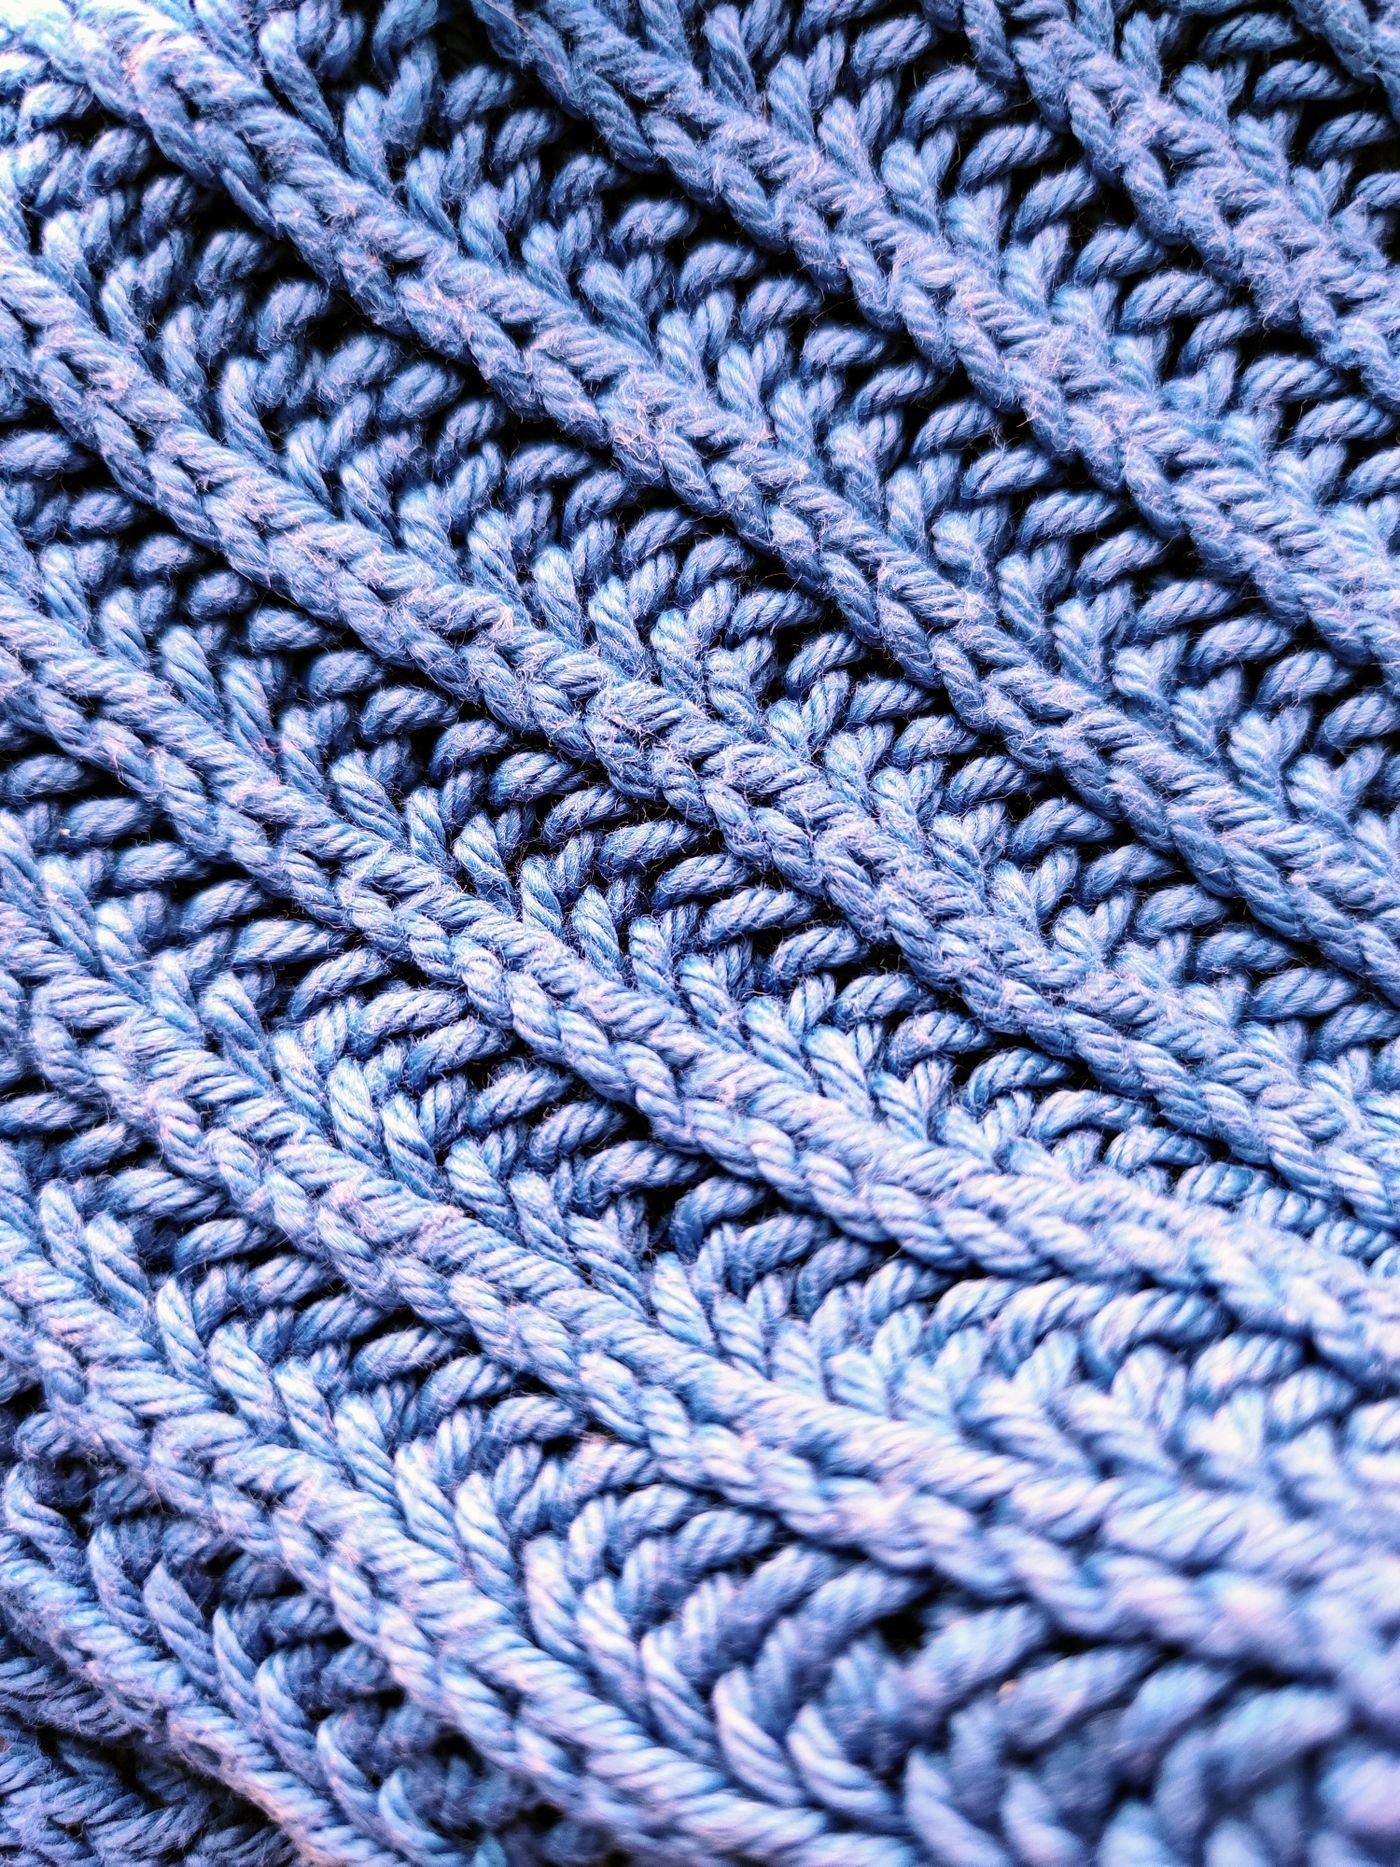
Most projects have two kinds of edges. The top and bottom edges are usually made up of full stitches you can see clearly, like the tops of a row of double crochet or the bottoms of your foundation chain. The side edges, though, are row-ends, meaning you are not looking at the tops of stitches at all, but at the sides of the rows themselves stacked on top of each other. This is where an even foundation round matters most.
Here is the simple version: along the top and bottom edges, work one sc in each stitch across. Along the row-end edges, work roughly two sc for every row of single crochet fabric, adjusting up or down slightly if your border starts to ruffle (too many stitches) or pull the edge in and cup (too few). If your project used taller stitches like double crochet, you may need three sc for every two rows instead. There is no single magic number that works for every yarn and gauge, so treat this as a starting point and adjust as you go, watching the fabric lie flat as your best guide.
The other detail that makes or breaks a foundation round is the corner. At each corner stitch, work two or three sc instead of just one. This gives the corner enough width to spread out and lie flat instead of curling inward, which is exactly what happens when a border is worked with only one stitch at a sharp corner.
Putting it together, your foundation round looks like this:
Join yarn with a sl st in any corner stitch. Ch 1 (this does not count as a stitch). Sc evenly around the entire project: one sc in each st along the top and bottom edges, about two sc per row along the row-end edges, and two to three sc in each corner stitch to turn the corner smoothly. Join with a sl st to the first sc to close the round.
Once this even round is in place, you have a clean, evenly spaced surface to work any of the three borders below directly into. If your project already has full, even stitches all the way around, like a granny square worked in rounds, you can often skip straight to your chosen border instead.
Border 1: A Simple Single Crochet Edge
This is the border every beginner should learn first, because it is both the easiest to work and the most useful. It is low-profile, tidy, and pairs well with literally any project.
Ch 1, then sc in each st around, working three sc in the same corner stitch at every corner so the border turns the corner instead of pulling it inward. Join with a sl st to the first sc to close the round. Fasten off here for a simple, clean edge, or work a second round the same way for a slightly thicker, more defined border.
Border 2: Reverse Single Crochet (Crab Stitch)
Reverse single crochet, often nicknamed crab stitch, is the same basic stitch as a regular sc, just worked in the opposite direction. Instead of moving right to left the way you normally would, you work left to right without turning your work. This small change twists the stitches slightly as they form, which creates a raised, corded, almost rope-like texture along the edge, and it is a favorite finishing round for exactly that reason.
To work it: without turning, insert your hook into the next stitch to the right of the one your hook is currently in, yarn over, pull up a loop, yarn over, and pull through both loops on the hook, the same motion as a regular sc, just worked backward. Repeat in each stitch around.
This feels a little strange the first few stitches, since your hands want to travel the direction they are used to. Stick with it for half a dozen stitches and it clicks. Crab stitch is almost always worked as the very last round, right on top of a plain sc round like Border 1 above, since it needs an even round of stitches underneath it and looks its best with some structure to sit on.
Border 3: A Picot Edge
A picot border trades sturdiness for a delicate, lacy look, and it is a lovely finishing touch for anything meant to feel a little special, like a gift or a baby project. A picot is just a tiny loop or bump formed by a short chain that closes back on itself.
Work it as: sc in the next st, ch 3, then sl st into the first of those 3 chains to close the little loop, skip the next st, and repeat around. That skipped stitch keeps the spacing even, since the picot itself takes up a bit more width than a plain stitch would. At corners, work a plain sc rather than a picot to keep the shape square and tidy.
Tips for Success
Watch the fabric, not just the stitch count. If your border starts to ruffle and wave, you have worked too many stitches along that edge. If it cups inward like a bowl, you need a few more. Trust what you see over any fixed formula.
Practice crab stitch on scrap yarn first. The backward motion is the one part of this guide that genuinely feels unfamiliar at first, so a few practice rows on leftover yarn will save you from unpicking your good project.
Keep your join invisible. Whichever border you choose, join with a sl st into the very first stitch of the round, then weave in that tail carefully so the start and end of your round blend together rather than standing out.
Try a swatch if you are unsure. A quick practice square, even a small leftover one, lets you test your row-end spacing and corner count before committing to your finished project.
The Payoff
Once you learn to see a raw edge and picture exactly which border will finish it, you will never look at a project’s edges as an afterthought again. A border is a small amount of extra work for an outsized amount of polish, and now you have three solid options in your back pocket: a simple sc edge for everyday projects, a corded crab stitch for texture, and a picot for anything that deserves a little extra prettiness. Pick whichever one your project is asking for, and enjoy watching it look finished at last.
Frequently asked questions
Do I need to block my project before adding a border?
Blocking beforehand can even out any minor tension differences and make the edge stitches easier to count accurately, which helps the border go on smoothly. It is not strictly required for a simple sc edge, but it is worth doing if your project has been curling or the edges look uneven.
Can I work the picot or crab stitch border directly onto my project without the plain sc foundation round first?
Both borders need a clean, evenly spaced round of stitches to work into, so skipping the foundation round usually means an uneven or gappy result, especially at corners. If your project already has even, full stitches all the way around, like a granny square worked in rounds, you can start there instead.
My border ruffles at just one corner but lies flat everywhere else. What’s happening?
That is almost always a corner that got one or two extra stitches worked into it compared to the others, since corners need a specific small increase to spread out and lie flat. Pull back to that corner, recount the stitches worked into it, and match it to your other corners.
How many rounds of border should a project actually have?
A single round is often enough for everyday items like dishcloths, while a second round of the same border adds a slightly thicker, more defined edge for something like a blanket. Crab stitch works best as a final, single round layered on top of a plain sc round rather than repeated on its own.
Should I weave in all my ends before starting the border, or can that wait?
It is easier to weave in loose ends from the body of the project before you begin the border, since a border round adds another layer of stitches that can trap a loose tail awkwardly if it is left dangling. Save only the border’s own starting and ending tails for after you finish the edging.
— NoraEvery pattern hand-tested