How to Crochet in the Round (Joined vs. Spiral)
Plenty of crochet is worked flat, back and forth in straight rows, but hats, amigurumi toys, baskets, and doilies all grow outward from a small center…


Plenty of crochet is worked flat, back and forth in straight rows, but hats, amigurumi toys, baskets, and doilies all grow outward from a small center point instead. That is crochet in the round, and it is worked in one of two distinct ways, joined rounds or a continuous spiral, that look similar at a glance but behave quite differently on your hook. Knowing both methods, and knowing which one a project actually needs, will save you from a lot of confused stitch counts later on.
Jump to section
What You’ll Need
– Worsted (#4) weight yarn and a hook sized to match, or whatever your project calls for – A stitch marker (a locking stitch marker, a safety pin, or even a small loop of contrast-color scrap yarn all work) – Scissors and a yarn needle for weaving in ends
Quick abbreviation key before we start: ch (chain), sc (single crochet), sl st (slip stitch), st (stitch), and rnd (round). You will see all of these below.
Starting Your Round
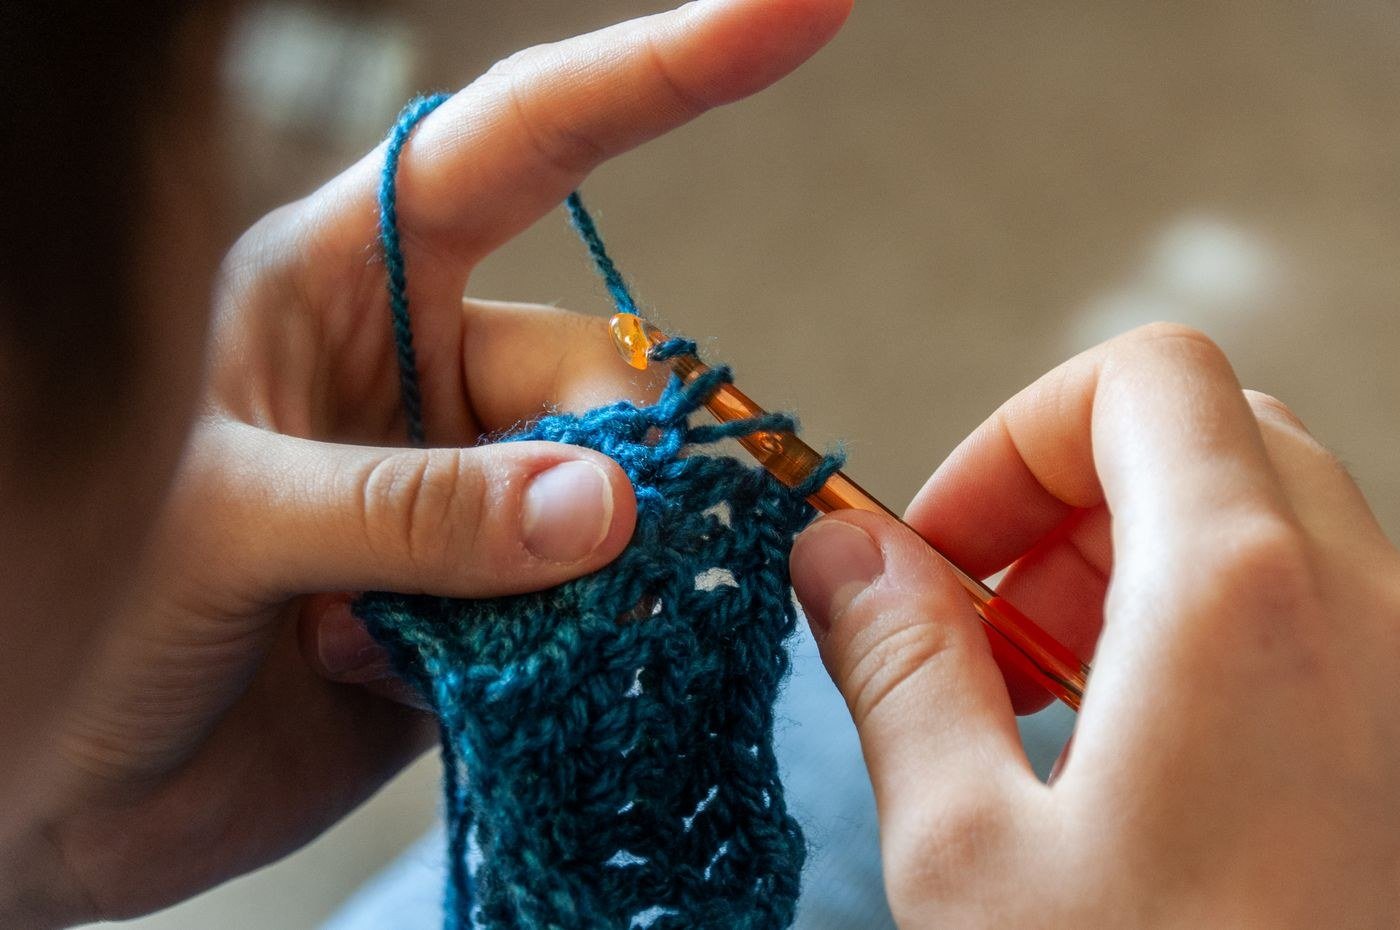
Almost every project worked in the round begins the same way, with a small closed circle to crochet into. This can be a short chain joined into a ring with a sl st (for example, ch 4, then sl st into the first ch to close the circle), or a magic ring, which is an adjustable loop you can cinch closed after working your first round of stitches into it. Either starting method works with both techniques below, so the real fork in the road comes at the end of your very first round, not the beginning.
Method 1: Joined Rounds
With joined rounds, every round is a clearly closed loop. When you reach the last st of a round, you join it back to the very first st of that same round with a sl st, closing the circle. From there, you chain up before starting the next round, chaining the height needed for whatever stitch comes next (for example, ch 1 before a round of sc, or ch 3 before a round of dc), and that chain also stands in as your first st of the new round.
This join-and-chain-up pattern repeats at the end of every single round, which does two things. First, it gives you a clear, countable stopping point at the end of each round, so you always know exactly how many rounds you have finished. Second, it leaves a small diagonal seam line running up through your fabric, right where each join happens.
That seam is not a flaw. It is actually necessary for flat, closed shapes like a granny square or a round doily, where a distinct joining point lets each round line up its corners or pattern repeats exactly on top of the round before it. Joined rounds are also common in hats that are written with a defined brim or turning point, or in any pattern where you need a completely reliable, countable round to switch stitch patterns or colors cleanly.
Method 2: Continuous Spiral
A continuous spiral skips the join and the chain-up entirely. Once you finish the last st of a round, you simply continue directly into the first st of the next round, with no sl st and no chain in between. Because there is no join, there is no seam, and the rounds blend into one smooth, unbroken spiral rather than stacking as separate, level circles.
The tradeoff is that without a join marking the end of a round, it becomes very easy to lose track of exactly where one round ends and the next begins, especially once you are several rounds deep. That is where a stitch marker becomes essential rather than optional: place it in the first st of your very first round, and every time you complete a full round, move that marker up into the first st of the new round before you keep going. As long as you keep moving the marker forward one round at a time, you will always be able to count your rounds accurately and know exactly where any increases or decreases need to happen.
Continuous spiral is the standard method for amigurumi, since a stuffed toy needs a smooth, seamless surface with no bulky join poking through the fabric or catching on the stuffing. It is also a very common choice for hats, particularly the crown and body, where a seamless fabric sits more comfortably and looks cleaner from the outside.
Keeping Your Place
Whichever method you use, a stitch marker is your best friend the moment a project gets more than a few rounds deep. With joined rounds, a marker is optional since the join itself tells you where each round ends, though many makers still like one on their very first st as a backup. With a continuous spiral, a marker is not optional. Get in the habit of moving it the moment you finish a round, before you start the next stitch, so you never have to guess later whether you already moved it or not.
Right Side vs. Wrong Side
With joined rounds, you typically work every round from the same side, the right side, facing you, unless a pattern specifically tells you to turn your work for a particular texture effect. The right side is simply whichever side is meant to show in the finished piece, and it is usually the side facing you as you complete each round. With a continuous spiral, you are always working from the right side as well, since there is no turning involved at all. If you ever lose track of which side is which, look for your tail from the starting ring or your stitch marker, both of which sit on the right side by default in most patterns.
Which Method Should You Use?
Use joined rounds whenever a pattern calls for a flat motif with defined corners, like a granny square, whenever you need an exact, countable round to change stitch patterns or colors, or whenever the pattern itself simply tells you to join and chain up. Use a continuous spiral whenever a pattern calls for amigurumi, or for a seamless hat, basket, or any rounded shape where an invisible finish matters more than a precisely countable round. When in doubt, follow whatever the pattern specifies, since the choice is usually built into the shape and purpose of the finished project rather than being a matter of personal preference.
Beginner Tips
Move your marker immediately. The single most common mistake in continuous spiral work is finishing a round, getting distracted, and forgetting to move the marker before starting the next round. Make it the very first thing you do after completing a round, every time.
Count your stitches at the end of every round. In both methods, a quick stitch count catches an accidentally skipped or doubled stitch while it is still an easy fix, rather than several rounds later when the whole shape has started to look wrong.
Practice both on a simple circle. Before starting a real project, try working a small flat circle both ways, once with joins and chains, once as a spiral, so you can feel the difference in your hands and see the seam versus the seamless finish side by side.
The Payoff
Once you have worked both a joined round and a continuous spiral, crochet in the round stops feeling like two competing techniques and starts feeling like two tools you get to choose between on purpose. Reach for joined rounds when a project needs clean, countable stops or a flat motif with real corners, and reach for a continuous spiral when a smooth, seamless finish matters more, and you will find that hats, amigurumi, and granny squares all start coming together with a lot more confidence and a lot less guesswork.
Frequently asked questions
How many stitches should I increase each round to keep a circle flat?
A common starting point for single crochet circles is adding about 6 stitches per round, spaced evenly, though the exact number can shift slightly with your yarn and hook. Watch the fabric as you go: if it starts to cup, add a stitch or two next round, and if it ruffles, ease off the increases.
Is a magic ring better than a chain ring, or does it matter which I use?
Both give you a closed circle to work into, but a magic ring cinches shut afterward so there is no small hole at the very center, which chain rings can sometimes leave. Chain rings are simpler for a beginner’s first few tries, so it is fine to start there and pick up the magic ring once the rest of the technique feels comfortable.
Can I switch between joined rounds and a continuous spiral partway through a project?
It is possible but it will show, since the switch creates an irregular seam or an odd jog exactly where the two methods meet. It is best to decide which method a project needs before you start, or only switch at a natural break like the start of a new section, such as a hat brim.
Why does my spiral seem to lean or twist to one side after a lot of rounds?
Because a spiral never has a hard reset at the top of a round, small extra bits of ease in your stitches can accumulate into a gentle lean over many rounds, which is normal and usually invisible once the piece is finished or stuffed. If it bothers you, blocking the finished piece typically evens it out.
Is a locking stitch marker actually better than a loop of scrap yarn for marking rounds?
A locking marker stays clipped in place through handling and won’t fall out if your work gets tugged, while a scrap-yarn loop can work in a pinch but is easier to accidentally pull loose. Either is fine for most projects, so use whichever you have on hand and just be consistent about moving it every round.
— NoraEvery pattern hand-tested