Easy Crochet Cardigan Pattern for Beginners
If the word "cardigan" makes you picture a pattern full of shaping, short rows, and set-in sleeves, take a breath - this one skips all of that. This…

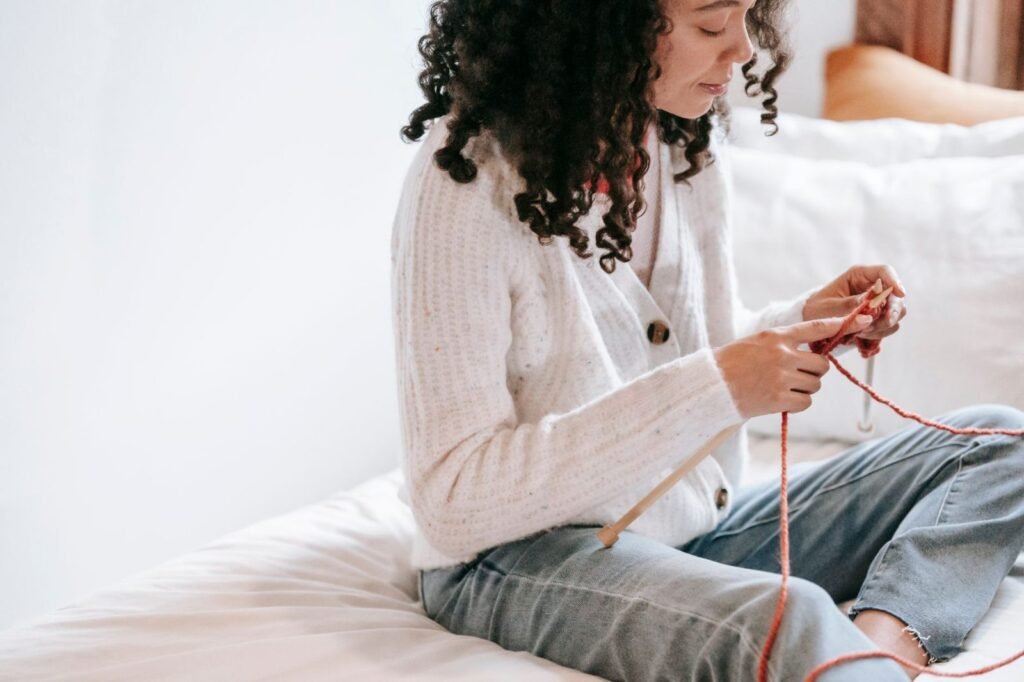
If the word “cardigan” makes you picture a pattern full of shaping, short rows, and set-in sleeves, take a breath – this one skips all of that. This beginner cardigan is built from one giant rectangle (or two matching panels, if that feels easier to manage in your lap), worked in one simple stitch from start to finish. No increases, no decreases, no counting armhole curves. You fold it, you seam two short sections, and you have a cozy, open-front cardigan with drapey dolman sleeves. The whole shape comes from smart folding and a bit of yarn-needle work, not fancy stitchwork, which makes this the perfect “first sweater” project. Grab a comfy hook and a big skein, and let’s build your cardigan one straight row at a time.
Jump to section
Materials
– Worsted weight (#4) yarn, about 800 to 1,400 yards depending on size (roughly 4 to 7 skeins of a standard 190-yard skein) – 5.5mm (US I/9) crochet hook – Yarn needle, for seaming and weaving in ends – Stitch markers – Scissors and a tape measure
Abbreviation key: ch (chain), hdc (half double crochet), sl st (slip stitch), st (stitch). You’ll see all of these below.
Gauge and Sizing

Work a quick swatch before you commit to a size: chain 14, work hdc across (row 1: hdc in 3rd ch from hook and in each ch across), then work a few more rows the same way. This pattern is written for a gauge of 12 hdc and 8 rows = 4 in (10 cm), which is a fairly relaxed tension – the fabric should have a soft, drapey hand, not a stiff one. If your swatch is smaller than that, move up a hook size; if it’s bigger, move down.
This is designed as a relaxed, oversized cardigan with dolman-style, three-quarter-length sleeves (no separate sleeve pieces – the sleeves are simply the outer ends of the same rectangle). Use the chart below as your starting point, and always double check by laying your growing rectangle flat and measuring it directly.
| Size | Best fit (bust) | Finished width (cuff to cuff) | Finished length (shoulder to hem) | Foundation chain | Total rows | Sleeve seam | |—|—|—|—|—|—|—| | S/M | 32-42 in | 48 in | 26 in | 146 | 104 | 15 in | | L/XL | 44-54 in | 52 in | 28 in | 158 | 112 | 16 in | | 2X/3X | 56-66 in | 56 in | 30 in | 170 | 120 | 17 in |
If your gauge is different from the chart, don’t worry – just use the formula instead: chain = desired width (in) x your stitches-per-inch, plus 2, and work rows until your rectangle measures 2 x your desired length before you fasten off.
The Pattern (One Big Rectangle)
Foundation row: Chain the number given for your size (or your own calculated chain). Hdc in the 3rd ch from hook and in each ch across. Turn. This gives you the stitch count shown below for your size (146-2=144, 158-2=156, or 170-2=168 hdc).
All following rows: Ch 2 (this does not count as a stitch), turn. Hdc in each st across, working your final hdc into the top of the turning ch-2 from the row below. Your stitch count should stay exactly the same every row – if it changes, recount before you continue.
Repeat this row until your piece measures 2 x the finished length for your size (104, 112, or 120 total rows from the chart, adjusted as needed for your own gauge). Fasten off, leaving a long tail of at least 18 in for seaming.
Prefer texture over a plain fabric? You can swap hdc for the granny stitch (clusters of 3 dc worked into chain-1 spaces, alternating each row) for the same rectangle shape – just be aware the granny stitch needs its own multiple-of-3 foundation chain and gives a slightly different gauge, so re-swatch first if you go this route.
Two-panel option: If one huge rectangle feels unwieldy, crochet two identical rectangles instead, each using the same stitch count but only half the total rows (52, 56, or 60 rows). You’ll seam them together at the top edge in the next step instead of folding – the math and the finished shape are identical either way.
Fold and Seam
This is the step where your flat rectangle becomes a cardigan, and it only takes two short seams.
1. Lay your rectangle flat and fold it in half widthwise, bringing the foundation-chain edge and the last row’s edge together. The fold now sits at the top – this is your shoulder line, and it runs the entire width of the piece. (If you made two panels instead, lay them right sides together and whip stitch across the whole top edge instead of folding – this replaces the fold and becomes your shoulder seam.) 2. Thread your yarn needle with your seaming tail. Starting exactly at the fold, whip stitch down one of the two side edges, working through both layers evenly, row for row, for the sleeve seam length given for your size (15, 16, or 17 in, or about 30-34 rows, depending on size). 3. Fasten off that seam and weave in the end. Stop there – do not seam any further down. 4. Repeat the same seam on the opposite side edge, starting at the fold and working down the same sleeve-seam length. 5. Leave everything below both sleeve seams completely open, all the way to the hem. That unseamed stretch on each side is exactly what forms your armholes up top and the open, draping cardigan front below them – there’s no button band or closure to make, this cardigan is designed to be worn open, like a wrap.
Want a slightly closer fit instead of the open drape? After the sleeve seam ends, leave a gap of about 9 in unseamed for the armhole itself, then resume whip stitching from that point down to the hem on both sides, closing the body’s side seams. This gives you a more fitted torso while keeping the exact same dolman sleeve shape up top.
Finishing
Weave in every yarn tail securely, running each one through a few stitches in different directions so it won’t work loose in the wash. If you’d like a tidier edge, work one round of hdc or sc around the entire outer perimeter of the cardigan (including the cuff openings), joining with a sl st to your first stitch of the round – this isn’t required, but it firms up the edges nicely and gives the cardigan a finished, boutique look. Weave in that final tail too, and give the whole piece a gentle steam block if your yarn allows it, laying it flat to dry so the rectangle shape settles evenly.
Tips for a Great First Cardigan
– Recount your stitches every few rows. Since there’s no shaping to hide a mistake, an accidental increase or decrease will show up as a wavy edge if you don’t catch it early. – Measure, don’t just count rows. Row gauge varies more than stitch gauge for most crocheters, so lay your work flat and check the actual length rather than trusting the row count alone. – Pin before you sew. Use stitch markers or safety pins to hold your sleeve seam in place before you whip stitch, so the edges can’t shift out of alignment while your hands are busy. – Go up a hook size if you want extra drape. This pattern is meant to be soft and relaxed rather than dense, so don’t be afraid of a slightly looser gauge than you’d use for a blanket.
The Payoff
There is something wonderfully freeing about a sweater pattern that never asks you to shape a single stitch – just straight rows, a fold, and two short seams standing between you and a cardigan you’ll reach for all season. Once you’ve made one, resizing it for a friend or a bigger cup of coffee weather is as simple as adjusting one chain length and one row count. Cast on, keep your rows even, and enjoy watching a plain rectangle turn into your new favorite layer.
Frequently asked questions
Can I make this cardigan in a different yarn weight than worsted?
Yes, but re-swatch first and use the width and length formulas instead of the size chart, since gauge shifts a lot with weight – a bulkier yarn needs a much smaller chain and fewer rows for the same finished measurements, and a lighter yarn the opposite.
Can I add a button band so it doesn’t stay open?
This pattern is built as an open, wrap-style cardigan with no button band, but you can add snaps or a single tie right where the fitted-variant side seam ends, since that’s the only spot where two finished edges meet close enough to fasten.
What’s the best way to join a new skein partway through a row?
Since there’s no shaping to hide a join, tie in new yarn at the start or end of a row rather than mid-row whenever you can, then weave both ends in along that same edge so they disappear into the seam allowance instead of showing on the flat fabric.
Does it matter which side edge becomes the sleeve versus the open front?
No – both side edges of the rectangle are identical, so either one can become a sleeve; just seam the same sleeve-seam length on both sides so the two sleeves come out symmetrical.
Can I use double crochet instead of half double crochet to work up faster?
You can, but dc rows are taller and more open, so you’ll need to re-swatch and adjust your row count to hit the same finished length rather than just substituting stitch for stitch.
— NoraEvery pattern hand-tested