Easy Crochet Cowl Pattern (Cozy Beginner Project)
A cowl is one of the kindest projects you can hand a brand-new crocheter: it's small enough to finish in an afternoon, forgiving enough that a slightly…

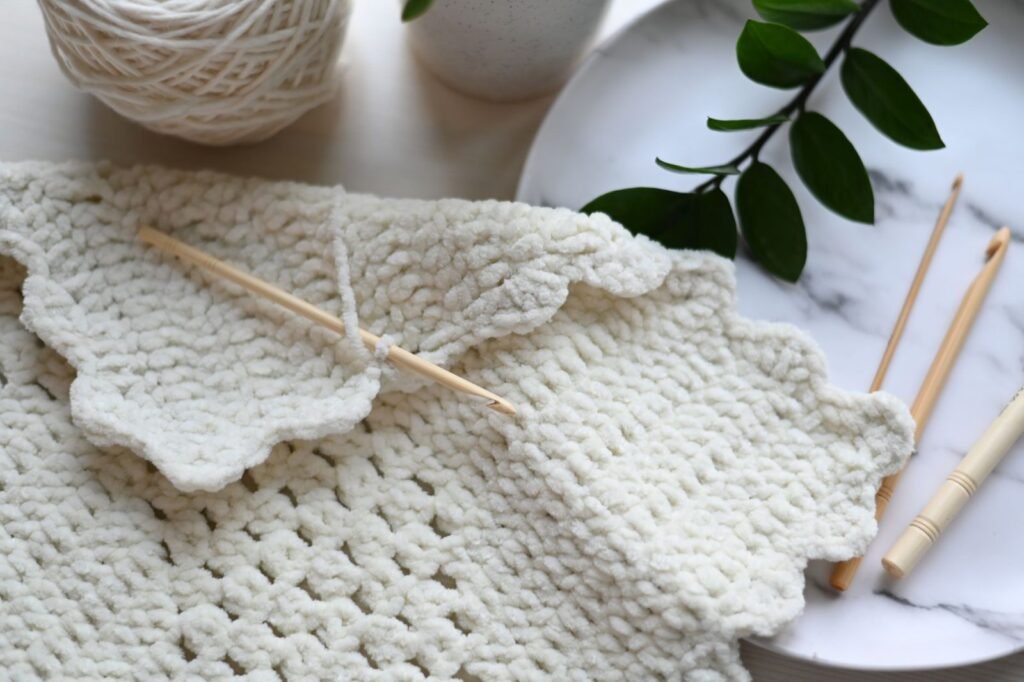
A cowl is one of the kindest projects you can hand a brand-new crocheter: it’s small enough to finish in an afternoon, forgiving enough that a slightly wobbly row barely shows once it’s looped around your neck, and useful the moment you tie off the last stitch. This version is worked flat, in one relaxed, one-row-repeat stitch, then seamed into a loop – no working in the round, no counting increases, just rows back and forth until your rectangle is long enough to wrap around comfortably. Chunky yarn and a big hook mean it grows fast, too. By the end of this pattern you’ll have a soft, textured cowl ready to keep you warm and looking a little more put-together than “I just grabbed a blanket.”
Jump to section
Materials
– Worsted (#4) or chunky (#5) weight yarn, about 200 to 280 yards (one to two skeins depending on weight and the size you choose) – 6.0mm (US J/10) crochet hook – Yarn needle, for seaming and weaving in ends – Scissors and a tape measure – Stitch marker (optional, to mark the center of your last row before seaming)
Abbreviation key: ch (chain), sc (single crochet), st (stitch). You’ll see both of these below.
Gauge and Sizing

This cowl is worked flat as a rectangle: the chain sets the height of the finished cowl, and the rows build up the circumference (how far it wraps around your neck). Before you start, swatch the stitch pattern below for a few inches so you know your own gauge – this pattern is written for 7 sts and 6 rows = 2 in (5 cm) in the textured stitch, which comes out to about 3.5 sts per inch and 3 rows per inch with chunky yarn on a 6.0mm hook.
| Size | Finished height | Foundation chain | Finished circumference (before seaming) | Approx. total rows | |—|—|—|—|—| | Cozy (shorter, double-wrap) | 8 in | 29 | 26 in | about 78 | | Slouchy (taller, single drape) | 10 in | 35 | 30 in | about 90 |
Both finished sizes land in the classic 26-30 in around, 8-10 in tall range that makes a cowl comfortable to pull over your head and let settle at the neckline. If your gauge runs different from the sample above, just keep working rows until your rectangle measures the circumference you want, checking with your tape measure rather than trusting the row count alone.
The Stitch Pattern (Moss Stitch)
This pattern uses a beginner-friendly, one-row-repeat texture often called the moss stitch (or linen stitch): little alternating sc stitches and open ch-1 spaces that shift by one stitch every row, giving you a soft, woven-looking fabric with plenty of drape.
Foundation chain: Chain 29 for the shorter cowl, or chain 35 for the taller one (both numbers already include the extra stitch this pattern needs to lie flat and even).
Row 1: Sc in the 2nd ch from hook. *Ch 1, skip next ch, sc in next ch.* Repeat from * across, ending with a sc in the last ch. Turn.
Row 2 (and every row after): Ch 1 (does not count as a st), turn. Sc in the first ch-1 space from the row below. *Ch 1, skip next sc, sc in next ch-1 space.* Repeat from * across, ending with a sc worked into the very last stitch (not a ch-1 space) of the row below. Turn.
Repeat row 2 for the pattern until your rectangle measures your target circumference (26 in for the cozy version, or 30 in for the slouchy version), always ending after a complete row 2 so both short ends of your rectangle look the same. This will take roughly 78 to 90 rows depending on your size and gauge – a good project for a movie marathon. Fasten off, leaving a tail of about 14 in for seaming.
Seaming Into a Loop
Once your rectangle is the right length, it’s time to close it into a cowl.
1. Lay your finished rectangle flat, right side up. The two short ends – the very first row you made (the foundation chain edge) and the very last row you made – are the two edges you’ll be joining. 2. Bring those two short ends together, matching them stitch for stitch and ch-1 space for ch-1 space along the entire height of the cowl. You can join with right sides together (so the seam sits on the inside, hidden) or right sides facing out (so the seam becomes a subtle visible ridge down one side) – either looks great in this stitch, so pick whichever you prefer. 3. Thread your yarn needle with the leftover tail and whip stitch the two short edges together, working evenly from one edge of the cowl to the other, matching each stitch and space to its partner as you go. 4. Fasten off and weave in this end, along with your starting tail, running each through several stitches so they stay secure through wear and washing.
You’ll now have a soft loop of fabric, textured all over, ready to drape around your neck.
Prefer no seam at all? You can work this same stitch in the round instead: chain your target circumference plus one, join into a ring with a slip stitch (being very careful not to twist the chain before joining), and work the moss stitch pattern in continuous rounds until the cowl reaches your target height. This skips the seaming step entirely, though it does mean working with a large, floppy loop of stitches in your lap from round one, which some beginners find trickier to manage than working flat.
Finishing
Weave in any remaining ends if you haven’t already, and give the cowl a light steam or a gentle wet block if your yarn allows it – laying it flat lets the moss stitch relax into its full, airy texture. If you want a firmer edge along the top and bottom of the cowl (rather than the natural row-end edge), you can work one round of sc evenly around both open edges of the loop, though most crocheters find the moss stitch edge is tidy enough to skip this step entirely.
Tips for Cowl Success
– Count your ch-1 spaces, not just your stitches. In this pattern, the ch-1 spaces are just as important to your stitch count as the sc stitches – losing track of one is the most common way beginners drift off pattern. – Keep your ch-1s snug but not tight. A too-loose ch-1 space leaves a floppy hole; a too-tight one puckers the row below it. Aim for a chain that lies flat against the fabric. – Double it up for extra warmth. The cozy 26 in size is long enough to wrap twice around your neck for a double-loop look, while the 30 in slouchy size is meant to drape once and hang loose. – This pattern is endlessly giftable. A single skein of chunky yarn and one evening of moss stitch rows makes a genuinely useful handmade gift, no sizing guesswork required since cowls are so forgiving.
The Payoff
There’s a particular kind of satisfaction in finishing a project in one sitting, and this cowl delivers exactly that: one simple repeat, one seam, and suddenly you have a soft, textured accessory that looks far more complicated than it actually was to make. Once this stitch pattern feels comfortable in your hands, you’ll find yourself reaching for it again and again, for scarves, blanket edges, and anything else that could use a little woven texture. Loop it on, and stay warm out there.
Frequently asked questions
Can I substitute plain single crochet for the moss stitch if I want something simpler?
Yes, straight rows of sc will still make a wearable cowl, but you’ll lose the airy, woven texture and drape the ch-1 spaces give, and plain sc comes out noticeably denser and warmer.
How do I keep the two short ends from looking mismatched when I seam them?
Always stop after a complete Row 2 repeat rather than partway through one, so both short edges have matching stitches and ch-1 spaces – seaming two edges that don’t match is the main cause of a crooked or puckered join.
Can I wear the slouchy size doubled instead of making the shorter version?
Not really – the shorter 26 in cozy size is sized specifically to wrap twice around the neck, while the 30 in slouchy size is meant to hang once and drape loose, so pick the size that matches how you want to wear it.
What causes the top and bottom edges to curl, and how do I fix it?
Moss stitch generally lies flat since it alternates stitches and spaces every row, but if your edges still curl, work one round of sc around both open edges to flatten them out.
How much yarn do I need if I want to add a stripe?
Plan on the same 200 to 280 yard total for your size, split across colors in proportion to how much height each stripe should cover, and change colors at the start of a row rather than mid-row for a clean transition.
— NoraEvery pattern hand-tested