Easy Crochet Mittens Pattern for Beginners
Mittens are one of those projects that look far more advanced than they actually are. Once you can work a basic stitch in the round and count to six, you…


Mittens are one of those projects that look far more advanced than they actually are. Once you can work a basic stitch in the round and count to six, you have everything you need to crochet a warm, well-fitted pair from a single skein. This pattern builds a ribbed cuff first, then works the hand up in one continuous piece, with a simple opening left for the thumb, so there is very little seaming and no confusing shaping charts to follow. You will get running stitch counts at every step and sizing for two adult sizes, so you always know exactly where you should be. Grab a warm skein and your hook, and let’s get your hands covered before the cold really sets in.
Jump to section
Materials
– Worsted weight (#4) yarn, about 180 to 220 yards for an adult pair (one skein is usually enough) – 5.0mm (US H/8) crochet hook – Yarn needle, for weaving in ends – Stitch marker – Scissors – Tape measure
Gauge (approximate): 14 sts and 14 rounds = 4 in in single crochet. Gauge is not critical for this project, but check that your fabric feels snug rather than loose and airy – a tight fabric is what keeps the wind out.
Quick abbreviation key: ch (chain), hdc (half double crochet), sc (single crochet), sl st (slip stitch), st/sts (stitch/stitches), and BLO (back loop only – working into just the loop of the stitch furthest from you, instead of both loops as usual). You will also see sc2tog below, a simple decrease made by single crocheting two stitches together to turn them into one.
This pattern is written for two sizes: Adult S/M (about 7 to 7.5 in hand circumference) and Adult M/L (about 8 to 8.5 in hand circumference). Numbers for M/L follow in brackets wherever the two sizes differ.
The Cuff (Ribbed Rounds)
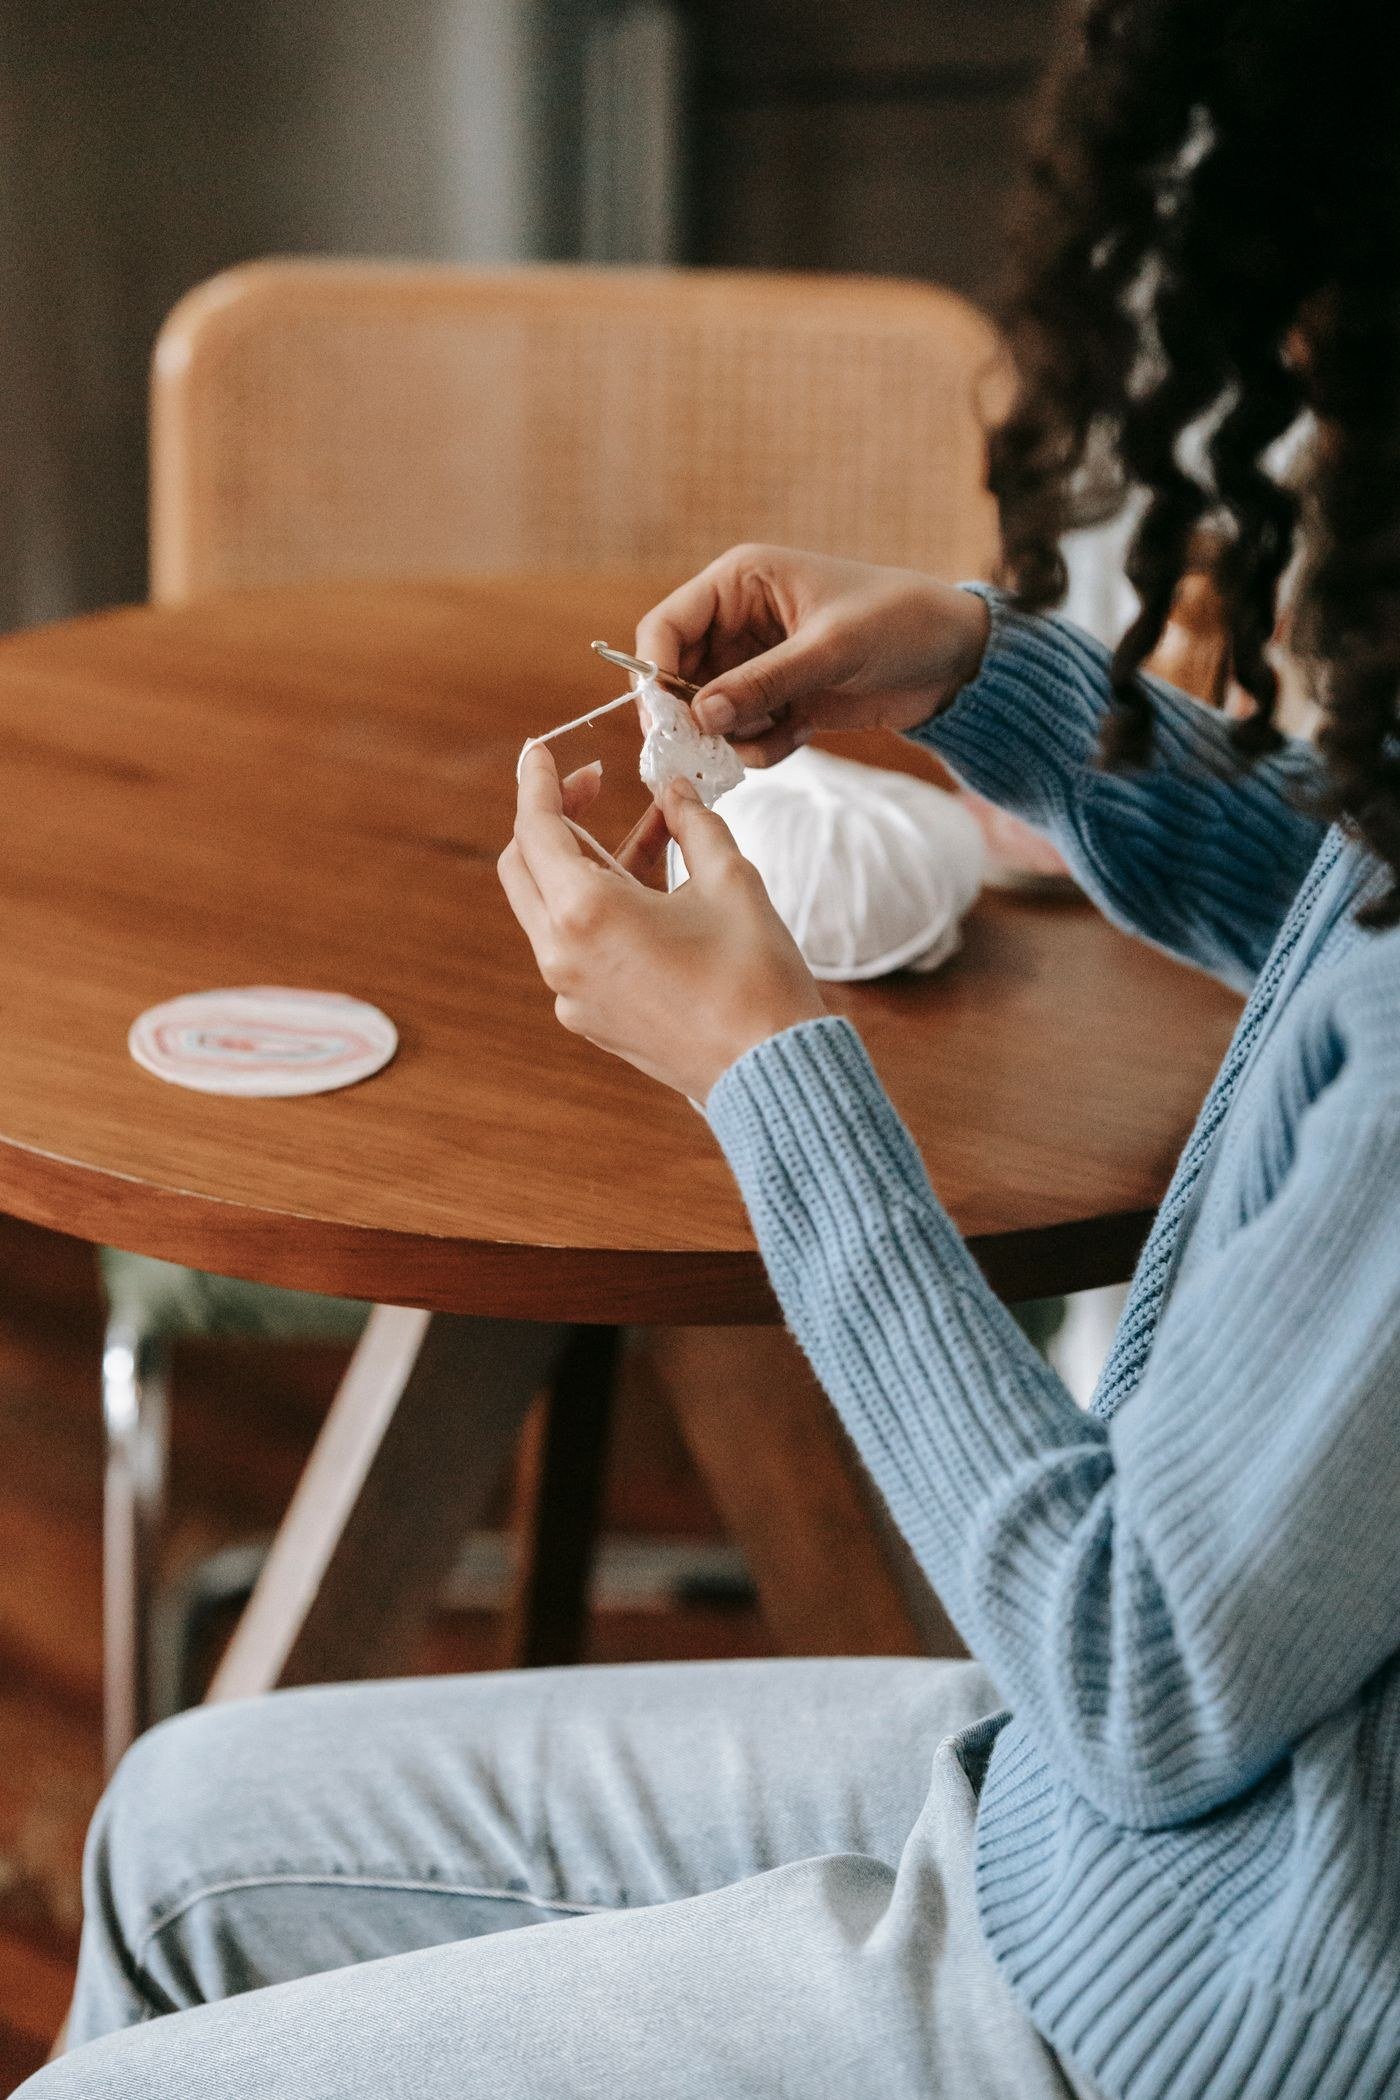
Chain 24 [28 for M/L], then join with a sl st to the first chain to form a ring, being careful not to twist the chain.
Round 1: Ch 2 (this counts as your first hdc for the whole cuff section), hdc BLO in each remaining st around, join with a sl st to the top of the beginning ch-2. (24 sts) [28 sts]
Repeat Round 1 six more times (7 rounds total), or until the cuff measures about 2.5 in tall. Working through the back loop only on every round is what creates the ribbed, ridged texture, so do not skip that part even though it feels a little slower than a regular hdc.
The Hand
Round 8: Ch 1 (does not count as a st), sc in each st around. From here, stop joining your rounds – drop a stitch marker into the first stitch and move it up into the first stitch of every new round, working in a continuous spiral for the rest of the mitten. (24 sts) [28 sts]
Continue working even sc rounds, with no increases or decreases, until the piece measures about 2 in up from the top of the cuff. Keep your stitch count exactly the same every round.
The Thumb Opening
On your next round, sc across to the point where you want the thumb to sit – usually right where your thumb naturally rests against your palm. Then:
– S/M: ch 5, skip the next 5 sts, sc in each remaining st around to the marker. – M/L: ch 6, skip the next 6 sts, sc in each remaining st around to the marker.
Your total count stays the same (24 or 28 sts) – the chain simply bridges over the gap you will come back to fill with the thumb later.
Next round: sc in each st around, working one sc into each chain from the bridge as if it were a regular stitch. (24 sts) [28 sts]
Continue even sc rounds, with no shaping, until the hand measures about 4.5 in [5 in] up from the top of the cuff, not counting the decrease rounds still to come. Try the mitten on as you go – the top should reach just past the fingertips before you start closing it.
Closing the Top
Adult S/M (24 sts):
– Round 1: *sc2tog, sc in next 2 sts* repeat around. (18 sts) – Round 2: *sc2tog, sc in next st* repeat around. (12 sts) – Round 3: sc2tog around. (6 sts)
Adult M/L (28 sts):
– Round 1: *sc2tog, sc in next 2 sts* repeat around. (21 sts) – Round 2: *sc2tog, sc in next st* repeat around. (14 sts) – Round 3: sc2tog around. (7 sts)
Fasten off, leaving a 6 in tail. Thread the tail onto your yarn needle, weave it through the remaining stitches, and pull snug to close the top completely. Weave the tail in to secure it.
The Thumb
Join yarn at the base of the thumb opening. Work sc evenly around the entire opening – one sc in each chain along the top of the gap, then one sc in each of the skipped stitches along the bottom. (10 sts) [12 sts]
Continue even in sc, in a continuous spiral, for about 1.5 to 2 in, checking the length against the wearer’s actual thumb as you go rather than guessing.
Decrease round: sc2tog around. (5 sts) [6 sts]
Fasten off, leaving a short tail. Thread it through the remaining stitches, pull closed, and weave in the end.
Finishing
Weave in every remaining tail, including the one left at your starting ring or foundation chain join. Give the mittens a light steam or a gentle wash and lay them flat to shape – this helps the ribbed cuff relax into its finished texture and evens out any last unevenness in your stitches.
Tips for a Great Fit
– Measure before you decrease. It is much easier to add one more even round than to unravel a closed top, so try the mitten on before you start the decrease rounds. – Keep tension consistent. Since there is no side seam to hide uneven stitches, steady tension across every round keeps the fabric looking clean and professional. – Mark your rounds. Losing track of the spiral is the most common beginner mistake here – keep that stitch marker moving every single round, without exception. – Make a pair, not a single. Crochet both mittens back to back rather than finishing one completely before starting the other, so your tension and stitch counts stay matched.
The Payoff
There is something wonderfully satisfying about pulling on a pair of mittens you built yourself, thumb hole and all, and realizing your hands are finally warm because of six stitches and a hook. Once you have made one pair, the whole shape lives in your hands – you will find yourself sizing this same simple formula up for a partner or down for a child in no time. Keep that yarn moving, and enjoy the cozy payoff.
Frequently asked questions
Can I make these mittens fingerless instead?
Yes – stop before the closing-top decrease rounds once the mitten reaches the base of your fingers, then work one or two rounds of sc (or BLO hdc to match the cuff) as a finished edge instead of closing the top.
Why does my ribbed cuff look flat instead of textured?
That ridged texture only comes from working every stitch through the back loop only, so if the cuff looks smooth, check that you’re consistently skipping the front loop on each stitch of every cuff round.
How do I know exactly where to place the thumb opening?
Try the mitten on right before that round and mark the spot where your thumb naturally presses against your palm – that placement is what determines fit, so it’s worth checking rather than guessing.
Can I scale this pattern down for a child’s hand?
You can chain a smaller multiple for the cuff and reduce the round counts proportionally, but measure the child’s actual hand circumference and try the mitten on often, since kids’ proportions don’t scale evenly from the adult chart.
What if the thumb opening ends up too tight or too loose?
If it’s snug, work one extra chain over the bridge (and skip one extra stitch) next time; if it gapes, do the reverse – the given chain-5/chain-6 counts are a starting point, not a fixed rule.
— NoraEvery pattern hand-tested