Easy Crochet Slippers Pattern for Beginners
Slippers are the fastest way to go from "I want to try crochet" to "I made something I actually wear every day." This version skips complicated foot…


Slippers are the fastest way to go from “I want to try crochet” to “I made something I actually wear every day.” This version skips complicated foot shaping entirely: you crochet one simple rectangle per slipper, fold it, seam two short edges, and add a cozy cuff around the opening. There is no sole pattern to chart and no separate pieces to match up, just a rectangle, a fold, and two seams. Below you will find rectangle sizes for four adult foot lengths, plus exact stitch and row counts, so you always know your rectangle is the right shape before you start folding. Because the whole slipper is one flat piece worked back and forth, you can crochet it in front of the television without ever glancing down to check your place, which makes it a genuinely relaxing project rather than a fiddly one. Let’s get your feet covered by tonight.
Jump to section
Materials
– Worsted weight or chunky yarn, about 200 to 260 yards per pair depending on size (worsted held double also works well for extra cushioning) – 5.5mm crochet hook – Yarn needle, for seaming and weaving in ends – Stitch marker – Scissors – Tape measure
Gauge (approximate): 8 sts and 8 rows = 4 in in half double crochet. Gauge is not critical here since you are matching a rectangle to your own foot length, but a much tighter or looser fabric will change how much yarn you need and how the slipper feels underfoot.
Quick abbreviation key: ch (chain), hdc (half double crochet), dc (double crochet), sc (single crochet), sl st (slip stitch), and st/sts (stitch/stitches). You will see all of these below.
Sizing: Your Rectangle
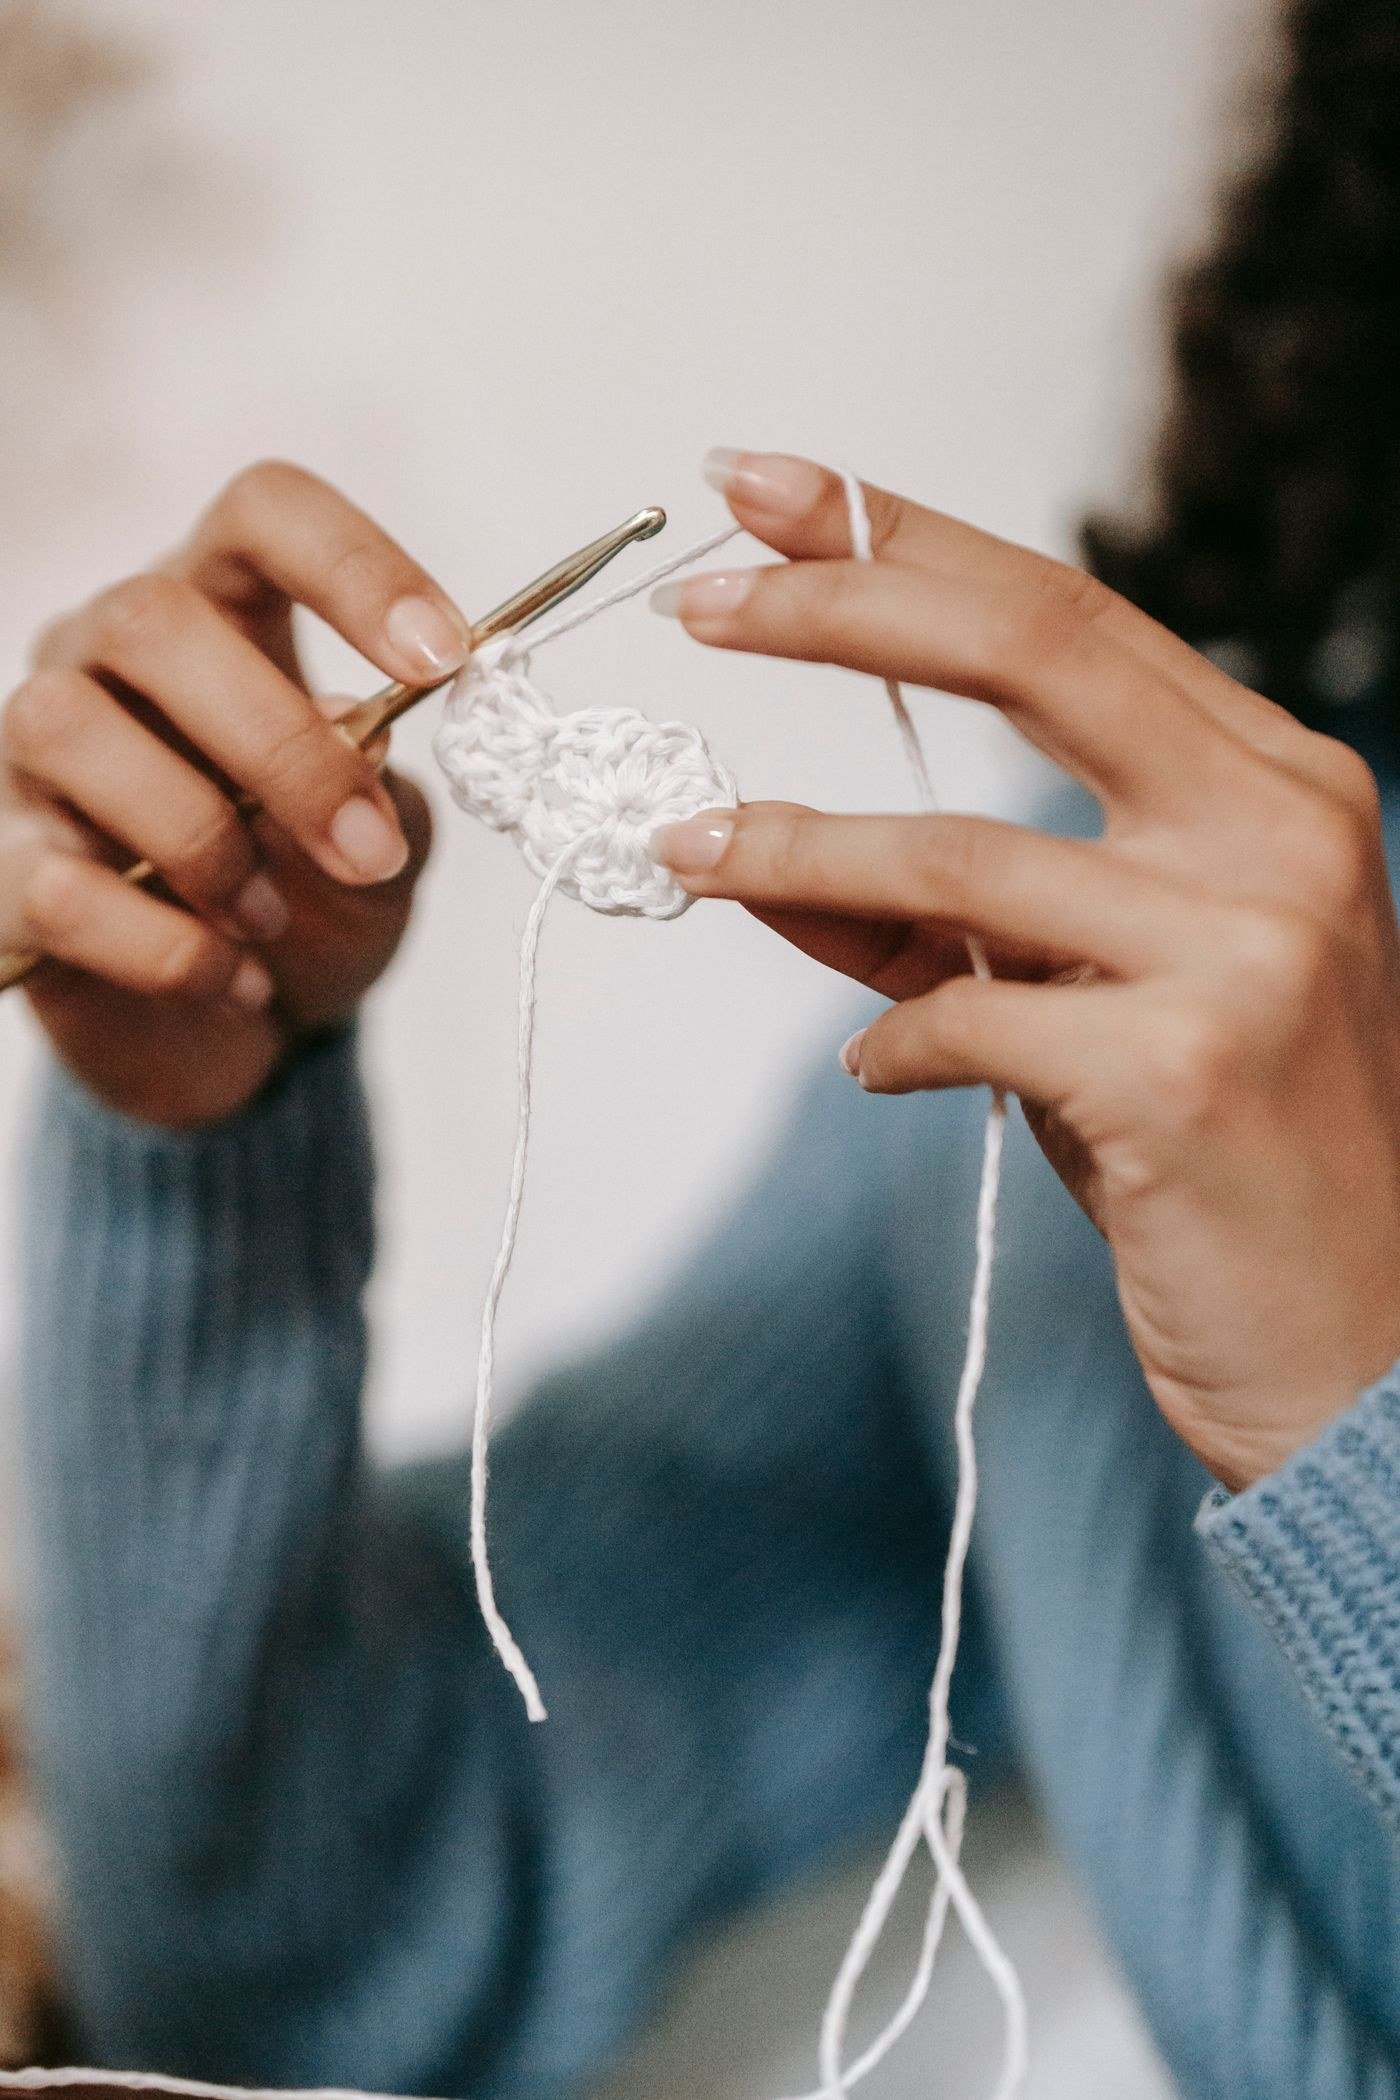
Measure your foot length from heel to longest toe before you start, then find your closest match below. Each rectangle is worked flat, in rows, turning at the end of every row.
| Size (approx. foot length) | Foundation chain | Rows to work | Finished rectangle (before folding) | |—|—|—|—| | Small (about 9 to 9.25 in) | ch 20 | 14 rows | about 9 in x 7 in | | Medium (about 9.5 to 9.75 in) | ch 22 | 15 rows | about 10 in x 7.5 in | | Large (about 10 to 10.5 in) | ch 23 | 16 rows | about 10.5 in x 8 in | | X-Large (about 10.75 to 11.5 in) | ch 25 | 17 rows | about 11.5 in x 8.5 in |
These are general adult ranges rather than exact shoe sizes, since foot length varies by brand – measuring your own foot is the most reliable way to pick a size.
The Rectangle
Foundation row: Chain the number given for your size (for example, ch 20 for Small). Hdc in the 3rd ch from the hook and in each remaining ch across. Turn. (18 sts for Small; 20 for Medium; 21 for Large; 23 for X-Large)
Row 2 and all following rows: Ch 2 (does not count as a st), hdc in each st across. Turn.
Repeat Row 2 until you have worked the total row count for your size (for example, 14 rows total for Small). Keep your stitch count identical every single row – this piece has no shaping at all, so if your count changes, you have likely missed or added a stitch somewhere in the row before.
Fasten off, leaving a long tail (at least 12 in) for seaming. Make a second, identical rectangle for the matching slipper.
Folding and Seaming (Toe and Heel)
Lay the rectangle flat. Fold it in half so the foundation-chain edge meets the final row’s edge exactly – this fold becomes the sole of the slipper and needs no seam at all.
You now have a doubled rectangle with two open side edges, formed by the very first and very last stitch of every row, plus one open top edge where the foundation chain and final row sit stacked together, unseamed.
– Toe seam: Starting at the fold, whip stitch through the matching row-end loops on one side, working from the fold up to the top edge, through both layers together. This closes that entire side into a point. – Heel seam: Repeat the same whip stitch seam up the other side, again working from the fold to the top edge.
If you have never seamed crochet before, a whip stitch is simply this: thread your yarn needle with the leftover tail, pass it under both loops of a row-end stitch on one layer, then under both loops of the matching row-end stitch directly across on the other layer, and pull snug. Repeat once for every row, all the way up, keeping your tension even so the seam does not pucker or gap.
Once both seams are complete, turn the slipper right side out if needed. What remains open across the top, where the chain and final row are stacked, is your foot opening.
The Cuff
Join yarn at one of the seam corners. Work 1 sc in each st across the top of one layer, then 1 sc in each st across the top of the other layer, and join with a sl st to your first sc. (36 sts for Small; 40 for Medium; 42 for Large; 46 for X-Large)
Round 2 and following: Ch 1 (does not count as a st), hdc BLO in each st around, join with a sl st to the first hdc. Work 3 rounds total for a snug, ribbed cuff.
For a slightly quicker, taller cuff, you can work your remaining rounds in dc instead of hdc, following the same BLO instruction each round.
Fasten off and weave in the end.
Finishing
Weave in every remaining tail on both slippers, and check that your toe and heel seams sit flat with no gaps. If you would like a bit of grip underfoot, add a few dots of fabric glue or a small piece of iron-on non-slip fabric to the sole once the yarn ends are secure.
Tips for Slippers That Actually Fit
– Measure barefoot, at the end of the day, when feet are at their largest, for the most accurate fit. – Count your rows as you go. It is easy to lose track on a plain rectangle, so use a small piece of scrap yarn or a row counter every few rows. – Match your pair. Work both rectangles side by side rather than finishing one completely first, so your tension stays the same on both. – Size up for thick socks. If these are meant to be worn over socks, choose the next size up from your bare-foot measurement.
The Payoff
It is hard to believe something this simple, one flat rectangle, folded and seamed twice, turns into a slipper that actually fits and actually gets worn. That is the real charm of this pattern: no complicated shaping to fear, just straightforward rows you already know how to make. Once you have a pair on your own feet, you will find yourself crocheting a rectangle for absolutely everyone on your gift list this winter.
Frequently asked questions
My foot measurement falls between two sizes – which should I pick?
Round up to the larger size, since a slightly roomier slipper is comfortable and easier to pull on, while a snug one restricts movement – you can always add an extra row or two if you want more length.
Can I make the sole firmer for more durability?
Working the rectangle in a slightly smaller hook, or holding your yarn double for just that section, gives a denser fabric underfoot without changing the pattern’s structure.
How do I get a rounded toe instead of a pointy one?
The seam itself is straight, so a rounded look comes from folding the rectangle so the fold sits slightly forward of the exact midpoint – check the fit on your foot before committing to the whip stitch.
Can I add a strap so the slipper doesn’t slip off my heel?
Yes – since the cuff round has plenty of stitches to work with, you can crochet a short chain-and-button strap or thread a length of elastic through the top round after the cuff is done, without touching the base pattern.
Is holding chunky yarn double a good substitute for worsted weight?
It adds nice cushioning, but check your gauge against the 8 sts and 8 rows = 4 in target first, since doubled worsted usually runs tighter and may need a bigger hook or a shorter row count to match the sizing chart.
— NoraEvery pattern hand-tested