Easy Crochet Poncho Pattern for Beginners
A poncho might be the single easiest garment in all of crochet, and this pattern proves it: two identical rectangles, one simple stitch, and two short…

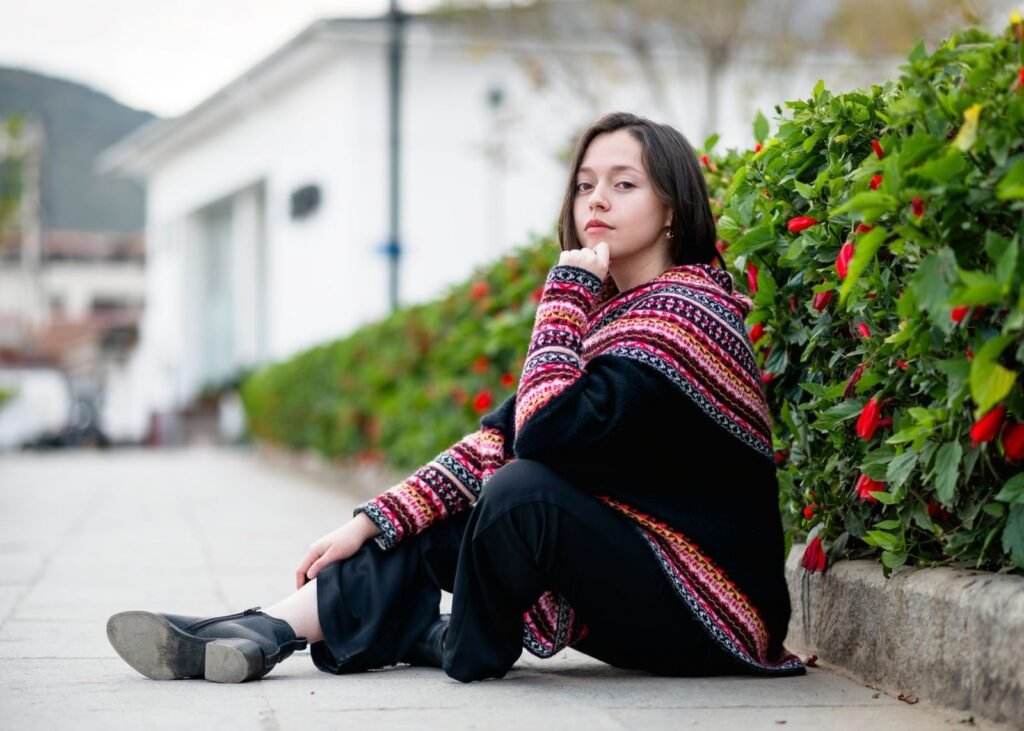
A poncho might be the single easiest garment in all of crochet, and this pattern proves it: two identical rectangles, one simple stitch, and two short seams stand between you and a cozy, drapey layer with a neck opening that just seems to appear once you sew the pieces together. There’s no shaping to track, no sleeves to fuss over, and no fitting a specific bust measurement – a poncho hangs loose by design, which makes it one of the most forgiving projects a beginner can make. You’ll crochet the same flat rectangle twice, then join them corner to corner in an L-shaped seam on each side. Once you spread the finished piece flat, you’ll see the neck opening open up right in the center, like magic (it isn’t magic, it’s just geometry, but it feels like magic the first time).
Jump to section
Materials
– Worsted weight (#4) yarn, about 700 to 1,000 yards depending on the size you make (roughly 4 to 5 skeins of a standard 190-yard skein) – 5.5mm (US I/9) crochet hook – Yarn needle, for seaming and weaving in ends – Stitch markers or safety pins, to mark edge midpoints before seaming – Scissors and a tape measure
Abbreviation key: ch (chain), hdc (half double crochet), sc (single crochet), sl st (slip stitch), st (stitch). You’ll see all of these below.
Gauge and Sizing

Swatch first: chain 14, work hdc across (hdc in the 3rd ch from hook and in each ch across), then a few more rows the same way. This pattern is written for a gauge of 12 hdc and 8 rows = 4 in (10 cm), a relaxed, drapey tension rather than a tight one.
Both panels of this poncho are identical rectangles, and each one is exactly twice as long as it is wide – that single proportion is what makes the two panels line up correctly when you seam them. Use the chart below as a starting point, then confirm by measuring your actual rectangle as you go.
| Size | Panel width | Panel length (2x width) | Foundation chain | Total rows per panel | |—|—|—|—|—| | Average adult | 15 in | 30 in | 47 | 60 | | Roomy / plus | 17 in | 34 in | 53 | 68 |
If your gauge differs from the chart, use the formula instead: chain = desired width (in) x your stitches-per-inch, plus 2, and work rows until the panel measures exactly twice that width in length.
The Pattern (Make Two Identical Panels)
You’ll make this same rectangle twice, so keep your row count or a small note handy to be sure both panels match exactly.
Foundation row: Chain the number given for your size. Hdc in the 3rd ch from hook and in each ch across. Turn. (This gives you 45 or 51 hdc, matching the chain minus 2, for the two sizes above.)
All following rows: Ch 2 (does not count as a stitch), turn. Hdc in each st across, working your last hdc into the top of the turning ch-2 below. Keep your stitch count exactly the same every row.
Repeat this row until the panel measures twice its width in length (30 or 34 in, or about 60-68 total rows). Fasten off, leaving a tail of at least 18 in for seaming. Repeat the entire panel a second time, so you have two identical rectangles.
Assembling the L-Shape Seams
This is the fun part – two simple seams turn your flat rectangles into a poncho with its own neck opening, no cutting or shaping required.
1. Lay Panel A flat, right side up. Find the exact midpoint of one long edge by counting stitches – since each row is 45 or 51 sts wide, the midpoint sits at roughly the 22nd or 25th stitch. Mark it with a stitch marker or safety pin. 2. Take Panel B and turn it so one of its short ends (the foundation chain edge or the final row edge – either works, they’re identical) is ready to be joined. Line that entire short end up against Panel A’s marked long edge, starting at one outer corner of Panel A and running to the marked midpoint. Panel B will stand up at a right angle from Panel A, like the corner of the letter L. 3. Pin the two edges in place, then whip stitch across, matching stitch for stitch (or row-end for row-end) all the way from the corner to the midpoint. Fasten off and weave in that tail. 4. Now find the midpoint of Panel B’s other long edge the same way you did in step 1, and mark it. 5. Take Panel A’s remaining short end – the one you haven’t used yet – and line it up against this newly marked half of Panel B’s other long edge, again starting at an outer corner and running to the midpoint. This forms your second L-shaped join, mirroring the first. 6. Pin and whip stitch this seam the same way, then fasten off and weave in the end.
Once both seams are done, spread the whole piece out flat. You’ll see a soft, pinwheel-shaped spread of fabric with a relaxed opening sitting right in the middle where the two panels don’t quite meet – that gap is your neck opening. The four loose sections radiating out from the center are your front, back, and two sides, and they’ll settle naturally over your shoulders once you put the poncho on.
Finishing
Weave in any remaining tails securely. For a clean, finished edge, work one round of sc evenly all the way around the outer perimeter of the poncho, joining with a sl st to your first stitch of the round, then fasten off and weave in that end too. Repeat with a round of sc around the neck opening itself for a tidy, non-curling finish there as well – this small addition makes a big difference in how polished the poncho looks and feels against your neck. A gentle steam or wet block, laid flat to dry, helps the whole piece settle into its finished drape.
How Sizing Really Works Here
Because the entire shape comes from folding and seaming two identical rectangles, sizing this poncho is refreshingly simple: it’s really just a question of how big you make each panel. A wider panel gives you a poncho with more coverage on every side, a longer drop past the shoulders, and a slightly roomier neck opening. A narrower panel gives a shorter, more cropped drape and a snugger neckline. As long as you keep each panel exactly twice as long as it is wide, the same fold-and-seam method works at any size – so once you’ve made one, resizing for a taller friend or a cropped version for yourself is just a matter of changing one number and following the same two steps.
Tips for a Great First Poncho
– Mark before you sew. Counting to a midpoint and pinning it before you thread your needle prevents an off-center seam that can throw off the whole shape. – Match your panels exactly. Before assembling, lay both rectangles on top of each other to confirm they’re the same size – a small mismatch here becomes an uneven hemline later. – Try it on before your final seam ends. Once your first seam is done, hold the piece up to your shoulders to get a feel for where the second seam should land before you commit. – Let it drape. This shape is meant to hang loosely and asymmetrically in places – resist the urge to force it into a perfectly symmetrical shape, since the relaxed drape is exactly the point of a poncho.
The Payoff
It’s genuinely satisfying to watch two plain rectangles turn into a wearable poncho with almost no effort beyond two careful seams – proof that a beginner project doesn’t need fancy stitchwork to look intentional and finished. Once you understand how the panel width controls the whole shape, you’ll be able to whip up a cropped version, an oversized version, or a matching one for a friend, all from the exact same two steps. Grab your hook, keep those rows even, and enjoy the easiest layer you’ll make all season.
Frequently asked questions
Can I make the two panels in different colors or stitch textures?
Yes, as long as both panels keep the same width-to-length ratio (length equals twice the width) so they still line up at the seams – mixing colors or a simple stripe on each panel doesn’t affect the construction.
Can I make the neck opening smaller or bigger than the pattern gives?
Seaming a bit further past the marked midpoint on each panel tightens the neckline, while stopping a little short of the midpoint opens it wider.
Does it matter which way I wear the seams – front and back, or sides?
No – the two panels join symmetrically, so you can rotate the finished poncho however it drapes best on you; there’s no fixed front until you decide which section faces forward.
My finished poncho looks lopsided – what went wrong?
This usually means the two panels weren’t identical, or a seam didn’t start and stop exactly at the marked corner and midpoint – lay both panels on top of each other to confirm they match before assembling, and count stitches to find the midpoint rather than eyeballing it.
Can I add sleeves or a hood to this design?
The open side sections already give some room for arms, but true set-in sleeves or a hood would mean departing from the simple two-rectangle geometry, so it’s easier to treat those as separate projects than to graft onto this one.
— NoraEvery pattern hand-tested