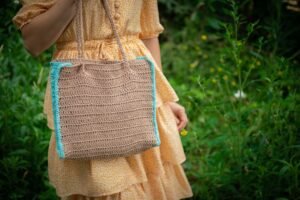
Easy Crochet Mesh Market Bag (Free Beginner Pattern)
If you have been scrolling crochet inspiration lately, you have probably seen it: an open, stretchy, net-like bag slung over someone's shoulder at the…

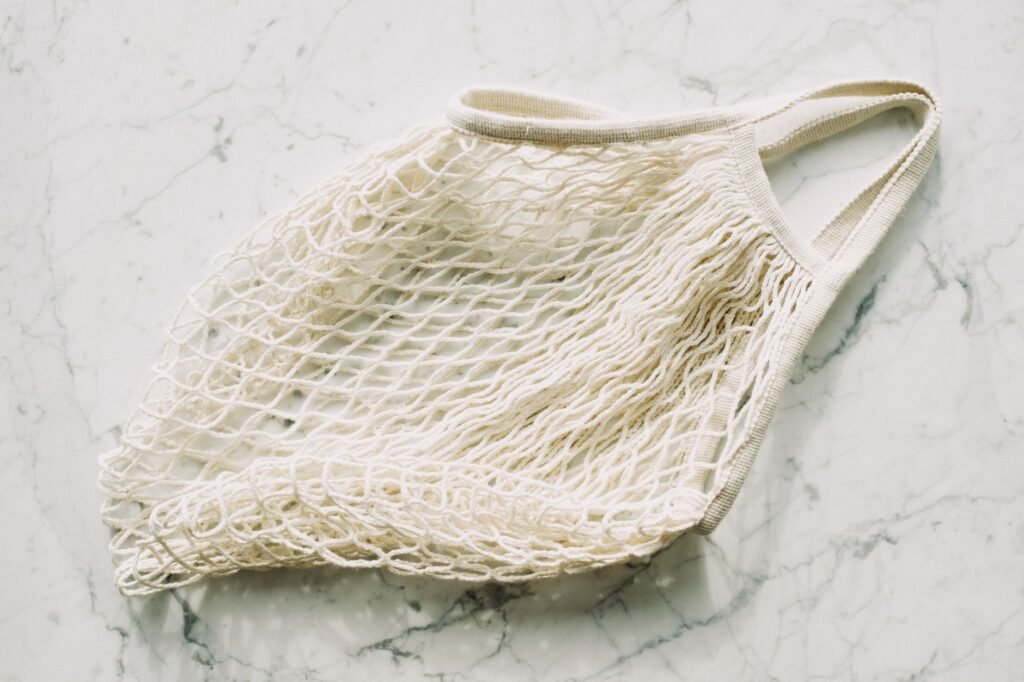
If you have been scrolling crochet inspiration lately, you have probably seen it: an open, stretchy, net-like bag slung over someone’s shoulder at the farmers market, stuffed with bread and tomatoes and somehow never looking overloaded. That is a mesh market bag, and it is one of the kindest projects you can hand a beginner. The whole body is built from just two stitches you already know – chain and single crochet – worked in a simple repeating net. No counting complicated stitch patterns, no shaping charts, no fear of running out of yarn halfway through. Just rounds, repeats, and a bag that gets more useful the more you stretch it. Grab one skein, get your hook, and let’s make one together.
Jump to section
Materials
- Worsted weight (#4) yarn or a sturdy #3 weight cotton yarn – about 200 to 250 yards (one skein is usually plenty for this size bag). Cotton is a favorite for market bags because it holds its shape and washes well.
- 5.0mm (H-8) crochet hook
- Yarn needle, for weaving in ends
- Stitch marker, to track the first stitch of each round
Note on gauge: exact gauge is not critical for this bag – mesh is meant to be loose, and a little uneven tension will not show. Just keep your stitches consistent enough that your chain loops are roughly the same size throughout.
Abbreviations
- ch = chain
- sc = single crochet
- sl st = slip stitch
- st(s) = stitch(es)
- sp = space
- rep = repeat
Building the Base (Rounds 1-6)
We start with a small, flat circle that becomes the bottom of the bag.
- Round 1: Make a magic ring (or ch 2 and work into the 2nd ch from hook, if you prefer). Work 6 sc into the ring, then pull the ring closed. (6 sc)
- Round 2: 2 sc in each st around. (12 sc)
- Round 3: *sc in next st, 2 sc in next st; rep from * around. (18 sc)
- Round 4: *sc in next 2 sts, 2 sc in next st; rep from * around. (24 sc)
- Round 5: *sc in next 3 sts, 2 sc in next st; rep from * around. (30 sc)
- Round 6: *sc in next 4 sts, 2 sc in next st; rep from * around. (36 sc)
Place your stitch marker in the last stitch of round 6 so you always know where your round starts, and move it up every round from here on. You now have a flat circle base about 5 to 6 inches across, with an even 36 stitches around the outer edge – and that number matters, because it divides evenly by 3, which is exactly what the mesh pattern needs next.
Building the Mesh Body (Rounds 7-13)
This is where the bag becomes a bag. The mesh is built from simple ch-5 loops, worked around and around, stacking on top of each other like a net.
Round 7: Setting Up the Loops
Round 7 (transition round): *Ch 5, skip next 2 sts, sc in next st; rep from * around. You will work this repeat 12 times, using up all 36 stitches from the base (12 repeats x 3 stitches each = 36 sts). At the end you should have 12 ch-5 loops sitting evenly around the circle. (12 loops)
Rounds 8-13: Growing the Net
Rounds 8-13: *Ch 5, sc into the ch-5 loop from the round below (work the sc through the middle of the chain space, not into any individual chain stitch); rep from * around. (12 loops each round)
Work this loop-into-loop repeat for 6 rounds total. Each round you are simply chaining 5 and dropping a single crochet into the loop below – the net grows taller with every round while staying at 12 loops around. This is also where you will feel why mesh bags are so beloved: as you go, give the fabric a gentle stretch and watch how much the loops open up to hold bulky produce, then relax back down when the bag is empty.
If you want a shorter bag (lovely for bread or a few pieces of fruit), stop at round 11. For a deeper, full grocery-run bag, add 2 or 3 extra rounds before moving on – the repeat stays identical no matter how many rounds you add.
Firming Up the Top Edge (Rounds 14-15)
Loose mesh is wonderful for the body, but the very top of the bag needs to be sturdier so it holds its shape and does not stretch out permanently under weight.
- Round 14: Work 3 sc into each ch-5 loop around. (12 loops x 3 sc = 36 sc)
- Round 15: sc in each st around. (36 sc)
This round converts your airy loops back into a solid ring of stitches – and you will notice it is the same 36-stitch count you had at the end of the base. That is not a coincidence; it is what makes the transition back to solid stitches sit flat instead of puckering.
Making the Handles (Rounds 16-18)
Now we turn part of that firm edge into two handle openings.
- Round 16: Sc in next 9 sts. Ch 12 (this chain spans a gap and will become the top of a handle – do not work into the next 9 sts, simply skip over them). Sc in next 9 sts. Ch 12 (skip next 9 sts again). Join with a sl st to your first sc of the round.
- Round 17: sc in each st and in each ch around – that means sc in the 9 sts, then 1 sc in each of the 12 chain stitches, then sc in the next 9 sts, then 1 sc in each of the remaining 12 chain stitches. Join with a sl st. (9 + 12 + 9 + 12 = 42 sc)
- Round 18: sc in each st around, join with a sl st. (42 sc)
You have now used all 36 stitches from round 15 (9 worked plus 9 skipped, twice around) plus two ch-12 handle spans sitting directly opposite each other.
Fasten off, leaving a 6 inch tail for weaving in.
Finishing
Weave in your starting tail and ending tail with the yarn needle, running them through several stitches on the wrong side (inside) of the bag so they will not work loose. Give the whole bag a gentle stretch by hand, especially through the mesh body and the two handles, to help the stitches relax into their final shape. If your yarn is cotton, a quick block (dampen the bag and lay it flat or over a bowl to dry in shape) will help the mesh sit even and open beautifully.
Tips for Beginners
Keep your ch-5 loops consistent. If a few loops end up bigger or smaller than the rest, do not rip back – mesh is forgiving, and small variations disappear once the bag is stretched and in use.
Count before you commit to the next round. Every round in the mesh body should have exactly 12 loops. If you land on 11 or 13, it is much faster to recount now than after several more rounds.
Cotton yarn is worth seeking out. It has less stretch-and-never-recover than acrylic, so the bag keeps bouncing back to shape after every trip to the market.
Do not skip the firming rounds. They only take a few minutes, but they are what stops the top of the bag – and your handles – from sagging under a full load.
You built a whole bag out of chains and single crochets, and that is worth being proud of. Sling it over your shoulder, fill it up, and watch it stretch to hold exactly what you need – that is the quiet little magic of a mesh market bag, and now you know how to make your own.
Frequently asked questions
What size hook and yarn do I need for this mesh market bag?
A 5.0mm (H-8) crochet hook paired with worsted weight (#4) yarn or a sturdy #3 weight cotton yarn works well, using about 200 to 250 yards.
Does my gauge need to be exact for this pattern?
No. Exact gauge is not critical for this bag – mesh is meant to be loose, and a little uneven tension will not show, as long as your chain loops stay roughly consistent in size.
Can I make the bag shorter or deeper than the pattern shows?
Yes. Stop the mesh body at round 11 for a shorter bag suited to bread or a few pieces of fruit, or add 2 or 3 extra rounds before the firming rounds for a deeper, full grocery-run bag – the repeat stays identical no matter how many rounds you add.
Why does the pattern recommend cotton yarn?
Cotton is a favorite for market bags because it holds its shape and washes well, and it has less stretch-and-never-recover than acrylic, so the bag keeps bouncing back to shape after every trip to the market.
— NoraEvery pattern hand-tested