Turn Granny Squares Into a Bag: Easy Tote Pattern
There is a special kind of magic in taking the humble granny square - the very first thing so many of us learn to crochet - and turning it into something…

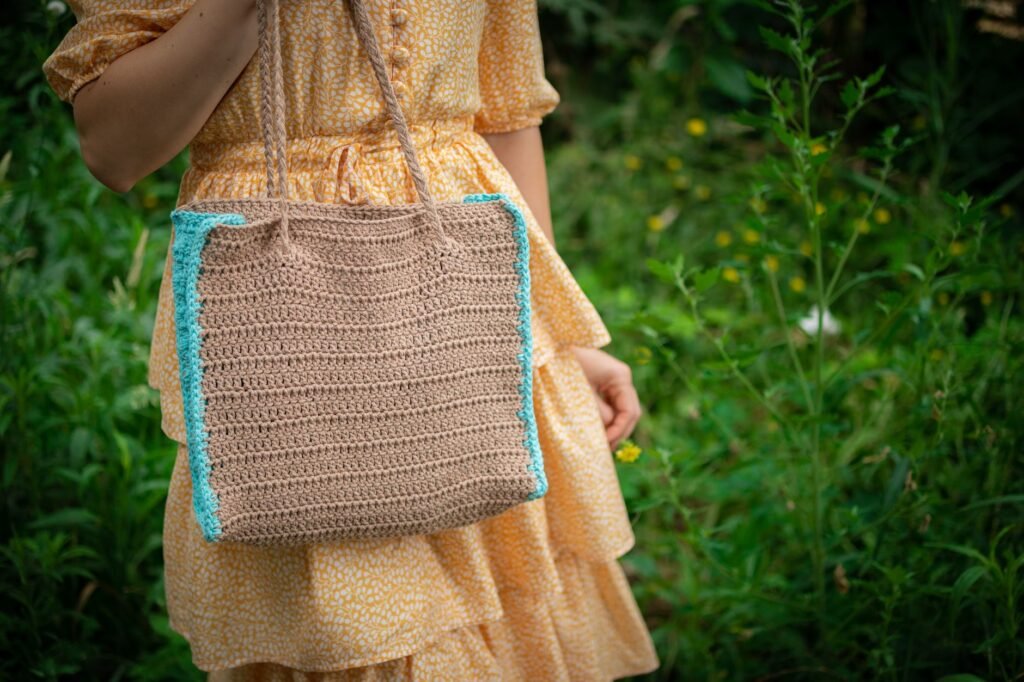
There is a special kind of magic in taking the humble granny square – the very first thing so many of us learn to crochet – and turning it into something you actually carry around. Granny square bags have become one of the most-loved tote styles out there, and the secret is that you do not need any new stitches to make one. If you already know how to work a classic granny square, you are most of the way there. This pattern focuses on the part beginners usually skip past: how to actually join your squares, seam them into a bag shape, and attach handles that will not pop off after one trip to the store. Let’s turn your square practice into a bag you will reach for constantly.
Jump to section
Materials
- Worsted weight (#4) yarn in your main color or colors – about 300 to 350 yards total for 8 squares plus handles (a great stash-buster project if you have leftover worsted weight yarn)
- 5.0mm (H-8) crochet hook
- Yarn needle, for joining and weaving in ends
- Scissors
- Stitch markers (optional, handy for marking corners as you join)
Abbreviations
- ch = chain
- dc = double crochet
- sc = single crochet
- sl st = slip stitch
- st(s) = stitch(es)
- sp = space
- RS / WS = right side / wrong side
Before You Start: The Granny Square Recap
This pattern assumes you can already make a basic granny square. If you have not made one before, or it has been a while, here is the quick shape of it: you begin with a magic ring, work a first round of four 3-dc clusters separated by ch-2 corner spaces, then build outward round by round, always working a corner group (3 dc, ch 2, 3 dc) into each ch-2 corner space, and a plain group of 3 dc into each ch-1 sp along the sides. Four rounds worked this way in worsted weight yarn with an H-8 hook gives you a square that measures about 4 inches (10 cm) across – the size this bag is built around. If that recap moved too fast, it is worth practicing a few squares on their own before starting this project. There is no shame in a practice square; it just means your bag squares will be your best ones yet.
Step 1: Make Eight Squares
Make 8 granny squares, each worked for 4 rounds as described above, and each finishing at the same size – roughly 4 inches (10 cm) square. Fasten off each square but leave a 12 inch tail on every one; you will use those tails for joining in the next step, which saves you from weaving in eight separate ends later. Weave in only the starting tail on each square for now, and gently steam or damp-block all eight squares so they are the same size and lie flat before you join them – a few uneven squares are hard to notice on their own, but they become obvious once they are side by side.
Step 2: Join Squares Into Two Panels
You are going to arrange your 8 squares into two identical panels – a front and a back – each made of 4 squares set in a 2×2 grid.
Laying Out the Squares
Lay 4 squares out in a 2×2 grid, right side up, exactly the way you want them to appear on the finished bag. Note the orientation now, before you start joining, so you are not un-picking seams later.
Whip Stitching the Panel Together
Joining with the whip stitch: this is the easiest join for a beginner and it creates a clean, flat seam. Place two squares with right sides together, facing each other (so you are looking at the wrong sides, and the seam will end up on the inside). Line up the edge stitches. Thread your yarn needle with the tail from one square, and working through both loops of the corresponding stitch on each square’s edge, whip stitch straight across from corner to corner, pulling snug but not tight every few stitches. Secure with a couple of extra stitches at the end and weave in.
Join your 2×2 grid in this order: whip stitch the top-left square to the top-right square along their shared side edge, then the bottom-left square to the bottom-right square. Finally, whip stitch the two resulting pairs together along the long horizontal seam to complete the 2×2 panel. Repeat this entire step for your second set of 4 squares to make the second panel.
You should now have two flat panels, each made of 4 squares (2×2), each roughly 8 inches by 8 inches (20 x 20 cm).
Step 3: Seam the Panels Into a Bag
Lay your two panels together with right sides facing each other (so the outside of the bag is hidden on the inside, the way you would turn a t-shirt inside out to sew it).
Using the whip stitch method from Step 2, seam the two panels together down the left side, across the bottom, and up the right side, leaving the top edge completely open – that opening is the mouth of your bag. Work the seam through both loops of the edge stitches for extra strength along the bottom, since that is where the bag carries the most weight.
Turn the bag right side out through the open top. Your seams should now sit on the inside, with the granny square texture facing out on all sides. Give it a light press or steam block if the seams are sitting a little stiff.
Step 4: Add the Handles
Make two handles using simple reinforced chain straps.
For each handle: ch 61.
- Row 1: sc in the 2nd ch from hook and in each ch across. (60 sc)
- Rows 2-4: ch 1, turn, sc in each st across. (60 sc)
Working 4 rows total gives you a strap about 1 inch (2.5 cm) wide and roughly 22 to 24 inches (56 to 60 cm) long once finished, which is a comfortable shoulder-carry length. If you would like a shorter handbag-style handle, start with a shorter foundation chain instead. Make two straps, worked identically.
Pin or clip each handle to the inside top edge of the bag, positioning the ends about 3 inches (7.5 cm) in from each side seam on both the front and back panels, so the strap sits flat rather than twisted. Using your yarn needle and a length of matching yarn, sew each handle end securely to the inside top edge with several passes back and forth through both the handle and the bag fabric – this is a spot worth reinforcing well, since it takes all the strain when the bag is full.
Optional: Gusset and Lining
Adding a Gusset
If you would like a boxier bag with a flat bottom, you can add a simple gusset before joining front and back: crochet two rectangular strips (roughly 4 inches x 20 inches, matching the side-and-bottom perimeter of your panels) and whip stitch one long edge of the gusset to the side and bottom edges of the front panel, then the other long edge to the back panel, instead of seaming the panels directly together. It takes a bit more patience and planning, so it is worth saving for a second bag once you are comfortable with straight seaming.
Adding a Fabric Lining
A simple fabric lining also makes this bag far more practical for everyday use, since it keeps small items from poking through the open granny square texture. Cut a piece of lightweight cotton fabric to match your bag’s finished dimensions plus a half-inch seam allowance on all sides, sew it into a matching pouch shape, fold the top edge under and press, then slip it inside the bag and whip stitch it in place by hand around the top opening.
Tips for Beginners
Block your squares before joining, every time. It is tempting to skip this step, but blocked squares join into straight, even seams, while unblocked squares fight you the whole way.
Keep tension even across the whip stitch seam. Snug is good; tight will pucker the seam and pull your squares out of square.
Reinforce handle attachment points twice. A few extra stitches now save you from a re-sew after the bag’s first heavy grocery trip.
Weave in as you go. Eight squares means a lot of ends – dealing with them square by square is much less overwhelming than facing a pile of sixteen tails at the very end.
You already had the hardest skill – the granny square itself. Everything in this pattern was just about putting your squares to work: joining them, seaming them, and giving them somewhere to go. That stack of practice squares in your project bag is not scrap yarn anymore – it is a tote, and it is entirely yours.
Frequently asked questions
How many granny squares do I need for this bag?
You need 8 granny squares total, each worked for 4 rounds and finishing at roughly 4 inches (10 cm) square, arranged into two 2×2 panels for the front and back.
What yarn and hook does this pattern use?
Worsted weight (#4) yarn – about 300 to 350 yards total for 8 squares plus handles – with a 5.0mm (H-8) crochet hook, the same hook size used for the squares and the handles.
How long will the finished handles be?
Working the handle pattern for 4 rows total gives a strap about 1 inch (2.5 cm) wide and roughly 22 to 24 inches (56 to 60 cm) long, a comfortable shoulder-carry length. Starting with a shorter foundation chain gives a shorter, handbag-style handle instead.
Do I need to add a lining or gusset?
No, both are optional. A gusset gives the bag a boxier, flat-bottomed shape, and a fabric lining keeps small items from poking through the open granny square texture – either can be added or skipped depending on how you want to use the bag.
— NoraEvery pattern hand-tested