Easy Crochet Pumpkin Pattern (Free, Beginner-Friendly)
There is something about a soft little crochet pumpkin that instantly makes a room feel like fall - and the good news is that this one comes together…

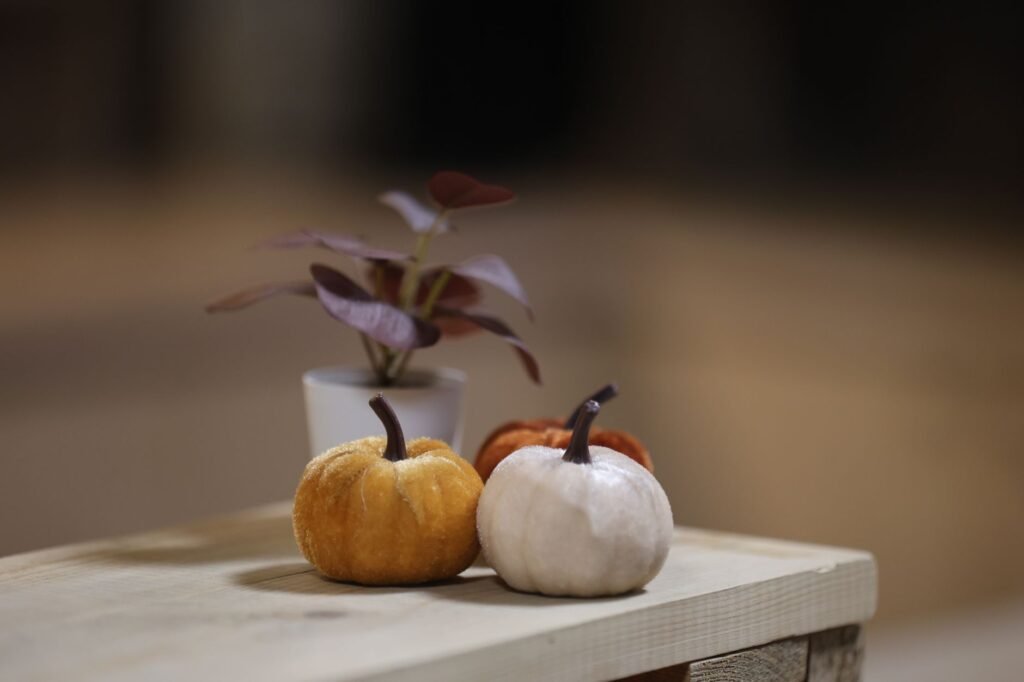
There is something about a soft little crochet pumpkin that instantly makes a room feel like fall – and the good news is that this one comes together from a single rectangle, no complicated shaping required. You will crochet a simple ribbed strip, seam it into a tube, cinch both ends closed around some stuffing, and finish with a jaunty little stem. If you can chain and work one basic stitch across a row, you already have everything you need. Grab a skein in your favorite fall shade – terracotta, pumpkin orange, cream, mustard, or sage all look wonderful bunched together on a shelf – and let’s make one (or five).
Materials
- Worsted weight yarn (yarn weight #4), a small amount for each pumpkin – about 20-40 yards (18-37 m) depending on size, in a fall shade like terracotta, pumpkin orange, cream, mustard, or sage
- 5.0mm (US H-8) crochet hook
- Yarn needle, for gathering and seaming
- Polyester stuffing
- Stitch marker (optional, handy for keeping track of rows)
- Scissors
Abbreviations used in this pattern: ch = chain, hdc = half double crochet, sc = single crochet, sl st = slip stitch, st(s) = stitch(es), BLO = back loop only (working your hook under just the back loop of a stitch instead of both loops, which leaves a ridge on the front of the fabric).
This pumpkin is worked flat as a plain rectangle using BLO the whole way, which is what gives it those pretty vertical ribs once it is assembled – no separate rib-shaping stitches needed.
The Pattern
Step 1: Work the Ribbed Body
Choose your size before you start – all three use the exact same stitches, just different counts:
- Small (about 3 in tall x 8 in around): Ch 9, then 20 rows of 8 hdc
- Medium (about 4 in tall x 10 in around): Ch 11, then 25 rows of 10 hdc
- Large (about 4.5 in tall x 12 in around): Ch 13, then 30 rows of 12 hdc
The instructions below are written for the Medium size (10 hdc, 25 rows) so you have one clear worked example – just swap in your own chain and row numbers from the list above if you are making a Small or Large.
– Row 1: Ch 11. Hdc in the 2nd ch from the hook and in each ch across. Turn. (10 hdc) – Rows 2-25: Ch 1, turn. Hdc in the BLO of each st across. (10 hdc)
Work all 25 rows the same way, always going into the back loop only. You will see a ridge building up along the top of each row – that ridge is what becomes your pumpkin’s ribs, so do not worry about it looking a little bumpy right now; that is exactly right. Fasten off after your last row, leaving a 12 in (30 cm) tail for seaming.
Count your stitches every few rows (10 hdc, every row, no more, no less) – since there is no shaping here, a changing count almost always means a missed or added stitch a row or two back.
Step 2: Seam It Into a Tube
Lay your rectangle flat and bring the two short ends together (the two 10-hdc edges, at the very start and very end of your rows) so the long strip curls around into a loop, right side facing out. Using your fastening-off tail threaded on a yarn needle, whip stitch the two short edges together from top to bottom, working through both layers a stitch at a time. Weave in this tail once the seam is closed. You now have an open tube, ribbed vertically all the way around, with two round open edges – one for the top, one for the bottom.
Step 3: Cinch, Stuff, and Cinch Again
Thread your yarn needle with a fresh 12 in (30 cm) length of yarn. Starting at the seam, weave it in and out through the loops all the way around one open edge of the tube (this will be your top), then pull gently to gather that edge closed like a drawstring. Do not fasten off yet – just snug it closed and set the needle aside for a moment.
Turn the tube so the still-open edge (the bottom) faces up, and stuff the pumpkin firmly through it, pushing stuffing into the sides so the shape rounds out nicely rather than staying tube-shaped. Once it is stuffed the way you like it, thread a needle with another length of yarn and gather the bottom edge closed the same way you did the top. Tie off both gathered ends securely and weave the tails down into the stuffing so they disappear.
Step 4: Add the Stem
– Ch 8. Sc in the 2nd ch from the hook and in each ch across. Fasten off, leaving a long tail. (7 sc)
This gives you a small flat strip. Fold it in half lengthwise and, using the tail on your yarn needle, whip stitch along the long open edge to close it into a little tube. Do not cut the tail – use it to sew the stem upright into the center of the top of your pumpkin, stitching through the base of the stem and into the pumpkin from a few different directions so it stands up on its own instead of flopping over.
Finishing
If you would like more defined ribs than the BLO rows give you on their own, cut a length of yarn (matching or in a slightly darker fall shade) and wrap it several times around the pumpkin from top to bottom, nestling each wrap into one of the grooves left by your BLO rows. Tie off snugly at the bottom, right next to your gather point, and weave the end in among the stuffing. This step is entirely optional – plenty of finished pumpkins look wonderful with just the natural BLO ribbing – but it is a nice touch if you have a few extra minutes.
Give your pumpkin a gentle squeeze and shape check: nudge stuffing toward any flat spots, and tug the top and bottom gathers a touch tighter if either end looks loose.
Tips for Success
Keep your stuffing firm, not sparse. A lightly stuffed pumpkin will look soft and lumpy rather than round – pack it fuller than feels natural, and it will hold its cheerful shape.
Mix your sizes on one shelf. Because all three sizes use the exact same stitches, a quick afternoon can turn into a whole little pumpkin patch – one skein easily makes several small ones.
Try two colors in one pumpkin. Work half your rows in one shade and half in another for a two-tone effect, or switch colors every few rows for subtle stripes that read as natural pumpkin shading.
Prefer working in the round? You can build a similar ribbed effect without a seam: work a small foundation ring, then sc or hdc around and around in continuous rounds, going into the BLO of every stitch. Just note that the ribs will run around the pumpkin horizontally instead of pole to pole, since the ridge follows the round instead of the row – a different look, but every bit as pretty, and with no seam to sew at all.
No stem yarn to spare? Use a twig. A small dried twig or a bit of brown floral wire pushed into the top gather works just as well as a crocheted stem, if you want to skip Step 4 entirely.
However you finish it, you now have a genuinely cozy little decoration made from nothing more than a rectangle, a cinch, and some stuffing – and that is the kind of beginner project that makes you excited to start your next one.
Frequently Asked Questions
Can I skip the BLO stitch and still get a pumpkin shape?
Yes. Working through both loops instead of the back loop only will still give you a solid rectangle that seams into the same pumpkin shape – you will just lose the ridged, ribbed texture on the outside, so the finished pumpkin will look smoother rather than vertically ribbed.
Which size should a beginner start with?
The Medium size is the easiest place to start since the written instructions are worked for it directly, and its 25 rows give you plenty of practice with the back-loop-only stitch before you try the smaller or larger versions.
Can I substitute a different yarn weight?
You can, but you will need to change your hook size and row counts to match, since this pattern is written for worsted weight yarn (#4) with a 5.0mm hook – a thinner or bulkier yarn will change your gauge and the finished size.
How much stuffing does one pumpkin actually need?
Enough to feel firm all the way through with no soft spots when you squeeze it – most crocheters underestimate this, so pack in more than feels natural rather than stopping as soon as the tube feels full.
— NoraEvery pattern hand-tested