
Easy Crochet Scrunchie Pattern (Beginner Quick Win)
If you have ever wanted a truly instant crochet win, this is it. A crochet scrunchie takes almost no yarn, no fancy stitches, and often less than an hour…

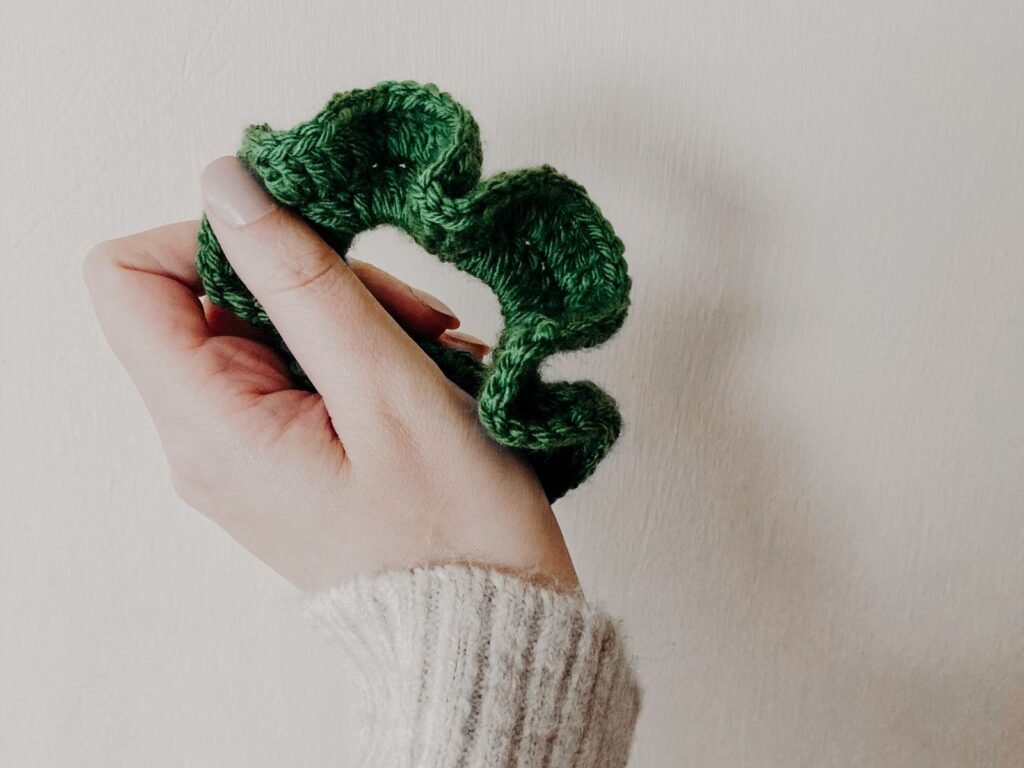
If you have ever wanted a truly instant crochet win, this is it. A crochet scrunchie takes almost no yarn, no fancy stitches, and often less than an hour from start to finish – which makes it the perfect project for using up leftover yarn, testing out a new color, or just proving to yourself that yes, you really can finish something you start in one sitting. All you are doing is covering a plain hair elastic in stitches until it ruffles up into that soft, poufy scrunchie shape. Let’s make one.
Jump to section
Materials
- DK or worsted weight yarn (yarn weight #3 or #4), a small amount – a few yards is genuinely enough, so this is a great way to use up scraps
- 4.0-5.0mm crochet hook (a smaller hook in this range gives a neater, more structured scrunchie; a larger hook gives a softer, fluffier one)
- One hair elastic – a plain, thin one without exposed metal parts works best, since metal can snag your yarn and make it hard to get your hook through
- Yarn needle
- Scissors
Abbreviations used in this pattern: ch = chain, sc = single crochet, hdc = half double crochet, dc = double crochet, sl st = slip stitch, st(s) = stitch(es).
A Quick Note on Your Elastic
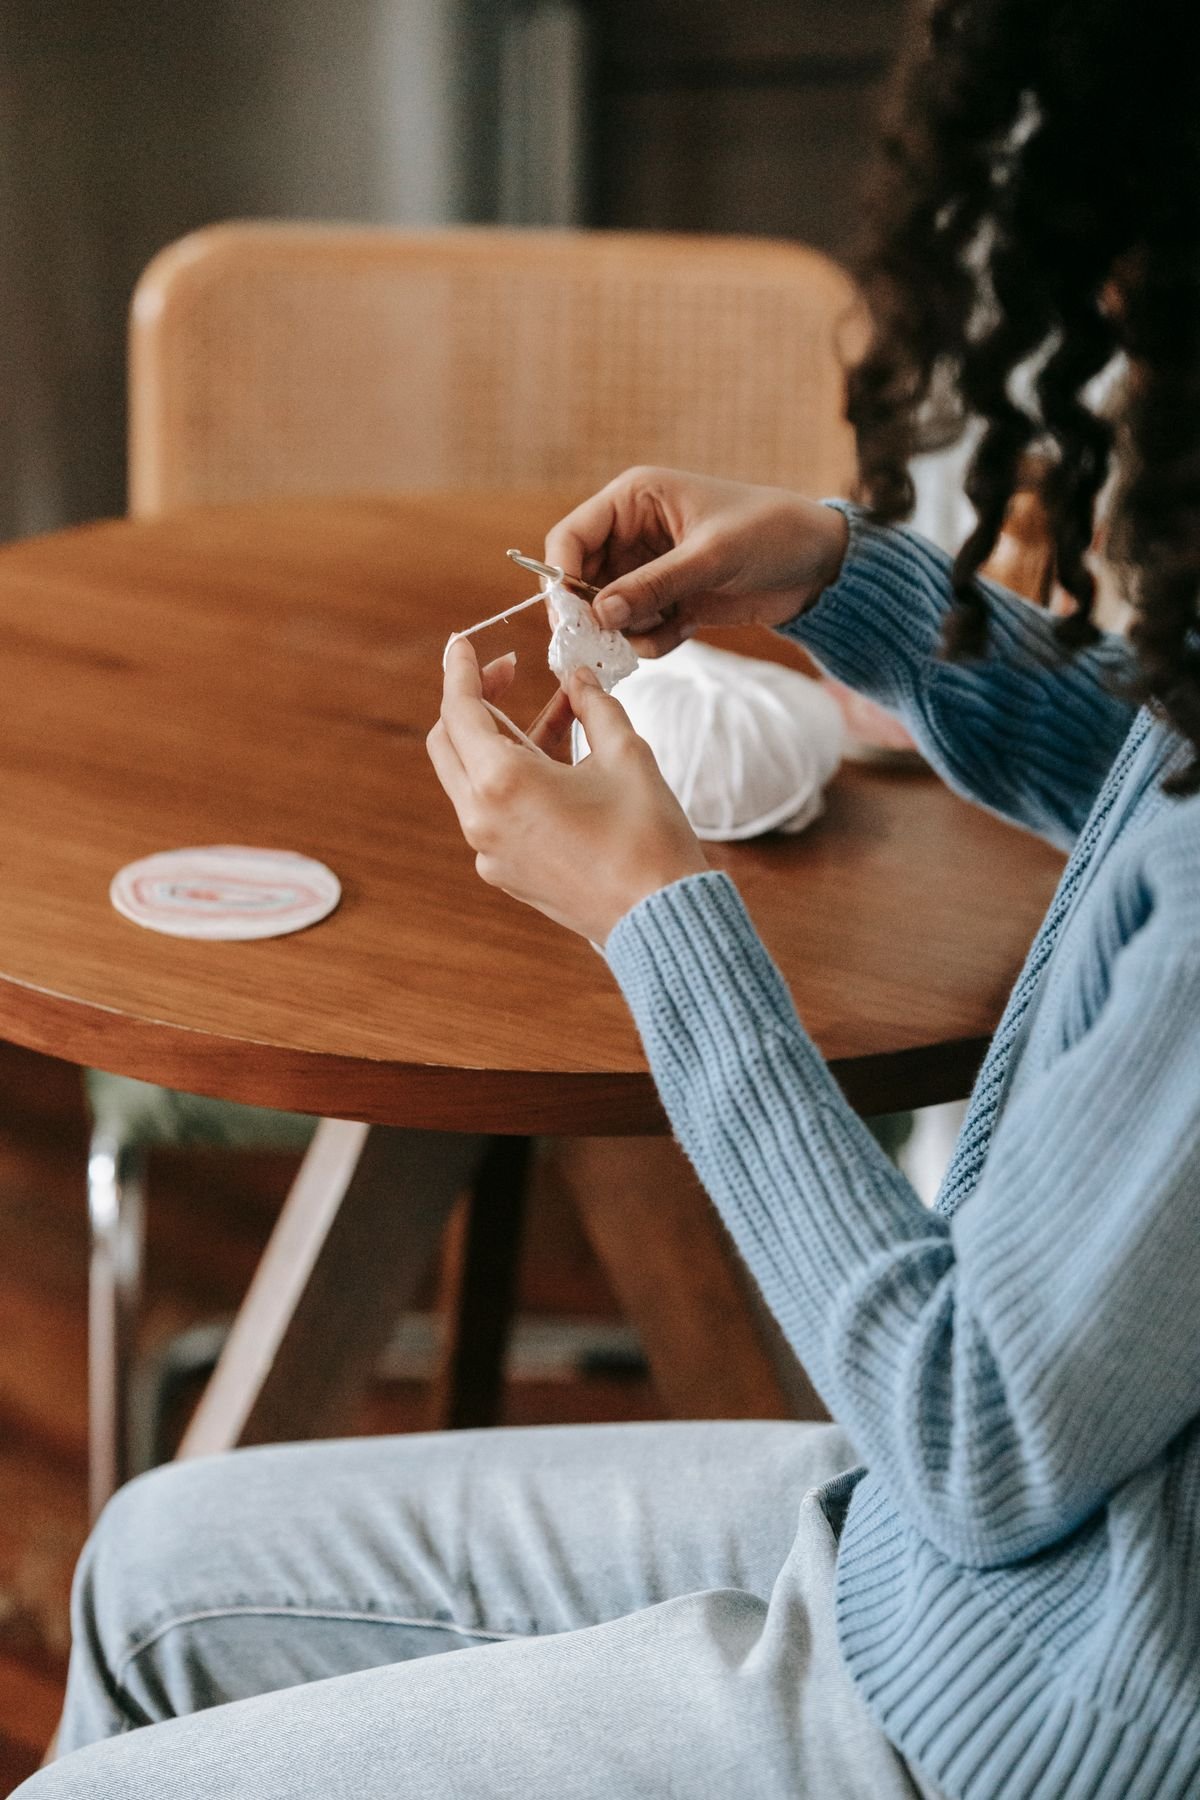
Any plain elastic hair tie will work, but a thinner one (rather than a thick, fluffy “scrunchie-style” elastic) is much easier for a beginner to crochet over cleanly, since your hook needs to slide through the loop of the elastic itself with every single stitch. Standard elastics are usually about 2.5-3 in (6-7.5 cm) around when relaxed – that measurement is what the stitch counts below are based on, so if yours is noticeably bigger or smaller, just use the coverage check further down rather than the exact numbers.
Unlike most crochet, you are not working into chains or into the tops of previous stitches here – you are working directly around and through the elastic band itself, treating it like one long stitch you cover completely.
The Pattern
Step 1: Attach Your Yarn
Make a slip knot and place it on your hook. Insert your hook through the center of the elastic band, then pull the slip knot loop through the elastic so your loop sits on the hook with the elastic caught inside it. Chain 1 – this small chain does not count as a stitch, it just anchors your yarn and sets you up to start your first sc right next to it.
Step 2: Work Stitches Around the Elastic
Insert your hook through the elastic again, right next to your starting chain, and work a sc: yarn over, pull up a loop through the elastic, yarn over, and pull through both loops on your hook. Continue working sc through the elastic this way, spacing each stitch closely against the last one, all the way around the band until you arrive back at your very first stitch.
How many stitches do you actually need? This is the one question every beginner asks, and the honest answer is: more than you think, and exactly enough to see the yarn ruffle. Here is a general guide for a standard 2.5-3 in (6-7.5 cm) elastic:
- For a soft, lightly ruffled scrunchie: work about 60-90 sc evenly around the band.
- For a fuller, poufier scrunchie: switch to hdc (roughly 50-70 sts) or dc (roughly 40-55 sts) instead of sc – taller stitches take up more room around the same fixed elastic, so the extra fabric has nowhere to go but ruffle outward.
The real test is not a magic number, though – it is coverage and pouf. Keep stitching around and around until the elastic is completely hidden inside your stitches, then check how it looks: sitting flat and smooth means keep going, gentle rippling at the edges means you are on track, and a full poufy ring means you can stop. Because you are always packing more stitches around a fixed-size loop than would ever lie flat, the extra fabric bunches up on itself – that bunching is the entire trick behind how a scrunchie gets its shape.
Step 3: Join and Fasten Off
Once you have worked all the way around and are back at your first sc, join with a sl st into that very first stitch (insert your hook into the stitch, yarn over, and pull through both the stitch and the loop on your hook at once). Fasten off, leaving a 6 in (15 cm) tail.
Finishing
Thread your yarn needle with the fastening-off tail and weave it through several nearby stitches, tucking it in among the ruffles rather than along a flat edge, then trim the end close to the fabric. Go back to your very first stitch and do the same with your starting tail. Give the scrunchie a gentle stretch and scrunch in your hands to help the stitches settle and fluff evenly all the way around – and that is it, it is ready to wear.
Variations to Try
Two colors, one scrunchie. Work half the round in one color and half in another – finish the last stitch before the switch with the new color already on your hook (yarn over and pull through with the new shade on the final pull-through of that stitch), then keep going.
A layered, extra-full look. Work a full first round of sc around the elastic as usual, join, and then work a second round of sc into the stitches of the first round instead of into the elastic itself – two ruffled layers stacked into one thicker, plusher scrunchie.
A tiny bow accent. Crochet a short scrap of chain and a row of sc back along it, tie it into a small bow, and tack it to one side of the finished scrunchie with a few stitches for a cute finishing touch.
Tips for Success
Go slower on your first pass around. It is easy to lose track of where you started once the elastic is covered in stitches – dropping a locking stitch marker into your very first sc as a placeholder makes finding it again effortless.
Chunkier yarn, fewer stitches. If you are working with a bulkier yarn than DK or worsted, you will need noticeably fewer stitches to reach the same ruffle – watch the fabric, not the stitch count, and adjust as you go.
Keep your tension relaxed. Scrunchies are forgiving of loose stitches (loose is actually part of the ruffly charm here), so do not fight your hook trying to make each stitch tight and even.
Test one before you batch them. Since gauge varies so much from person to person, work through one full scrunchie first, try it on your wrist or in your hair, and adjust your stitch count up or down before you commit to making a matching set.
A few yards of scrap yarn, one hair elastic, and less time than it takes to watch an episode of your favorite show – that is genuinely all this project asks of you, and the payoff is a little handmade something you will reach for every single day.
Frequently Asked Questions
How much yarn does one scrunchie really use?
Just a few yards – this is one of the best projects for using up small leftover balls of DK or worsted weight yarn, since a single scrunchie rarely uses more than a small fraction of a full skein.
What if my hair elastic has exposed metal parts?
Look for a plain, thin elastic without visible metal wherever possible, since metal parts can snag your yarn and make it harder to slide your hook cleanly through the loop with every stitch.
Can I make my scrunchie fluffier or more structured?
Yes – switching to a larger hook or taller stitches like hdc or dc gives a poufier result, while a smaller hook and sc stitches keep the scrunchie neater and more structured.
About how long does a crochet scrunchie take to make?
Most crocheters finish one in well under an hour, since it only involves working stitches around a single small elastic band rather than building up rows or rounds.
— NoraEvery pattern hand-tested



