How to Crochet the Moss Stitch (Linen / Granite Stitch)
If you have ever run your fingers over a piece of crochet fabric that looks almost woven, like a tiny basket or a piece of linen cloth, there is a good…


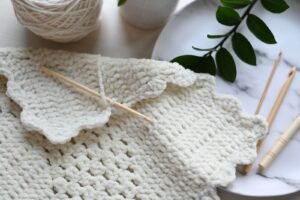
If you have ever run your fingers over a piece of crochet fabric that looks almost woven, like a tiny basket or a piece of linen cloth, there is a good chance you were looking at the moss stitch. It goes by a few different names depending on where you learned it or which pattern you are following – moss stitch, linen stitch, and granite stitch all describe the exact same combination of stitches, so do not let the different labels throw you. What makes this stitch such a favorite for beginners is not just the pretty texture, but how little there is to memorize: once you get past the first row, every single row after that is worked exactly the same way. That makes it one of the easiest textured stitches to pick up, and a wonderful one to practice your tension on before moving to more complex stitch patterns.
Jump to section
What You’ll Need
– Worsted (#4) weight yarn in a light or solid color, so the texture shows clearly while you are learning – A crochet hook sized for your yarn (a 5.0mm or 5.5mm hook works well with worsted weight) – Scissors and a yarn needle for weaving in ends
Quick abbreviation key before we start: ch (chain), sc (single crochet), sl st (slip stitch), and st (stitch). You will see all of these below.
Understanding the Moss Stitch Repeat
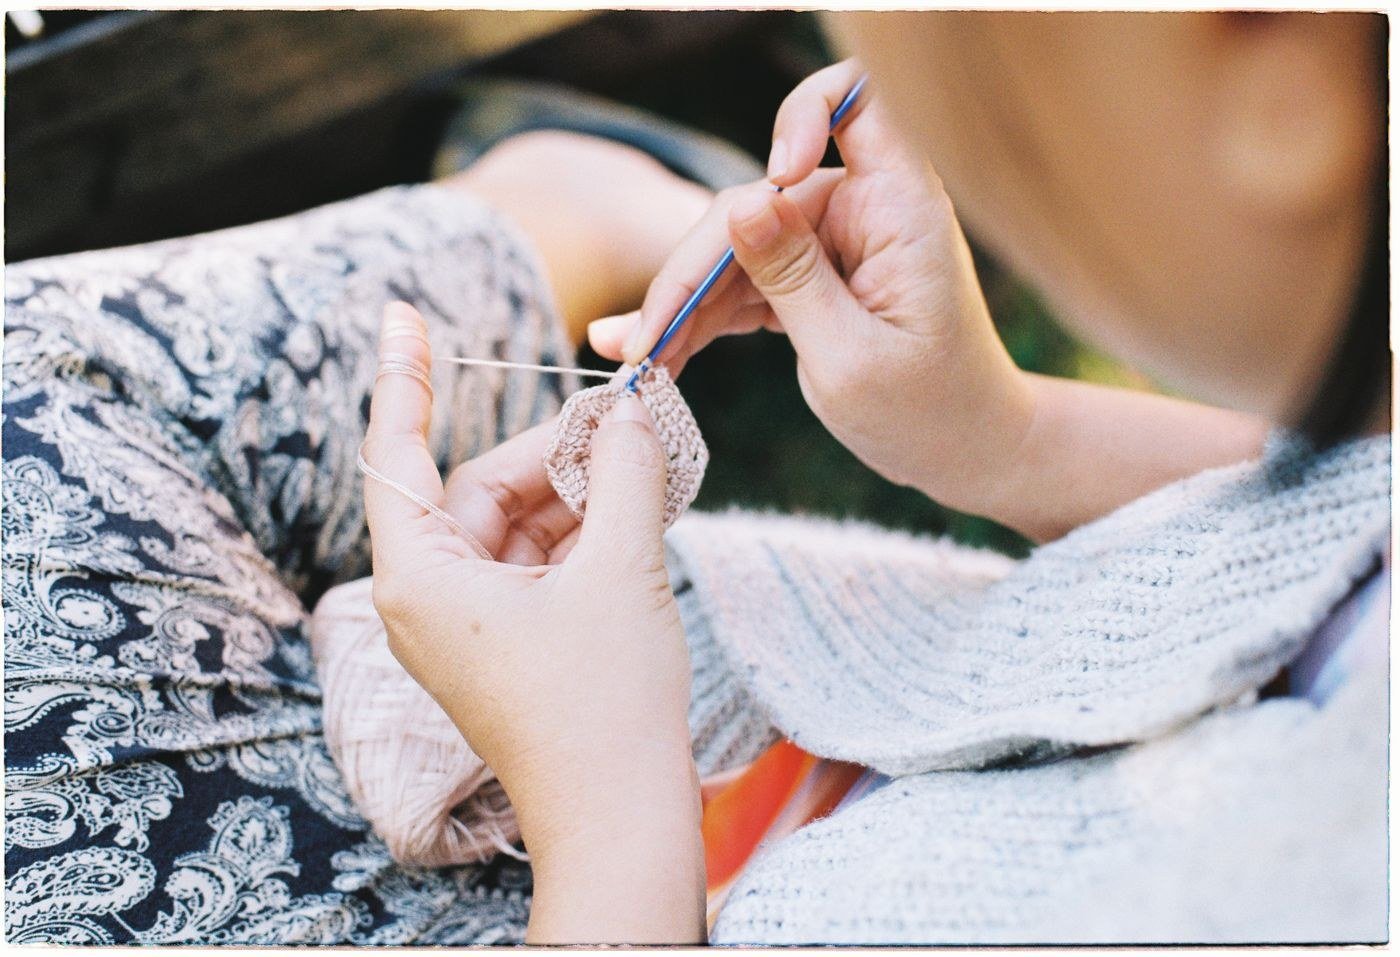
The moss stitch is built from just two stitches worked over and over: a sc and a ch 1. The trick that makes the fabric look woven is where you place each sc. Instead of stacking every sc directly on top of the sc below it, the way you would in plain single crochet, you place each new sc into the ch-1 space of the row below, and you skip over the sc stitch itself. Because the ch-1 spaces alternate position by half a stitch on every row, the little sc “dots” end up staggered in a brick-like pattern, which is exactly what creates that woven, textured look.
Step-by-Step: The Foundation Row
Chain an odd number of stitches to start. For practice, chain 21.
Row 1 (foundation row): Sc in the 2nd ch from the hook. *Ch 1, skip the next ch, sc in the next ch; repeat from * across to the end of the chain. Turn.
You should now have a row of sc stitches with a small ch-1 gap between each one.
Step-by-Step: The One-Row Repeat
Here is the row you will use for the rest of the piece, no matter how tall you want your fabric to grow.
Row 2 (the repeat row): Ch 1, turn. Sc into the first ch-1 space (not into the sc stitch itself). *Ch 1, skip the next sc, sc into the next ch-1 space; repeat from * across, ending with a sc into the last sc or turning space. Turn.
Repeat Row 2 for every row after this. That one row, worked again and again, is the entire moss stitch pattern. There is no second or third row to remember, no counting a multi-row sequence, and no risk of losing your place in a repeat – which is exactly why so many beginners reach for this stitch first.
Why It Looks Woven
Because each sc is deliberately placed into a gap rather than directly on top of the stitch below, the sc “bumps” shift sideways by half a stitch on every row. Line up several rows and your eye reads that offset pattern as a woven or basket-like grid, the same way a plain-weave fabric alternates threads over and under one another. It is a simple trick, but it is a very effective one, and it is why this stitch is often chosen for projects meant to look a little more sophisticated than basic single crochet.
Why It Uses Less Yarn
Compare a swatch of moss stitch to a same-sized swatch of solid double crochet, and you will notice the moss stitch swatch used less yarn. That is because roughly half of every row is an open ch-1 space rather than a solid stitch, so you are building the same amount of fabric with fewer actual stitches. This makes moss stitch a smart choice when you are working with a special or pricier yarn and want to stretch every skein a little further, or when you want a fabric with some drape and breathability rather than a dense, heavy one.
Beginner Tips
Keep your ch-1 spaces consistent. The single biggest thing that affects how neat your moss stitch looks is whether your ch-1 spaces are all the same size. If you chain loosely one row and tightly the next, the woven pattern will look uneven. Try to keep the same gentle tension on every chain stitch, and if you notice your spaces creeping looser or tighter as you go, pause and reset your grip before continuing.
Count your sc stitches, not your ch-1 spaces. Since the ch-1 spaces are easy to miscount, especially at the ends of a row, get in the habit of counting only the solid sc stitches across a row to check you have the same number as your foundation row.
Watch the very first and last stitch of every row. These edge stitches are the easiest place to accidentally skip or add an extra sc, since there is no ch-1 space immediately before or after them to guide your eye. Slow down at the beginning and end of each row until the placement feels automatic.
Use a stitch marker on your first stitch. Clipping a marker into the first sc of a row makes it much easier to find exactly where to turn and start your ch 1 again, especially in low light or with a busy-patterned yarn.
Where to Use the Moss Stitch
Moss stitch shows up often in scarves and cowls, where its light, airy structure gives you drape instead of stiffness. It is a popular choice for dishcloths and washcloths too, since the slightly nubby, woven texture is great for scrubbing. Because it uses less yarn than solid stitches, it is also a favorite for blankets and garment panels where you want a lighter-weight fabric, and its calm, even texture makes it a nice, low-fuss background stitch for adding stripes or color-blocking without the fabric getting bulky.
The Payoff
Once the one-row repeat clicks, the moss stitch becomes one of those patterns your hands can do almost on their own, leaving your mind free to relax into the rhythm of it. That is the whole appeal: a stitch simple enough to memorize in one sitting, but with a finished texture that looks far more deliberate and polished than the small amount of effort it actually takes. Practice it on a swatch a couple of times, and you will likely find yourself reaching for the moss stitch again and again whenever a project calls for something with a little more visual interest.
Frequently asked questions
Is moss stitch reversible, or does it have a right and wrong side?
Moss stitch looks almost the same on both sides since the sc and ch-1 pattern is fairly balanced, which is part of why it works so well for scarves and cowls that flip around while being worn. It is not perfectly identical front to back, but neither side looks unfinished the way plain single crochet’s back bumps sometimes can.
Do I have to start with an odd number of chains, or can I adjust the pattern for an even count?
The odd starting chain is what keeps the sc placement lining up correctly at both edges as the ch-1 spaces alternate position each row. If you need a specific finished width, add or subtract chains in pairs of two so you stay on an odd number rather than switching to an even count.
Does moss stitch fabric curl at the edges the way plain single crochet sometimes does?
No, moss stitch tends to lie flatter than solid single crochet because the open ch-1 spaces give the fabric more give and less tension pulling in one direction. It still benefits from a simple border on projects like dishcloths or blankets, mainly for a neater finish rather than to fight curling.
My stitch count keeps drifting after a few rows. What am I doing wrong?
This almost always comes from working into a ch-1 space that isn’t quite where you think it is, especially at the start or end of a row. Slow down at both edges and count only your sc stitches across the row, since the ch-1 spaces are easy to miscount.
Can moss stitch be used for a garment piece, not just a scarf or dishcloth?
Yes, its lighter yarn usage and drapey texture make it a good choice for cardigan panels or vests where you want fabric with movement instead of stiffness. Just swatch first, since the open structure means a garment piece will have a bit more stretch than one worked in solid double crochet.
— NoraEvery pattern hand-tested