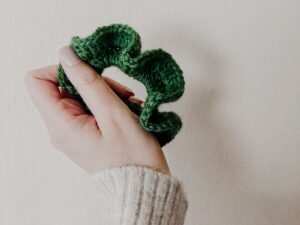
Easy Crochet Beanie Pattern for Beginners
A beanie is one of the best first hats a new crocheter can make. It uses only a couple of stitches you already know, it works up fast on one skein, and…

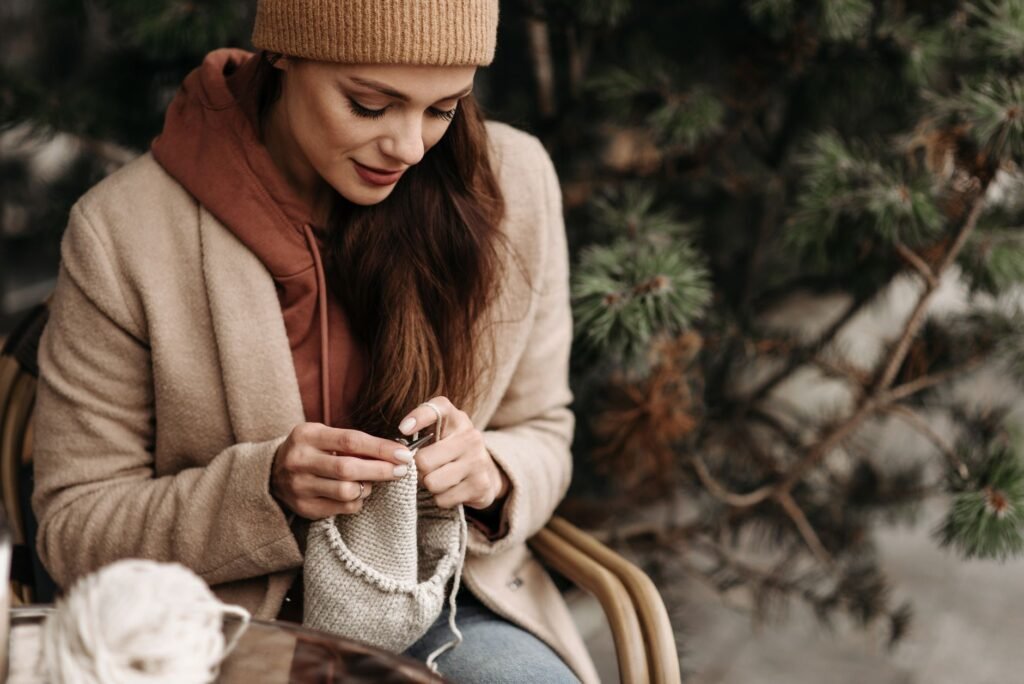
A beanie is one of the best first hats a new crocheter can make. It uses only a couple of stitches you already know, it works up fast on one skein, and once you understand the basic shaping, you can crochet a beanie for absolutely anyone in your life, from a newborn niece to your own head. This pattern is worked in the round in a continuous spiral, so there is no bulky seam to sew and no fiddly joining round to fuss over. We will build the crown first with a simple flat-circle increase, then work the body straight down to length, with two easy options for finishing the brim. Sizing is based on a real head-circumference measurement, so instead of guessing at a row count, you will measure your way to a hat that actually fits. Grab your hook, and let us get started.
Jump to section
Materials
- Worsted weight (#4) yarn, about 120 to 180 yards depending on the size you are making (one skein is usually plenty)
- 5.0mm (US H/8) crochet hook
- Yarn needle, for weaving in ends
- Stitch marker (a locking marker or a small scrap of contrasting yarn both work fine)
- Scissors
- Tape measure
Quick abbreviation key before we start: ch (chain), sc (single crochet), hdc (half double crochet), sl st (slip stitch), st (stitch), and MR (magic ring, the adjustable loop most patterns use to start a project in the round). You will see all of these below.
The Crown (Worked in Rounds)
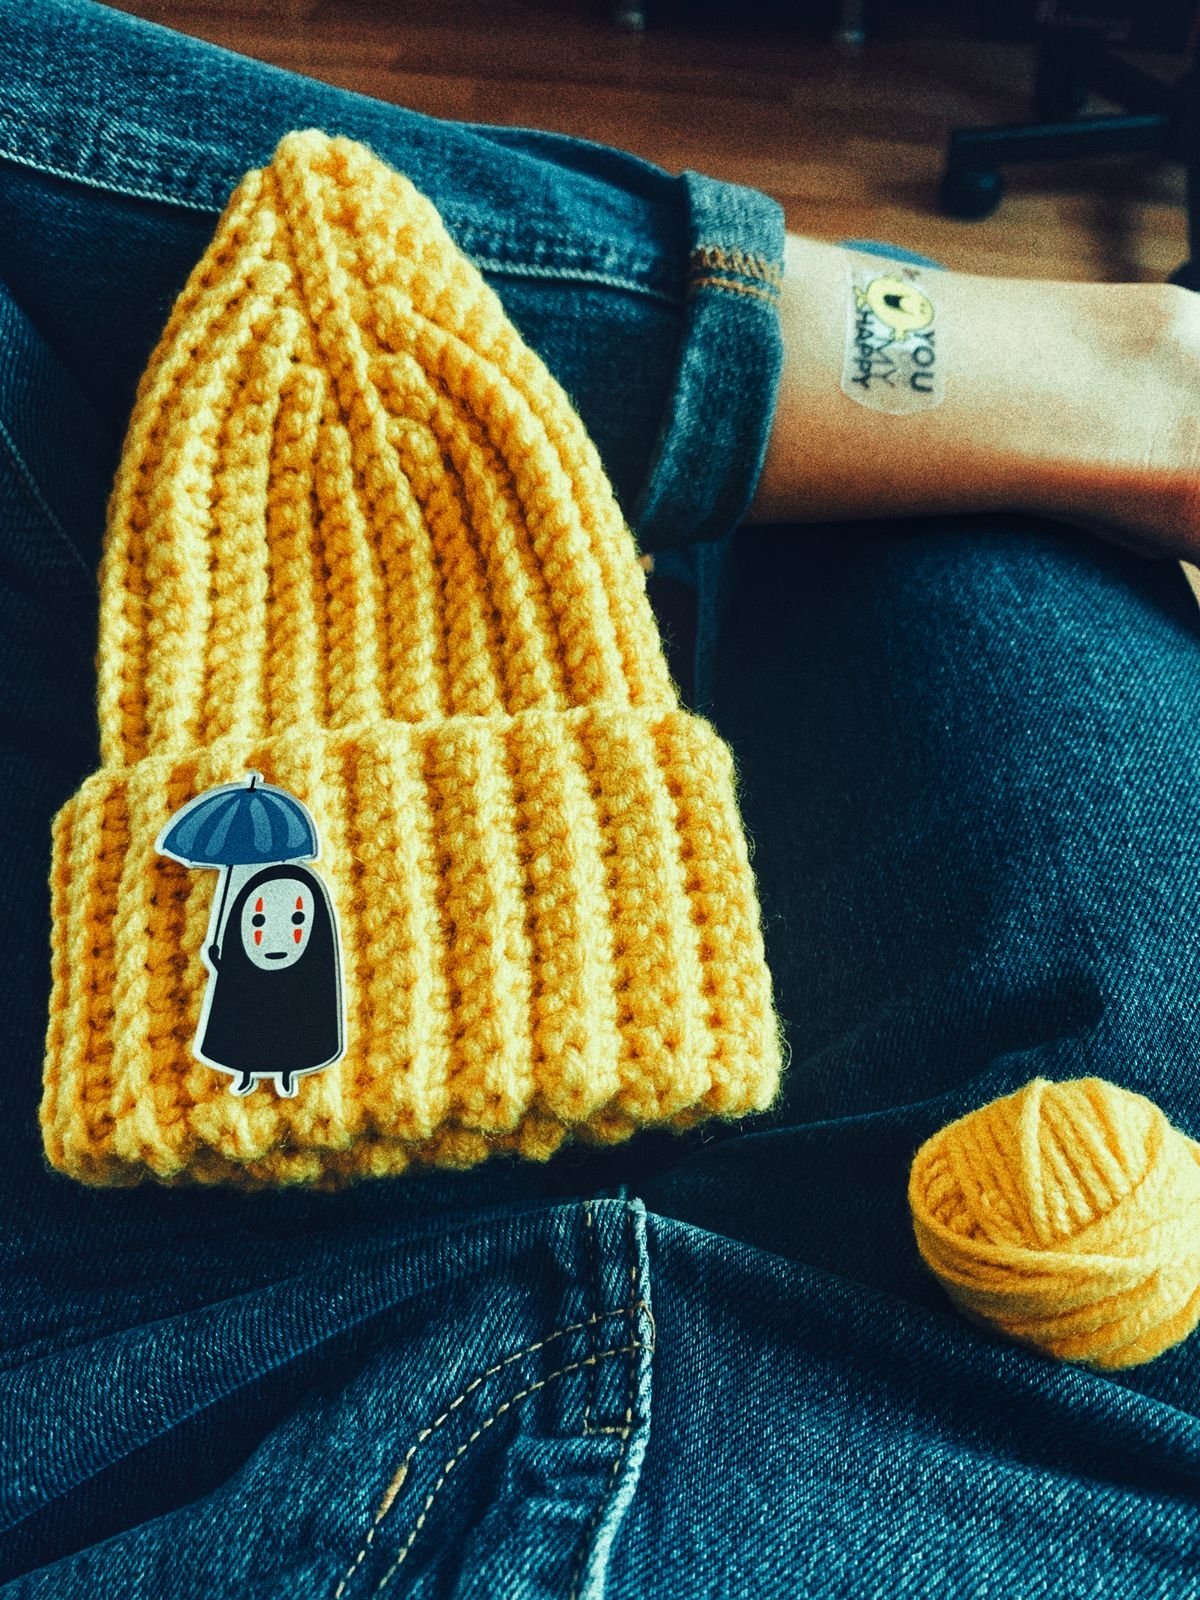
This beanie is worked in a continuous spiral, meaning you do not slip stitch and chain at the end of each round the way you might in a joined-round pattern. Instead, drop a stitch marker into the first stitch of round 1 and simply move it up into the first stitch of each new round as you go. That marker is how you will know where each round starts and ends.
Round 1: Make a MR and work 6 sc into the ring. Pull the tail to close the ring. (6 sts)
– If a magic ring feels tricky, chain 2 and work 6 sc into the second chain from the hook instead. You will get the same 6 stitches to build on.
Round 2: 2 sc in each st around. (12 sts) Round 3: *sc in next st, 2 sc in next st* repeat around. (18 sts) Round 4: *sc in next 2 sts, 2 sc in next st* repeat around. (24 sts) Round 5: *sc in next 3 sts, 2 sc in next st* repeat around. (30 sts) Round 6: *sc in next 4 sts, 2 sc in next st* repeat around. (36 sts) Round 7: *sc in next 5 sts, 2 sc in next st* repeat around. (42 sts)
Do you see the pattern? Each round, you add one more plain sc between increases, and you always add 6 stitches total. Keep repeating that logic (Round 8 would be “sc in next 6 sts, 2 sc in next st,” Round 9 would be “sc in next 7 sts,” and so on) until your circle reaches the target diameter for the size you are making, using the chart below.
| Size | Head circumference (approx) | Target crown diameter | Approx stitch count* | |—|—|—|—| | Baby (0 to 6 months) | 14 to 16 in | 4.5 to 5 in | about 30 to 36 sts | | Toddler (1 to 3 years) | 17 to 19 in | 5.5 to 6 in | about 36 to 42 sts | | Child (4 to 10 years) | 19 to 21 in | 6 to 6.5 in | about 42 sts | | Teen / Adult small | 20 to 22 in | 6.5 to 7 in | about 42 to 48 sts | | Adult standard / large | 22 to 24 in | 7 to 7.5 in | about 48 to 54 sts |
*Stitch counts are just a rough reference based on an average gauge of about 3 sc per inch. Your own gauge may run tighter or looser, so the diameter measurement is what actually matters. Lay your growing circle flat every couple of rounds and measure straight across the middle with your tape measure. The moment it hits the target diameter for your size, stop increasing.
Prefer a slightly taller, more textured stitch? You can work the exact same shaping in hdc instead of sc. Just follow the same round-by-round increase logic. hdc stitches are taller, so you will likely hit your target diameter in fewer rounds than the sc version above. Keep measuring rather than counting rounds and you cannot go wrong.
The Body
Once your crown measures the target diameter, stop increasing. From here, work even rounds with no shaping at all: 1 sc (or hdc, if that is what you used for the crown) in each st around, every round.
Continue even rounds until the hat reaches the following total height, measured flat from the very center of the crown down to the bottom edge:
- Baby: about 6 to 6.5 in
- Toddler: about 6.5 to 7 in
- Child: about 7 to 7.5 in
- Teen / Adult: about 8 to 9 in
If you plan to fold up a brim (see below), add another 1.5 to 2 in to those numbers before you stop.
The Brim: Two Easy Options
Pick whichever finish you like best. Both start from the same body.
Folded brim. The simplest option: just work your body 1.5 to 2 in longer than the heights above, then fold the extra length up and let it sit. No new stitches, no extra steps, just a slightly longer body.
Ribbed-look brim. For the last 4 to 5 rounds of the body, work each sc through the back loop only (the top loop of the stitch furthest from you) instead of through both loops as usual. Your stitch count stays exactly the same the whole time, but working through one loop instead of two leaves a small ridge behind each stitch, which stacks up into a subtle ribbed texture that hugs the head nicely.
Finishing
After your final round, join with a sl st to the first stitch of that round, then fasten off, leaving about a 6 in tail. Thread the tail onto your yarn needle and weave it in through several stitches to secure it. If there is a small gap at the very top of the crown from your starting magic ring, thread your beginning tail through that gap first and pull it snug closed before weaving that end in too.
Tips for a Custom Fit
- Try it on as you go. Once the crown is done and you have worked a couple of inches of body, slip the hat onto the intended wearer’s head. Crochet fabric stretches, so it is easier to judge fit in person than by the tape measure alone.
- When in doubt, size down. Crochet has natural stretch, so a beanie made to the exact head circumference often ends up a touch loose. Many crocheters aim for a finished circumference about 1 in smaller than the head it is for.
- Keep your tension even. Since this hat has no seam to hide an uneven row, consistent tension across every round is what makes the fabric look clean and professional.
- Count often. Recount your stitches at the end of every increase round in the crown. Catching a missed increase two rounds later is a five-minute fix; catching it after the whole crown is done means unraveling.
The Payoff
There is something deeply satisfying about a beanie you built stitch by stitch, watching a small ring of six turn into a full, wearable hat in an evening or two. Once you have made one in your size, you will find yourself sizing this same simple formula up and down for every person on your gift list, because now you know the real trick: it was never about following a fixed number of rows, it was about measuring as you went. Keep that hook moving, and stay warm.
Frequently Asked Questions
Can I use a different yarn weight for this beanie?
Yes. Switching to a lighter or heavier yarn works fine as long as you adjust your hook size and keep measuring the crown diameter and body height against the chart rather than relying on the stitch counts alone.
How do I know which size to make?
Measure the intended wearer’s head circumference and compare it to the size chart in the Materials section, then use your tape measure on the growing crown rather than counting rounds, since gauge varies from person to person.
How long does this beanie take to make?
Most crocheters finish a beanie like this in a single evening or two, since it uses one skein and a simple, repetitive stitch pattern.
What is the most common mistake when crocheting this hat?
Losing track of the stitch marker or forgetting to switch from increasing to even rounds once the crown reaches its target diameter, which throws off the shape of the finished hat.
— NoraEvery pattern hand-tested