Easy Crochet Baby Blanket Pattern for Beginners
Few first projects feel as rewarding as a baby blanket. It is bigger than a hat or a scrunchie, which makes it feel like a real accomplishment, but it…

Few first projects feel as rewarding as a baby blanket. It is bigger than a hat or a scrunchie, which makes it feel like a real accomplishment, but it uses just one stitch from start to finish, worked in plain straight rows, so there is nothing tricky to learn along the way. This pattern makes a soft, squared-off blanket sized for a stroller, bassinet, or car seat, about 30 by 30 inches, finished with a simple border so the edges lie flat instead of curling. It is the kind of project you can pick up for ten quiet minutes at a time and watch grow week by week, which makes it a lovely, calming make whether you are crocheting for your own baby or for someone else’s. There is no counting complicated repeats or flipping back to check a stitch chart here; once you learn the one row that builds this whole blanket, your hands can more or less relax into the rhythm while your eyes are free to watch a show or chat with a friend.
Jump to section
Materials
- Worsted weight (#4) yarn in a soft, machine-washable fiber, such as acrylic, a superwash wool blend, or a cotton-acrylic blend
- about 900 to 1,100 yards for a 30 by 30 in blanket (roughly 2 to 3 skeins, depending on the brand)
- 5.0 to 5.5mm crochet hook
- Yarn needle
- Scissors
- Tape measure
A quick word on yarn choice: baby blankets get washed often, so pick something labeled machine washable and dryer safe. Soft acrylic or a cotton blend is a kind, practical choice against baby skin, and it is worth skipping any sewn-on buttons, beads, or fringe on a blanket meant for a very young baby, since loose bits can become a hazard.
Abbreviation key: ch (chain), hdc (half double crochet), st (stitch), and sc (single crochet), which we will use for the border. You will not need any other abbreviations for this project.
The Pattern: One Stitch, Start to Finish
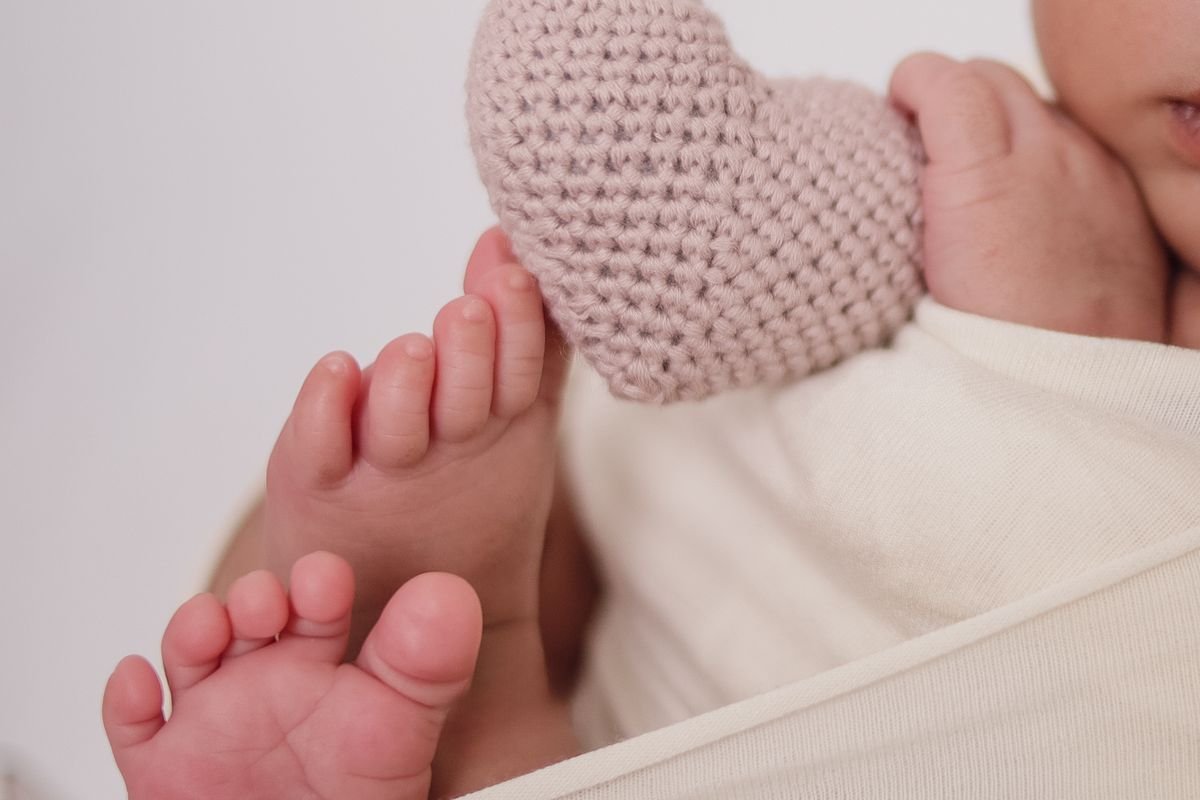
This whole blanket is worked in hdc (half double crochet), in straight rows, turning at the end of each row like a normal piece of fabric. There is no stitch multiple to match here, meaning any starting chain length will work; you are simply making one long chain, then working the same row over and over until the piece is square.
hdc is a good fit for a beginner blanket because it works up noticeably faster than sc (single crochet) while still making a dense, warm, non-holey fabric that will not let little fingers poke through, and it is more forgiving of small tension changes than a taller stitch like dc (double crochet) would be. In other words, it sits right in the sweet spot between quick and sturdy.
A typical gauge for hdc with worsted (#4) yarn and a 5.0 to 5.5mm hook is about 3 sts and 2 rows per inch, though your own tension may run a little different. Swatch a small piece first if you can, and use the chain and row counts below as a solid starting point, adjusting as needed based on what you actually measure.
Foundation chain: Chain 92.
Row 1: hdc in the third chain from the hook (the two skipped chains act as your first hdc), then hdc in each chain across. Turn. (90 sts)
Row 2 (repeat this row for the entire blanket): Ch 2 (this counts as your first hdc of the row), hdc in each st across, then hdc in the top of the turning chain from the previous row. Turn. (90 sts)
That is genuinely the whole pattern: repeat Row 2 until the blanket measures about 30 in long, which typically works out to around 60 rows at the gauge above. Check your width and length with a tape measure every ten rows or so rather than waiting until the end, so you can adjust your row count if your gauge runs looser or tighter than the estimate.
The Border
Once your blanket is the length you want, do not fasten off. Instead, turn the corner and work a border directly onto the piece.
Round 1: Ch 1, then sc evenly down the side edge of the blanket (working into the ends of the rows; a good rule of thumb is about 2 sc for every 3 rows, adjusting so the edge lies flat rather than pulling in or rippling out). Work 3 sc into the corner stitch to turn the corner. Sc in each stitch across the bottom (the foundation chain edge). Work 3 sc in the next corner. Sc evenly up the second side edge, matching what you did on the first side. Work 3 sc in the next corner. Sc across the top edge (your final row of hdc). Work 3 sc in the last corner. Join with a sl st to your very first sc of the round.
Round 2 (optional, for a slightly firmer edge): Ch 1, sc in each st around, again working 3 sc into each corner stitch to keep the corners square instead of rounded. Join with a sl st and fasten off.
Finishing
Weave in every end securely with your yarn needle, since a baby blanket gets tugged, washed, and loved hard. If the edges are not lying quite flat, a light blocking (laying it flat, misting it with water, and letting it air dry) will smooth things out, though it is optional. Give the finished blanket a gentle wash in your washing machine on a delicate cycle before gifting it, both to soften the fibers and to confirm it holds up exactly the way you expect it to.
Making It Your Own
This pattern is written as one solid color, but it takes almost no extra skill to personalize. To add stripes, simply switch to a new color at the start of any row instead of continuing with the old one, and weave in the color changes as you go rather than saving them all for the end. To make the blanket bigger, such as for a toddler bed instead of a stroller, just chain longer at the start and work more rows, always checking your gauge swatch first so you know roughly how many extra chains and rows to add for the size you want.
Tips for a Soothing, Successful Make
- Count your stitches every few rows. Since every row is identical, a single missed or extra hdc early on will carry through the entire blanket. A quick recount every five rows or so catches mistakes while they are still a thirty-second fix.
- Keep a consistent turning chain. Always chain 2 at the start of a row and treat it as your first stitch. Skipping this is the most common reason a beginner’s edge starts creeping narrower row by row.
- Do not rush the gauge check. Ten extra minutes swatching before you start can save hours of ripping back later if your real gauge runs different from the estimate above.
- Let it be a slow project. There is no reason to finish a baby blanket in one sitting. A few rows a night, over a few weeks, is a completely normal and enjoyable pace.
The Payoff
A finished baby blanket has a way of feeling much bigger than the sum of its stitches. It is the sort of handmade gift that gets kept for years, dragged along on every car trip, and eventually handed down to a sibling or a cousin. All it took was one stitch, repeated with patience, row after row. That is the whole secret behind every cozy blanket you have ever admired, and now you know it too.
Frequently Asked Questions
Can I substitute a different yarn for this blanket?
Yes, as long as it is a soft, machine-washable worsted (#4) weight yarn; acrylic, superwash wool blends, and cotton-acrylic blends are all good choices for something a baby will use often.
How do I make the blanket a different size?
Chain a longer or shorter foundation and work more or fewer rows, checking your gauge swatch first so you can estimate how many extra chains and rows you will need for the size you want.
How long does this blanket take to finish?
Since it is worked a few rows at a time, most people spread it over several sittings across a few weeks rather than finishing it in one go, though the stitch itself is quick to repeat.
What is the most common mistake beginners make with this pattern?
Forgetting the turning chain at the start of a row, which gradually narrows the edge, or not recounting stitches often enough to catch a missed or extra hdc early.
— NoraEvery pattern hand-tested