Easy Crochet Crossbody Bag Pattern (Beginner)
A crochet crossbody bag is one of those projects that looks far more advanced than it actually is. This version is built from a single rectangle that…


A crochet crossbody bag is one of those projects that looks far more advanced than it actually is. This version is built from a single rectangle that gets folded in half and seamed up the sides, so there are no tricky increases or fancy shaping to worry about, just straight rows of a stitch you already know. Add a long strap, and you have a genuinely wearable, giftable, sellable little bag that finishes at a practical 7 by 8 inches, plus an optional flap and button if you want a closure. It is a satisfying next step after smaller makes like a scrunchie or a cup cozy, using the exact same skills at a slightly bigger scale.
Jump to section
Materials
- Worsted weight (#4) yarn
- about 250 to 350 yards, depending on your strap length and whether you add a flap (one skein is usually enough)
- 5.0mm crochet hook
- Yarn needle
- Scissors
- Tape measure
- Optional: 1 button for the flap closure, and a scrap of lightweight fabric if you want to line the bag
A fiber note: a sturdier yarn, such as cotton or a cotton-acrylic blend, gives a bag more structure and less stretch than a soft, springy acrylic. Either works for this pattern; cotton will just hold its shape a little better under the weight of your phone and wallet.
Abbreviation key: ch (chain), sc (single crochet), st (stitch), and sl st (slip stitch). This pattern uses sc throughout, though you could substitute hdc for a slightly taller, quicker-working fabric if you prefer.
The Pattern: The Body
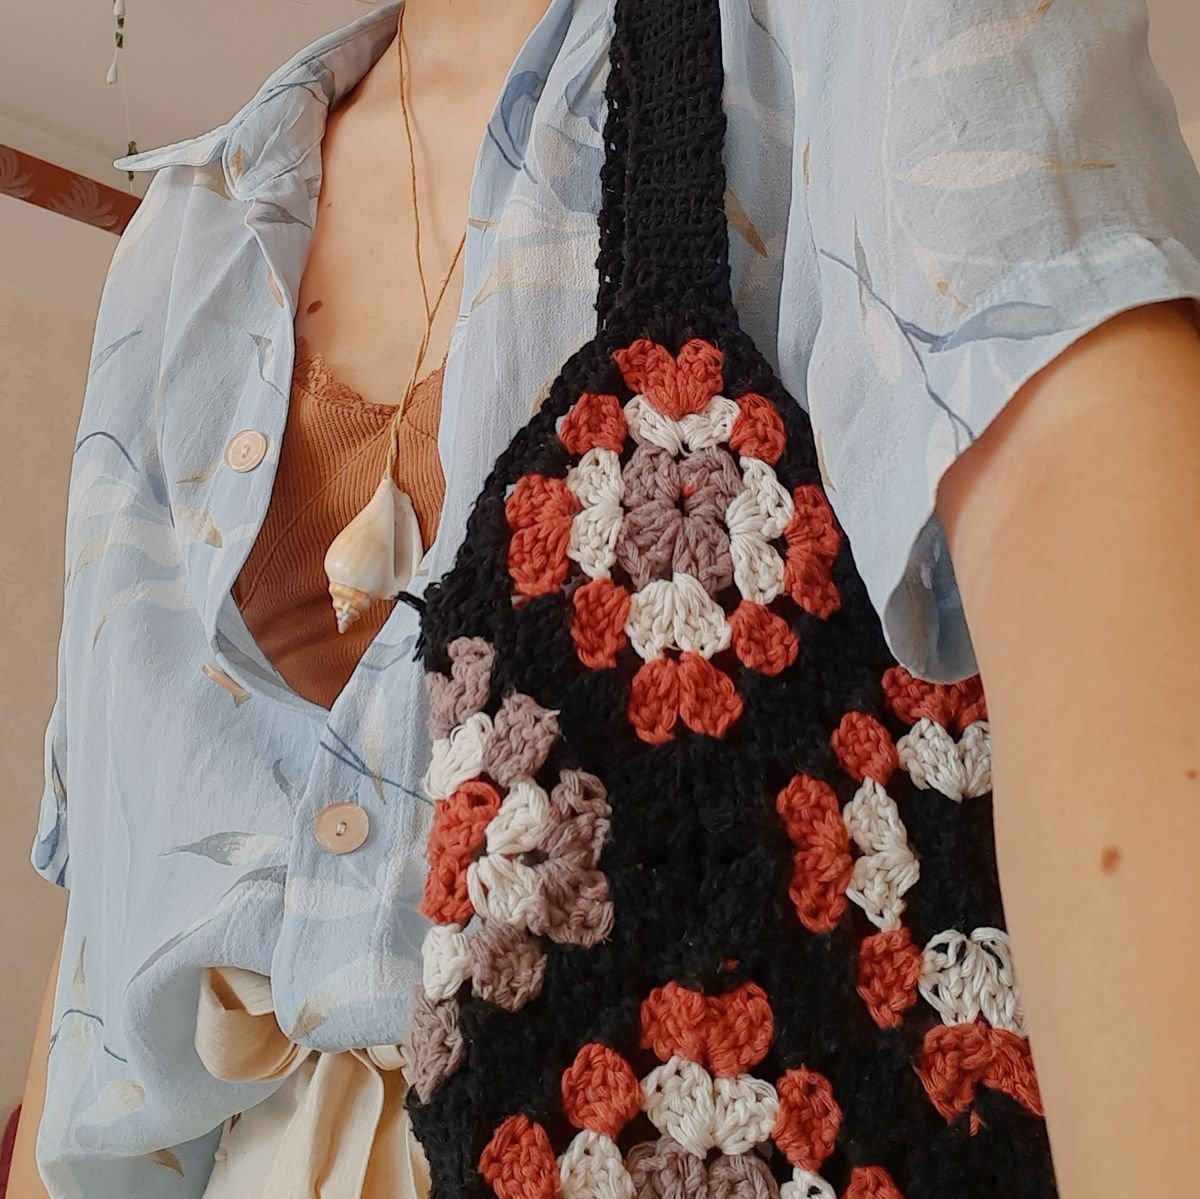
A gauge of about 3 sts and 3 rows per inch is typical for sc worked with worsted (#4) yarn and a 5.0mm hook, though your own tension may differ. Swatch a small piece first if you would like to confirm your numbers before committing to the full bag.
Foundation chain: Chain 22.
Row 1: sc in the second chain from the hook and in each chain across. Turn. (21 sts)
Row 2 (repeat this row): Ch 1, sc in each st across. Turn. (21 sts)
Repeat Row 2 until the piece measures about 16 in long, which typically works out to around 48 rows. This single rectangle, about 7 in wide by 16 in long, will fold in half to form the front and back of the bag, each about 7 in wide by 8 in tall. Fasten off here if you are not adding a flap (see the optional flap section below), or continue directly into the flap rows without fastening off.
Assembly
Fold the rectangle in half widthwise, bringing the very last row you worked up to meet the foundation chain edge. The fold itself becomes the bottom of the bag, so you do not need to seam it. Using your yarn needle and a length of matching yarn, whip stitch (or sc through both layers, whichever feels more natural to you) up each side edge, working from the fold at the bottom all the way to the top opening. Leave the top open. Weave in the seaming tails when each side is done.
The Strap
Chain 4.
Row 1: sc in the second chain from the hook and in each chain across. Turn. (3 sts)
Row 2 (repeat this row): Ch 1, sc in each st across. Turn. (3 sts)
Repeat Row 2 until the strap measures about 42 in, which fits most adults for a true crossbody drape; go shorter, closer to 38 in, for a shoulder-bag length, or longer, up to 45 in, for a lower, more relaxed hang. Fasten off.
Attach the strap. Pin one end of the strap to the inside of the bag at the top of one side seam, overlapping it by about 1 in, and do the same with the other end at the opposite side seam. Because the strap has to carry the full weight of the bag, sew through both layers several times at each end with your yarn needle rather than a single quick pass. This one detail is the difference between a strap that holds for years and one that pulls loose after a few wears.
Optional Flap and Closure
If you would like a flap, work it directly onto the back panel instead of fastening off after Row 48 above.
Flap Row 1: Ch 1, sc in each st across. Turn. (21 sts)
Flap Row 2: Ch 1, sc across, but stop 2 sts before the end of the row, leaving those last 2 sts unworked. Turn. (19 sts)
Repeat Flap Row 2 for 4 more rows, tapering by 2 sts at the end of every row (your counts will run 17, then 15, then 13, then 11 sts), until the flap comes to a narrow, gently rounded point. Fasten off.
Fold the flap down over the front of the bag to decide where your button should sit, then sew a button to the front panel at that spot. For the closure loop, chain 8 to 10 stitches (test the loop against your button before fastening off) and stitch both ends of that little chain securely to the tip of the flap.
A lining note. If you want extra structure, especially with a stretchier acrylic yarn, cut a piece of lightweight cotton fabric slightly smaller than the inside of the bag, fold the raw edges under, and whip stitch it in place by hand along the inside seams and top opening. This step is entirely optional, but it helps the bag hold its shape and keeps small items from poking through the stitches.
Finishing
Weave in every remaining end, and give both strap attachment points a firm tug to confirm they are secure before the bag goes into regular use. If you lined the bag, double check the lining is caught neatly at the top opening so no raw fabric edge shows.
Tips for a Sturdier Bag
- Keep your tension snug, not tight. A slightly firmer gauge than you might use for a blanket helps the bag hold its shape and keeps small items from poking through the stitches.
- Count rows, not just inches. Since both halves of the rectangle need to match for a straight fold, tracking your actual row number is more reliable than eyeballing the tape measure alone.
- Reinforce anywhere there is stress. The strap ends and the corners of the top opening take the most wear, so a few extra stitches in those spots go a long way.
- Cotton for structure, acrylic for softness. Choose based on whether you want the bag to hold a crisp shape or drape a little softer.
The Payoff
What starts as one plain rectangle turns, fold by fold and seam by seam, into a bag you would actually reach for on your way out the door. That is the real trick behind so many beginner-friendly makes: the shaping is often simpler than the finished object suggests. Add your strap, maybe a flap and button, and you have got yourself a genuinely wearable piece made with your own two hands.
Frequently Asked Questions
What yarn works best for this bag?
A sturdier fiber like cotton or a cotton-acrylic blend gives the bag more structure and less stretch than a soft acrylic, though either will work for the pattern as written.
Can I make the strap longer or shorter?
Yes. The pattern gives a range from about 38 inches for a shoulder-bag length up to 45 inches for a longer, more relaxed crossbody drape, so you can adjust to your own preference.
Do I need to add the flap and button?
No, the flap and closure are optional. The bag is fully functional as an open-top rectangle if you fasten off after the body and skip straight to attaching the strap.
What is the most common mistake when making this bag?
Not reinforcing the strap ends with several passes of stitching, since the strap carries the full weight of the bag and a single pass is more likely to pull loose over time.
— NoraEvery pattern hand-tested