Easy Crochet Heart Pattern (Free Beginner Applique)
A crochet heart might be the single fastest way to fall in love with this craft. It takes one small ball of yarn, about ten minutes, and a handful of…

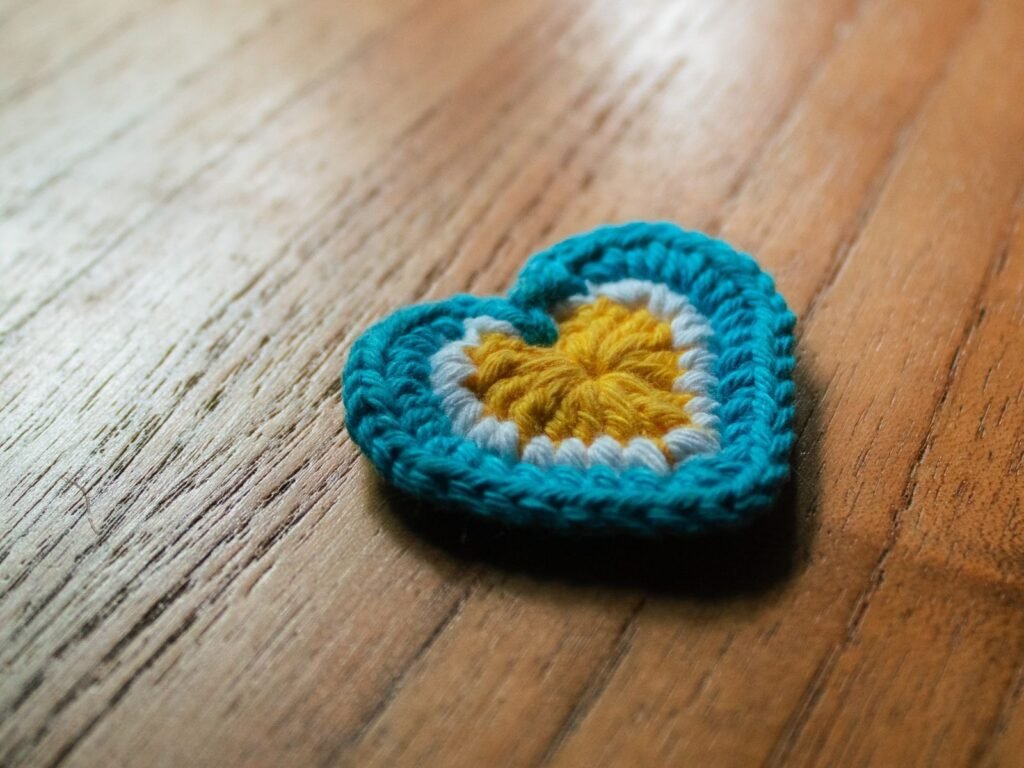
A crochet heart might be the single fastest way to fall in love with this craft. It takes one small ball of yarn, about ten minutes, and a handful of stitches you may already know – and yet the payoff is a genuinely sweet little shape that looks like it took real skill to make. This pattern builds the whole heart in one continuous round, worked out from a single magic ring, so there is no seaming and no separate pieces to match up. It is also a lovely way to practice recognizing your stitches by height, since every stitch in this pattern – from the shortest single crochet to the tallest treble – sits right next to its neighbors, so you can see the size difference clearly as you work. Once you have made one, you will want to make a dozen – for a garland, a stack of keychains, a handmade card, or just a little pile of hearts sitting on your desk. Let’s make one together.
Jump to section
Materials
- Worsted weight (#4) yarn
- any leftover scrap is enough, since each heart uses just a few yards
- 5.0mm (H-8) crochet hook
- Yarn needle, for weaving in ends
- Scissors
- Optional: a small pinch of stuffing and a key ring or jump ring, if you are making a keychain (see the variations below)
A Note on Size and Gauge
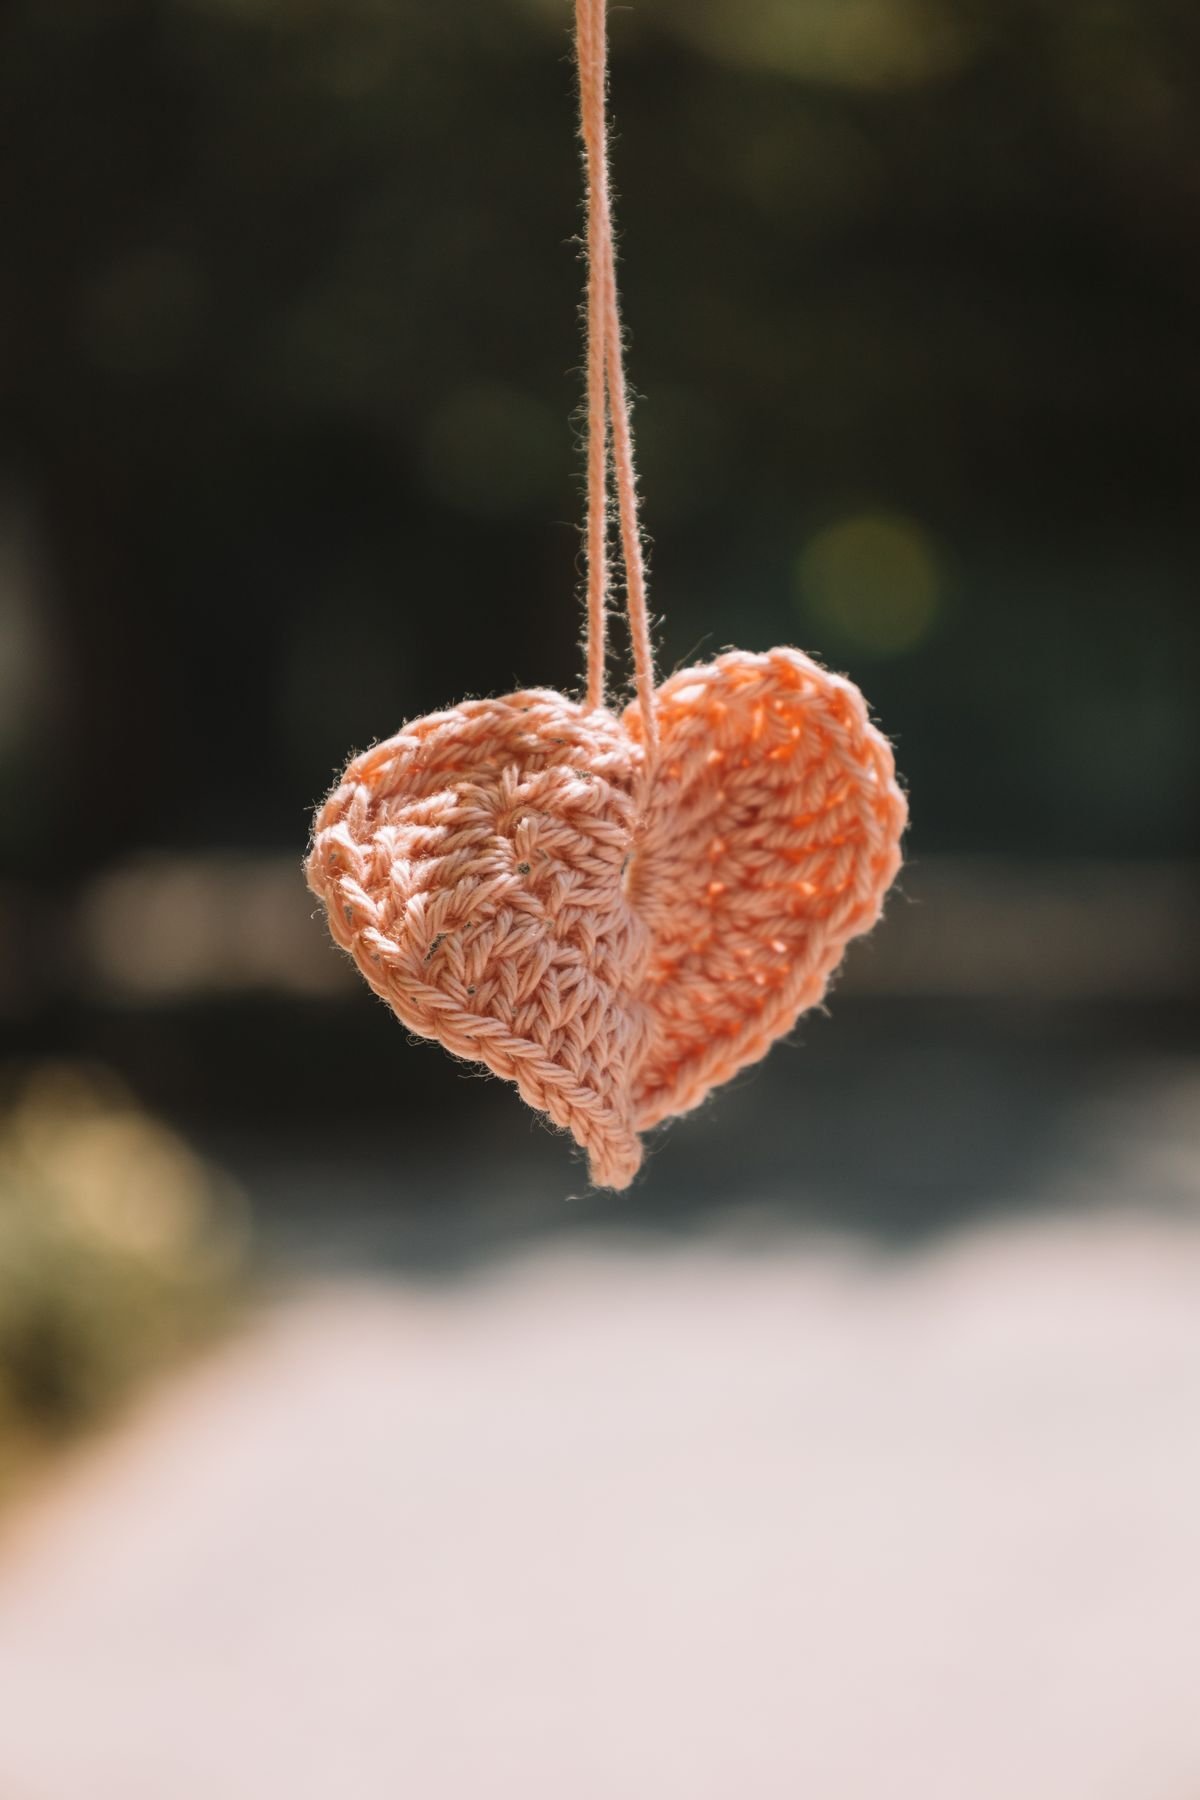
Exact gauge does not matter much for a project this small – a slightly tighter or looser hand will just make your heart a little smaller or larger, and either one will still look like a heart. Working the pattern as written with worsted weight yarn and a 5.0mm hook gives a finished heart about 2 inches wide. If you want a tinier heart for a single earring or a very small keychain, drop down to a 3.5mm hook and a DK weight yarn; for a larger one to use as a small wall hanging, go up to a 6.0mm hook with a bulky yarn instead. The stitch counts stay exactly the same no matter which size you pick.
Abbreviations
- MR = magic ring (an adjustable loop you crochet into, then pull closed – it leaves no hole at the center, which matters here because the ring becomes the point of the heart)
- ch = chain
- sc = single crochet
- hdc = half double crochet
- dc = double crochet
- tr = treble crochet (also called triple crochet)
- sl st = slip stitch
- st(s) = stitch(es)
Making the Heart (Round 1)
This entire heart is one round, worked directly into the magic ring. You are not joining or turning between steps until the very end – just keep working into the same ring, stitch after stitch. The trick that makes it look like a heart is simple: the stitches get taller and then shorter again, twice, with one flat stitch in the middle to pinch in the notch at the top center.
Make a magic ring, but do not close it yet.
Work all of the following directly into the ring, in this order:
- 2 sc
- 3 hdc
- 3 dc
- 1 tr
- 3 dc
- 3 hdc
- 2 sc
That is your first bump – 17 sts, rising from short to tall and back down to short again, which curves into one rounded lobe of the heart.
Now work 1 sl st into the ring. This single flat stitch is what pulls the top of the heart inward, creating the little dip between the two bumps.
Work the second bump as a mirror of the first, directly into the same ring:
- 2 sc
- 3 hdc
- 3 dc
- 1 tr
- 3 dc
- 3 hdc
- 2 sc
Join with a sl st into the very first stitch of the round to close it. (36 sts total, plus your closing join)
Now pull your starting yarn tail firmly to close the magic ring all the way. Watch what happens: the base of the ring cinches down into a single point, while the graduated stitches above it fan out into two soft, round bumps with a notch between them – a heart.
Fasten off, leaving a 6 inch tail for sewing or joining.
Finishing
Weave in your starting tail through the back of the stitches at the point, so it stays hidden, and save your ending tail for whatever you are attaching the heart to. Give the heart a gentle stretch and pat it flat with your fingers – the stitches will settle into shape within the first minute or two. If you want a slightly crisper edge, a light steam from an iron held a few inches away (never touching the yarn directly) will help it lie flat.
Turning One Heart Into a Garland, Keychain, Applique, or Card
The same small heart works for almost anything, with one tiny change each time.
For a garland: make several hearts, then lay out a length of chain as long as you want the garland to be, and use your yarn needle to tack the top of each heart onto the chain at even intervals.
For a keychain: make two hearts instead of one. Hold them wrong sides together and single crochet (or whip stitch, if you would rather sew) around the outer edge to join them, leaving a small gap. Tuck a pinch of stuffing inside for a bit of dimension, slide a folded loop of yarn or a metal jump ring into the top notch, then close the gap. Attach a key ring to the loop.
For an applique: the single-layer heart is already exactly what you need – just pin it to a hat, bag, or sweater and sew around the outer edge with matching or contrasting thread.
For a card: stitch or glue a flat heart onto folded card stock, or leave a long tail and stitch it directly through the paper for a handmade, textured touch.
For a brooch: stitch or glue a small pin backing to the back of a flat heart, and wear it as a tiny handmade accessory on a coat or bag.
Tips for Beginners
Do not pull the ring closed too soon. It is tempting to cinch the magic ring tight before you start, but you need it loose enough to comfortably fit all 36 stitches. Work the whole round first, then pull the tail to close it at the end.
Count as you go. If your two bumps do not look symmetrical, stop and count stitches in each section before moving on – it is much faster to fix 3 stitches than to rip out an entire bump.
Treble crochet feels tall – that is correct. The single tr at the peak of each bump is meant to stand up taller than everything around it. That height is what rounds out the top of each bump instead of leaving it pointed.
Weave in ends at the point, not the notch. The center point is naturally hidden when the heart is attached to something, which makes it the easiest spot to bury a tail invisibly.
Different hook, different size, same steps. If your finished heart comes out bigger or smaller than you expected, that is almost always the hook talking rather than a mistake in your stitching – size down for a petite heart, size up for a bigger one, and the stitch counts in this pattern stay exactly the same either way.
You now have a whole technique in your hands, not just one project – the same little heart that took you ten minutes tonight can become a windowful of garland, a basket of keychains, or a stack of handmade cards by next week. That is the best kind of beginner pattern: simple enough to make in one sitting, useful enough to make again and again.
Frequently Asked Questions
Can I make the heart a different size?
Yes. Using a smaller hook with a lighter yarn, such as a 3.5mm hook with DK weight, makes a smaller heart, while a larger hook with bulky yarn makes a bigger one; the stitch counts stay the same either way.
How long does one heart take to make?
Most crocheters finish a single heart in about ten minutes, since it is worked in one continuous round from a magic ring with no seaming.
What is the most common mistake when making this heart?
Pulling the magic ring closed too tightly before working all the stitches into it, which makes it hard to fit all 36 stitches; leave the ring loose until the round is complete.
Can I turn one heart into a keychain or garland?
Yes, the same small heart works for a garland, keychain, applique, card, or brooch with just a small change to the finishing steps, as described in the variations section.
— NoraEvery pattern hand-tested