How to Crochet the Puff Stitch (Step by Step)
The puff stitch is one of those stitches that looks like it belongs to an advanced pattern, but it is really just a small pause in your rhythm: instead…

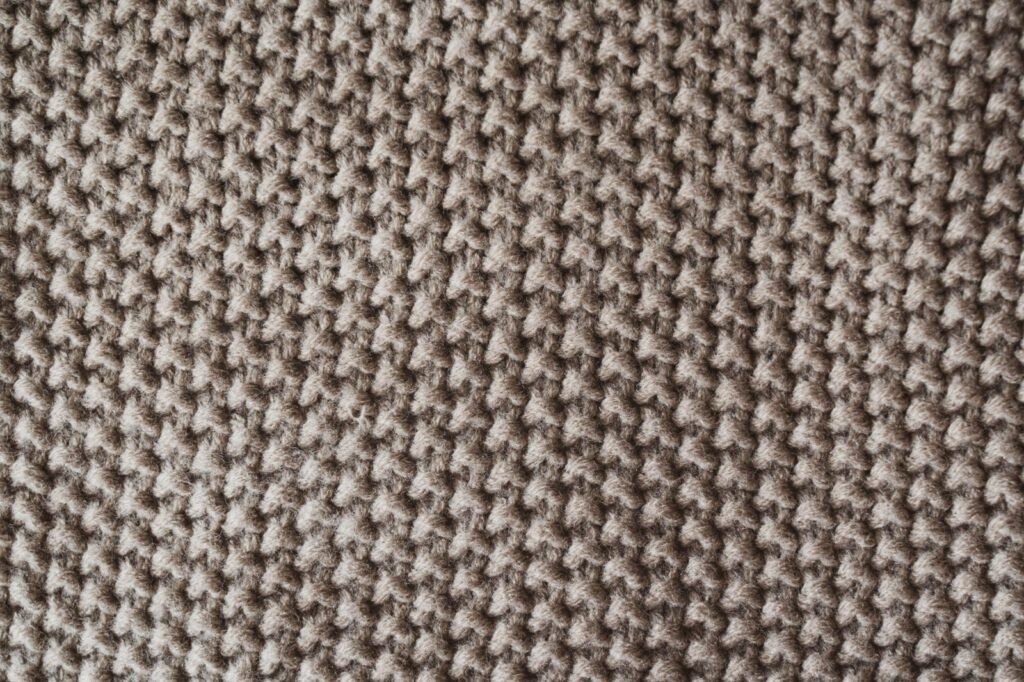
The puff stitch is one of those stitches that looks like it belongs to an advanced pattern, but it is really just a small pause in your rhythm: instead of finishing a stitch right away, you build up a few loops on your hook first, then close them all at once. The result is a soft, rounded little pillow of yarn sitting right on the surface of your fabric. It is squishy, forgiving of small tension differences, and genuinely fun to make once you feel the loops stacking up on your hook. If you already know how to chain (ch) and single crochet (sc), you have everything you need to start. Let’s slow it down and build your very first puff together.
Jump to section
- What the Puff Stitch Actually Is
- Abbreviations You Will See
- What You Need to Practice
- Building Your Foundation Row
- Making One Puff Stitch, Step by Step
- Keeping Your Loops Loose and Even
- Puff Stitch vs. Bobble Stitch: What Is the Difference
- Where the Puff Stitch Shines
- A Quick Note on Puff Height
- You Are Ready to Puff
- Frequently asked questions
What the Puff Stitch Actually Is
A puff stitch is made entirely inside one stitch (st). Instead of completing several stitches one at a time, you keep looping into the same spot over and over, leaving every loop open on your hook, and then close every one of those loops together in a single motion at the end. Because none of the loops get pulled through and closed until that last step, the yarn between them has nowhere to go but out, which is exactly what gives a puff its soft, rounded dome shape.
Abbreviations You Will See

– ch – chain – st – stitch – sc – single crochet – yo – yarn over, wrapping the yarn around your hook before pulling it through a loop – dc – double crochet, mentioned later for comparison with the bobble stitch
What You Need to Practice
– A smooth worsted weight yarn in a light or medium color, so you can clearly see each loop on your hook – A crochet hook matching your yarn label – A little patience for your first few puffs, since the loop-counting takes one or two tries to feel natural
Building Your Foundation Row
Chain a comfortable practice length, such as 16, then work a row of sc across so you have a plain base of stitches to work your puffs into. Turn your work when the row is done. Puffs are almost always worked into sc stitches or chain spaces, with plain sc worked in between them on the same row, so this base row sets you up perfectly.
Making One Puff Stitch, Step by Step
Here is the exact sequence, worked into a single stitch. We will use three loop pull-ups, which makes a classic, medium puff.
1. Yarn over (yo). Wrap the yarn around your hook once. 2. Insert your hook into the stitch. 3. Yarn over again, and pull up a loop. Pull this loop up to about the same height as the rest of your row, not tight against the fabric and not stretched way up. You now have 3 loops sitting on your hook: your original working loop, the wrap from step 1, and the loop you just pulled up. 4. Repeat steps 1 through 3 two more times, inserting your hook into the exact same stitch each time. Do not pull through or close anything yet. Every loop simply stays on the hook. After your third repetition, you will have 7 loops sitting on your hook. 5. Yarn over one more time, and pull through all 7 loops on your hook in a single motion. This is the moment the puff closes and pops into its rounded shape. You will have 1 loop left on your hook. 6. Chain 1. This small chain sits snugly against the top of the puff and locks it closed so it cannot loosen or pull open as you keep working.
That is a complete puff stitch. From here, you would typically work an sc into the next stitch or two before starting your next puff, which is what keeps puffs from crowding into each other.
Keeping Your Loops Loose and Even
The single most important habit in puff stitch is consistency in step 3. Every one of those pulled-up loops should be the same height: tall enough to sit comfortably on your hook without squeezing tight, but not so tall that the puff turns floppy or uneven. If one loop is noticeably shorter or taller than the others, your finished puff will lean or sit lopsided instead of rounding out evenly. It is worth working a few practice puffs slowly, checking the height of each loop against the last one before you move on to the next repetition.
Puff Stitch vs. Bobble Stitch: What Is the Difference
Puffs and bobbles are often confused because both are built by stacking loops on the hook before closing them, but the technique underneath is different, and so is the result. A puff is made from repeated half-finished loops (yo, insert, yo, pull up a loop) with nothing closed until the very last pull-through, which keeps the stitch soft, rounded, and airy. A bobble, by contrast, is built from several incomplete double crochets (dc), where each one is worked almost all the way before it stops short of its final pull-through. That extra structure from the half-worked dc stitches makes a bobble firmer, denser, and more sculpted, while a puff stays lighter and squishier. If you want texture that feels soft under your fingers, reach for the puff. If you want texture that pops crisply off the fabric, that is the bobble’s job.
Where the Puff Stitch Shines
Puff stitch is popular for exactly the reasons above: it is soft, quick to repeat, and reads as detailed without being difficult. You will see it used for:
– Baby blankets and lovies, where the soft, rounded texture feels gentle against delicate skin – Hats and cowls, where rows of puffs add warmth and visual interest without much added bulk – Amigurumi accents, such as little cheeks, flower centers, or texture patches on stuffed toys – Garment details, like a puff-stitch yoke or cuff that adds dimension to an otherwise plain sweater
A Quick Note on Puff Height
Some patterns call for a taller, chunkier puff, and you can get one simply by adding a fourth loop pull-up before you close: repeat steps 1 through 3 a total of four times instead of three, which leaves 9 loops on your hook before that final closing pull-through. The stitch mechanics stay exactly the same, you are just letting a little more yarn build up before you cinch it closed, so feel free to swatch both versions and see which height you like best for your project.
You Are Ready to Puff
Once you have made a handful of these, the rhythm becomes almost meditative: loop, loop, loop, close, chain, and on to the next one. The key things to remember are to keep every pulled-up loop the same relaxed height and to never rush the final pull-through, since that single motion is what turns a pile of loose loops into a neat, rounded puff. Work a full practice row tonight, and you will have a soft, textured stitch ready to bring warmth and dimension to your very next project.
Frequently asked questions
Why does my puff stitch lean to one side instead of sitting straight up?
That almost always comes from uneven loop heights. If one pulled-up loop is shorter or taller than the others, the puff will tip toward the shortest side, so check each loop against the last one before starting the next pull-up.
Can I do a puff stitch with fewer or more than 3 loop pull-ups?
Yes. Two pull-ups makes a smaller, subtler puff, while four or more makes a taller, chunkier one. The closing step stays exactly the same, just with a different number of loops on the hook before you pull through.
What happens if I forget the chain-1 after closing the puff?
Without that locking chain, the puff has nothing holding its top closed, so it can gradually stretch open and flatten as the fabric gets handled or washed. Always work it before moving on to your next stitch.
Is puff stitch fabric stretchier than plain single crochet?
Yes, somewhat. The rounded stitches have a bit more give than flat sc fabric, which is part of why puff stitch is popular for baby items and hats that need to stretch slightly to fit.
Does puff stitch use more yarn than plain stitches worked in the same space?
Yes, noticeably more. Every puff pulls up several extra loops before closing, so a project worked entirely in puff stitch will use more yarn than the same size project in plain sc or dc.
— NoraEvery pattern hand-tested