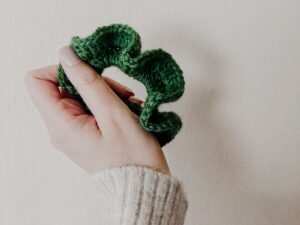
Easy Crochet Headband Pattern for Beginners
Pull up a comfy chair, because this is exactly the kind of project that turns one spare hour into a finished, wearable accessory. This crochet headband…

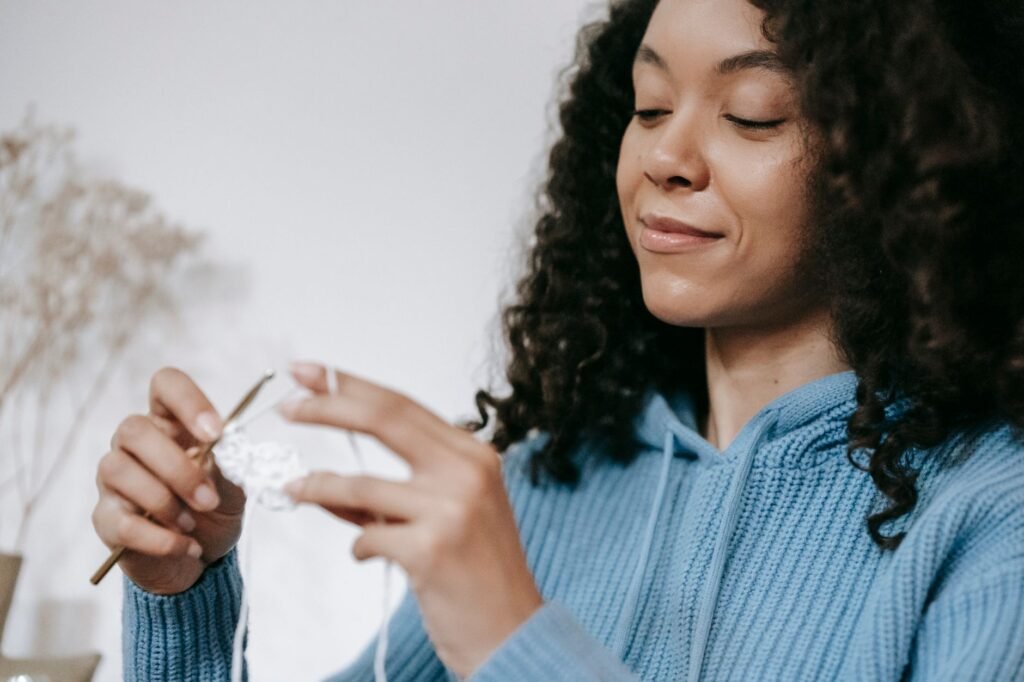
Pull up a comfy chair, because this is exactly the kind of project that turns one spare hour into a finished, wearable accessory. This crochet headband pattern uses a single stitch worked a special way to create a soft, ribbed texture that stretches gently to fit your head and holds its shape all day long. You will crochet one simple rectangle, seam the two short ends together, and you are done – no shaping charts, no tricky counts, just steady rows that add up fast. If you have never worked into the “back loop only” before, do not worry. We will walk through exactly what that means before you need it, and by the second row you will have the rhythm down.
Materials
- Worsted weight yarn (yarn weight #4), about 1 skein (roughly 100-140 yards / 90-130 m is plenty for one adult headband)
- 5.0mm (US H-8) crochet hook
- Yarn needle, for seaming and weaving in ends
- Stitch marker (optional, handy for flagging the start of a row so you never lose count)
- Scissors
- Measuring tape
Abbreviations used in this pattern: ch = chain, hdc = half double crochet, st(s) = stitch(es), BLO = back loop only (working your hook under just the back strand of the stitch and leaving the front strand unworked – this is exactly what creates the pretty ribbed texture), sl st = slip stitch (pulling a loop through both the stitch and your working loop at the same time, used here to close the seam).
Every stitch of the top of a crochet stitch actually has two strands, or “loops,” sitting side by side like a tiny V. Normally you slide your hook under both of them. For this pattern, you will only catch the back strand, leaving the front strand standing up on its own. Do that in every stitch of every row, and those little raised front strands stack up into visible ribs that run the length of the band – the same look as knit ribbing, made entirely with one crochet stitch.
The Pattern
Get Your Size Right First
Wrap your measuring tape around your head where the headband will actually sit, snug but not tight, and note the number. Most adult heads fall between about 18 and 21 in (46-53 cm). Because this ribbed fabric has real stretch to it, you do not crochet the band to your full head measurement – you crochet it a little shorter and let the ribbing do the rest of the work, which is also what keeps the finished headband from sliding around.
- Smaller adult / teen (about 18-19 in head): crochet the strip to roughly 15-16 in (38-40.5 cm) long before seaming.
- Average adult (about 20-21 in head): crochet the strip to roughly 17-18 in (43-45.5 cm) long before seaming.
- Larger adult (about 22-23 in head): crochet the strip to roughly 19-20 in (48-51 cm) long before seaming.
These are starting points, not rules – every crocheter’s tension is a little different, so try the strip around your head as you go (before seaming) and stop whenever it feels snug with a gentle stretch, not a tight squeeze.
Foundation Row
– Chain 15. – Row 1: Hdc in the 3rd ch from hook and in each ch across. (13 sts)
The two chains you skipped at the start are simply standing in for your first stitch, the same way they will at the start of every row from here on – you will never work directly into them again after this row.
The Ribbed Rows
– Row 2 (and every row after this): Ch 1, turn. Hdc in the BLO of each st across. (13 sts)
That single row is the entire body of the headband – you are simply repeating it, over and over, until your strip reaches the length you noted above. The turning chain (that ch 1 at the start of each row) does not count as a stitch and you will never work into it; it is only there to lift your hook into position for the next row. Lay your work flat and measure along the long edge every few rows so you catch the finish line early rather than late. Your stitch count should read 13 sts at the end of every single row – if you count 12 or 14, you have dropped or added a stitch somewhere in that row, and it is worth unraveling back to fix it before you keep going, since a shifted count changes the width of your band.
Seam the Ends
Once your strip is the length you want, fasten off, leaving a tail of about 18 in (46 cm) – you will use this same tail to seam, so no need to cut a fresh piece.
- Fold the strip so the two short ends meet, right sides facing each other (or facing out, if you prefer the seam visible on the inside only – your choice, since either way looks tidy).
- Thread your yarn needle with the tail.
- Whip stitch through both layers, matching stitch to stitch across the short edge, all the way along.
- Pull the seam snug but not puckered, tie off, and turn the loop right side out.
Finishing
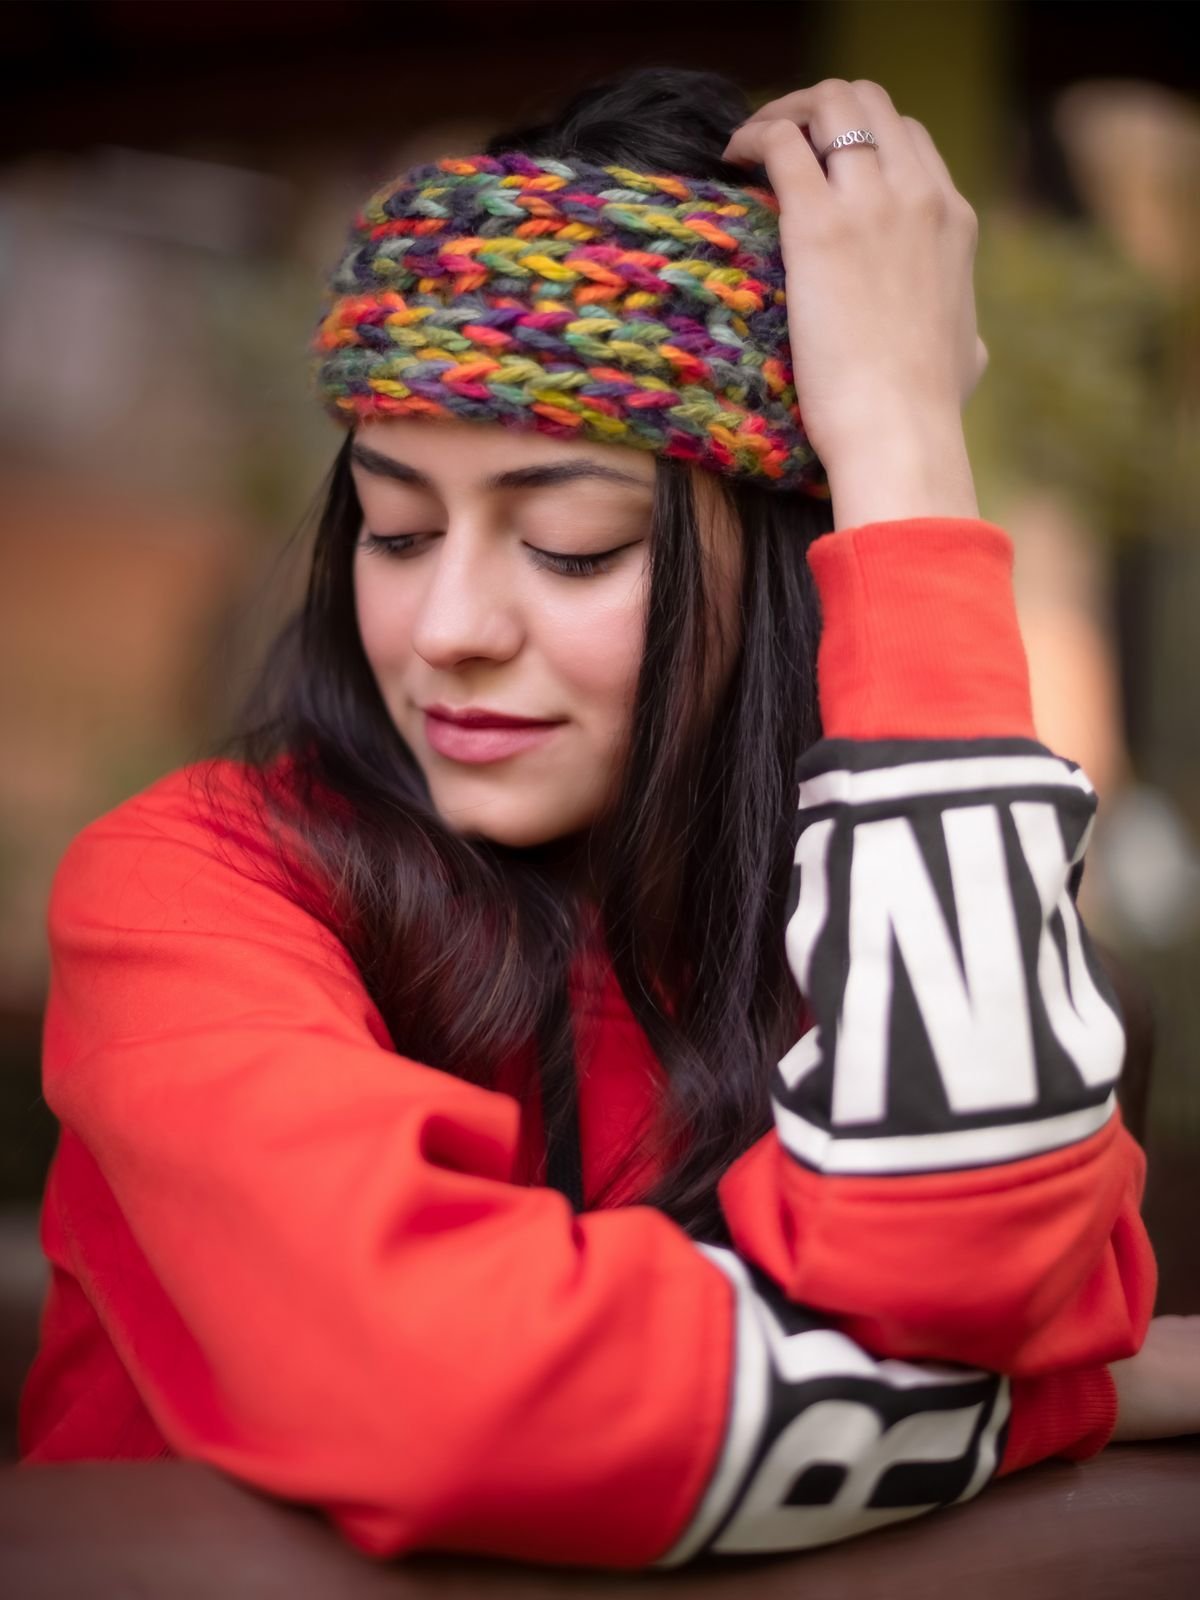
Weave in both the seaming tail and the starting tail through a few stitches on the inside of the band, then trim them close. If you would like the classic twisted headband look, here is the easiest way to get it without any extra crochet: lay the seamed loop flat with the seam centered at the back, then find the point directly opposite the seam at the front. Pinch the band flat at that spot so it folds into a little bundle, wrap a 10 in (25 cm) length of the same yarn tightly around the pinch three or four times, and tie it off snugly on the inside where it will not show. That single wrap gathers the fabric into a soft twist that looks intentional and polished, and it takes about thirty seconds.
Give the finished headband a gentle steam from a distance, or a light press with a warm iron over a damp cloth (check your yarn label first), to help the ribbing relax and lie flat against your head instead of curling at the edges.
Tips for Success
Swatch before you commit to a size. Work about ten stitches and ten rows first, measure it, and use that to sanity-check the row counts above for your own tension – everyone’s gauge with a 5.0mm hook is a little different, and a two-minute swatch saves you from an entire strip that runs too short or too long.
Adjust the width by changing your starting chain. Want a narrower headband for a child, or a wider, cozier one for cold walks? Just change the foundation chain up or down by an even number of stitches (try ch 11 for a slimmer 3 in / 7.5 cm width, or ch 19 for a wider 5.5 in / 14 cm one), and the rest of the pattern works exactly the same way.
A smaller or larger hook changes the whole feel. Drop to a 4.5mm hook for a denser, firmer ribbing that holds its shape well for layering under a hat, or size up to a 5.5mm hook for a softer, drapier band.
Count at the start of every row, not just at the end. Because there is no shaping to distract you, a missed stitch here is easy to overlook – a quick count after your turning chain catches it while it is still a one-stitch fix.
You now have a headband pattern you can make in an afternoon, resize for anyone on your gift list, and repeat in every color you own without ever opening the pattern again. Grab your hook and start that foundation chain – by the time you finish this row count, you will already be hooked on how fast a rib pattern like this grows.
Frequently Asked Questions
Can this pattern be resized for a child?
Yes – simply reduce the starting chain and crochet the strip to a shorter length that fits comfortably around a child’s head with a gentle stretch, using the same stitch and row pattern throughout.
What should I do if the finished headband feels too loose or too tight?
Unravel back to the ribbed rows and add or remove a few rows before seaming, since the length of the strip before seaming is what actually determines the fit, not the seam itself.
Do I have to twist the headband, or can I leave it as a plain loop?
The twist is entirely optional – a plain seamed loop looks just as finished, so feel free to skip that step if you prefer a simpler, untwisted band.
I have never worked into the back loop only before – is that a problem?
Not at all – the pattern only asks you to catch the back strand of each stitch instead of both strands, and most crocheters pick up the habit within the first row or two of practice.
— NoraEvery pattern hand-tested