Cute Crochet Keychain Pattern (Quick Beginner Make)
Some projects earn their spot in your queue just by being fast, and this little crochet keychain is exactly that kind of make. It works up in a handful…

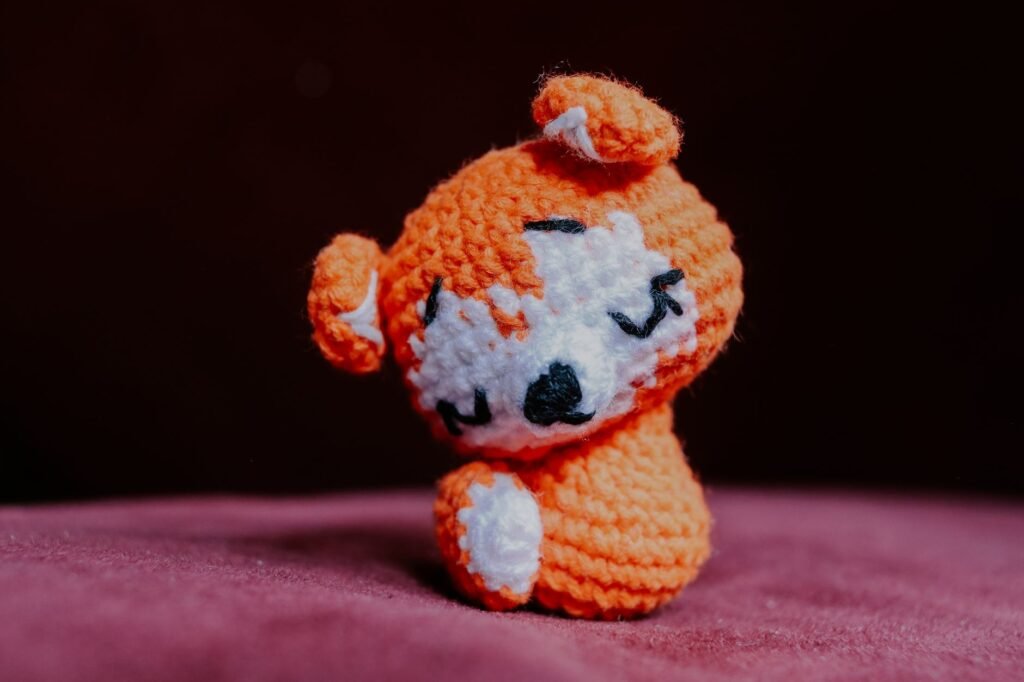
Some projects earn their spot in your queue just by being fast, and this little crochet keychain is exactly that kind of make. It works up in a handful of rounds from whatever worsted or cotton scraps you already have sitting in your stash, and it finishes small enough to attach to keys, a bag zipper, or a backpack loop before you have even had time to put the kettle on. This is also a genuinely great first amigurumi project, since it teaches you the exact spiral-rounds-and-shaping skills that every stuffed crochet toy is built from, just on the smallest, friendliest scale possible.
Materials
- Worsted weight or cotton yarn (yarn weight #4), a small amount – this is a true scrap-buster project
- 3.5-4.0mm crochet hook (a slightly smaller hook than your yarn’s label suggests gives you a tighter fabric, which matters here so the stuffing does not peek through)
- A small amount of polyester stuffing
- 1 metal keyring
- Stitch marker, to flag the start of each round
- Yarn needle, for closing up and weaving in ends
- Scissors
Abbreviations used in this pattern: MR = magic ring (an adjustable loop you crochet your first stitches into, then pull snug – it closes the tiny center hole that a regular chain would leave), sc = single crochet, st(s) = stitch(es), inc = increase (work 2 sc into the same stitch), dec = decrease (work 2 stitches together as one, so your stitch count goes down by one each time you use it), ch = chain, sl st = slip stitch.
This little charm is worked as a continuous spiral, meaning you do not join or chain up between rounds – you just keep circling around and around. That is exactly why the stitch marker matters so much on a project this small: move it up into the first stitch of every new round, or you will lose track of where you are within just a round or two.
The Pattern
Round the Ball
– Rnd 1: Make a magic ring (MR) and work 6 sc into it. Pull the tail to close the ring. Place your stitch marker in the first stitch. (6 sts) – Rnd 2: Inc in every st around. (12 sts) – Rnd 3: *Sc 1, inc* repeat around. (18 sts)
Those first three rounds are the classic amigurumi starting shape – a flat circle that grows by exactly 6 stitches every round, which is what keeps it lying flat instead of cupping or rippling. From here, you stop increasing and let the shape curve inward into a little dome.
– Rnd 4: Sc in each st around. (18 sts) – Rnd 5: Sc in each st around. (18 sts)
Those two even rounds are what give your charm its rounded belly – the widest part of the ball. Feel free to try it on for size against your keyring at this point; if you would like a slightly bigger charm, simply repeat Rnd 5 once or twice more before moving on.
– Rnd 6: *Sc 1, dec* repeat around. (12 sts) – Rnd 7: *Dec* repeat around. (6 sts)
Stuff now, before the opening gets too small. Tuck a small pinch of stuffing inside – just enough to fill it out gently, since overstuffing a piece this tiny can strain the stitches and show through the fabric. A crochet hook handle or the blunt end of your yarn needle helps push stuffing into the center without your fingers getting in the way.
– Rnd 8: *Dec* repeat around. (3 sts)
Cut your yarn, leaving a 6 in (15 cm) tail. Thread the yarn needle with the tail, weave it through the front loops of the remaining 3 stitches, and pull snug to cinch the opening shut completely.
Add the Keyring Loop
You do not need to cut your yarn again for this part if you still have a tail long enough to work with, or you can rejoin a fresh strand into any stitch near where you closed the ball.
- With your yarn needle threaded and the tail exiting the top of the ball, insert your hook into one stitch at the very top, pull up a loop, and chain 8.
- Slip the chain through your keyring, then join with a sl st back into the same stitch where you started the chain, forming a loop that has the keyring caught inside it.
- Fasten off, leaving a short tail.
Finishing
Weave in every yarn tail through several stitches on the inside of the ball, pulling each one snug before trimming close to the fabric – on a piece this small, a stray end is very visible, so take the extra thirty seconds here. If your closing cinch left a tiny gap at the top, take one more small stitch across it with your needle before weaving that tail in too.
Want to dress it up? A few strands of embroidery floss make quick little eyes or a smile if you would like your ball to read as a friendly face rather than a plain charm, and a scrap of contrasting yarn worked as a few chain stitches makes an easy little “stem” if you are turning this into a berry or a mini pumpkin for a seasonal batch.
Tips for Success
Go down a hook size from what the yarn label recommends. A tighter gauge is genuinely the difference between a neat little keychain and one where the white stuffing shows through the gaps between stitches – this matters more here than on almost any other project.
Cotton yarn holds its shape best for keychains that get handled a lot. Acrylic and wool both work fine too, but cotton has less stretch, so it keeps its round shape even after months of jangling around on a keyring.
Batch a few at once. Because each one uses so little yarn, this is a genuinely efficient project to make in multiples – crochet three or four bodies back to back in different colors, then stuff and close them all in one sitting.
Count every round, especially Rnds 6 and 7. The decrease rounds are where a missed stitch is easiest to lose track of on a piece this small, and it is much faster to recount six stitches now than to unpick a fully stuffed, sewn-shut ball later.
That is a complete, sellable little keychain from one small ball of yarn and less than an hour of your time – genuinely one of the fastest ways to see a finished, giftable object come off your hook. Keep a few stitch markers and a handful of scraps by your favorite chair, and you will find yourself making these in every spare five minutes you get.
Frequently Asked Questions
What size keyring should I use?
A standard 1-1.5 in metal keyring works well for this size of ball – anything much larger will look oversized next to such a small charm, while anything too small can be tricky to slip the chain loop through.
Do I have to stuff the keychain, or can I leave it flat?
A light stuffing is recommended so the ball holds its round shape and does not collapse flat once it is off your hook, but only a small pinch is needed since this is a very small piece.
How much yarn does one keychain actually use?
Very little – a keychain this size is one of the best ways to use up short leftover lengths of worsted or cotton yarn that are too small for a bigger project.
Is cotton or acrylic yarn better for a keychain?
Cotton tends to hold its round shape best over time since it has less stretch than acrylic, which is helpful for a small piece that gets jostled around on a keyring every day.
— NoraEvery pattern hand-tested